How Anyone Can Grow Microgreens at Home (Even Without a Green Thumb!)
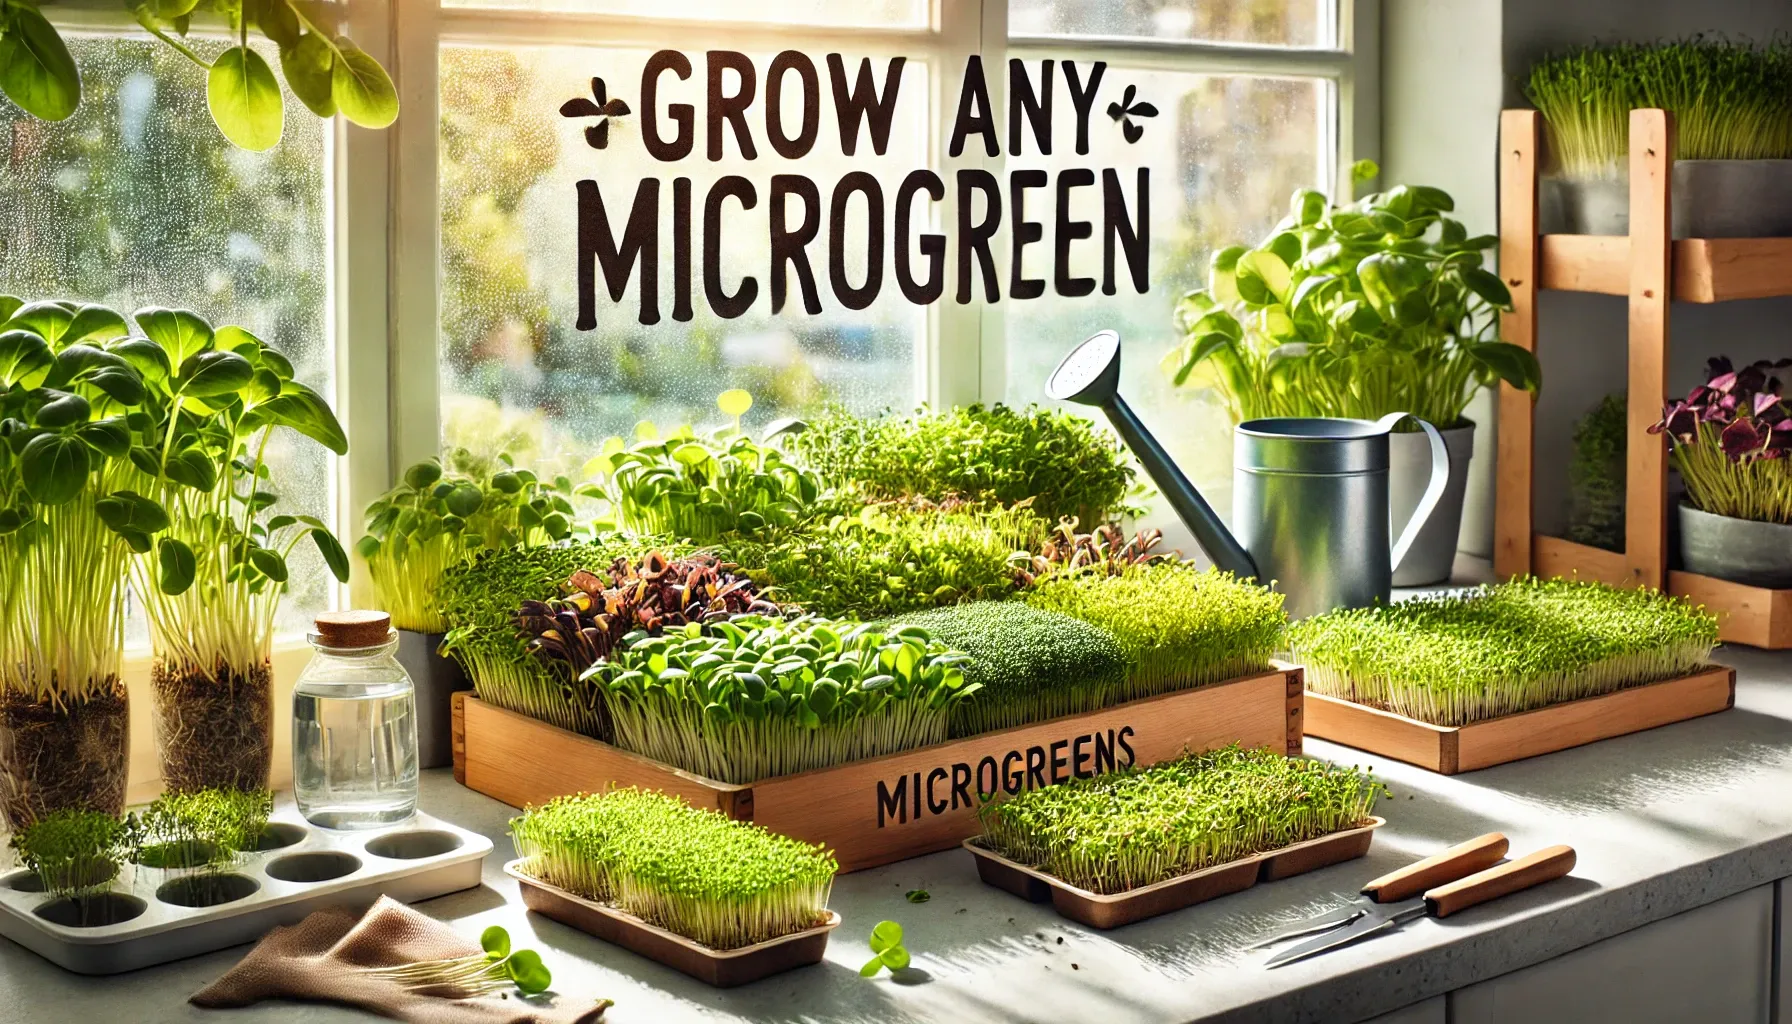
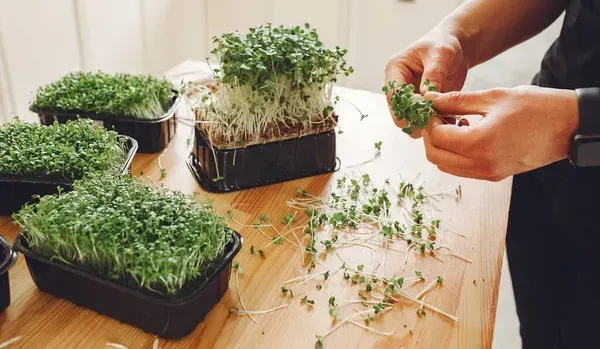
Are you someone who dreams of cultivating your own greens but feels intimidated by the process? You’re not alone! Many of us hesitate, assuming that a “green thumb” is required to grow anything successfully. But here’s the truth: growing microgreens at home is not only simple, but it’s also one of the most rewarding ways to add fresh, nutrient-packed greens to your meals.
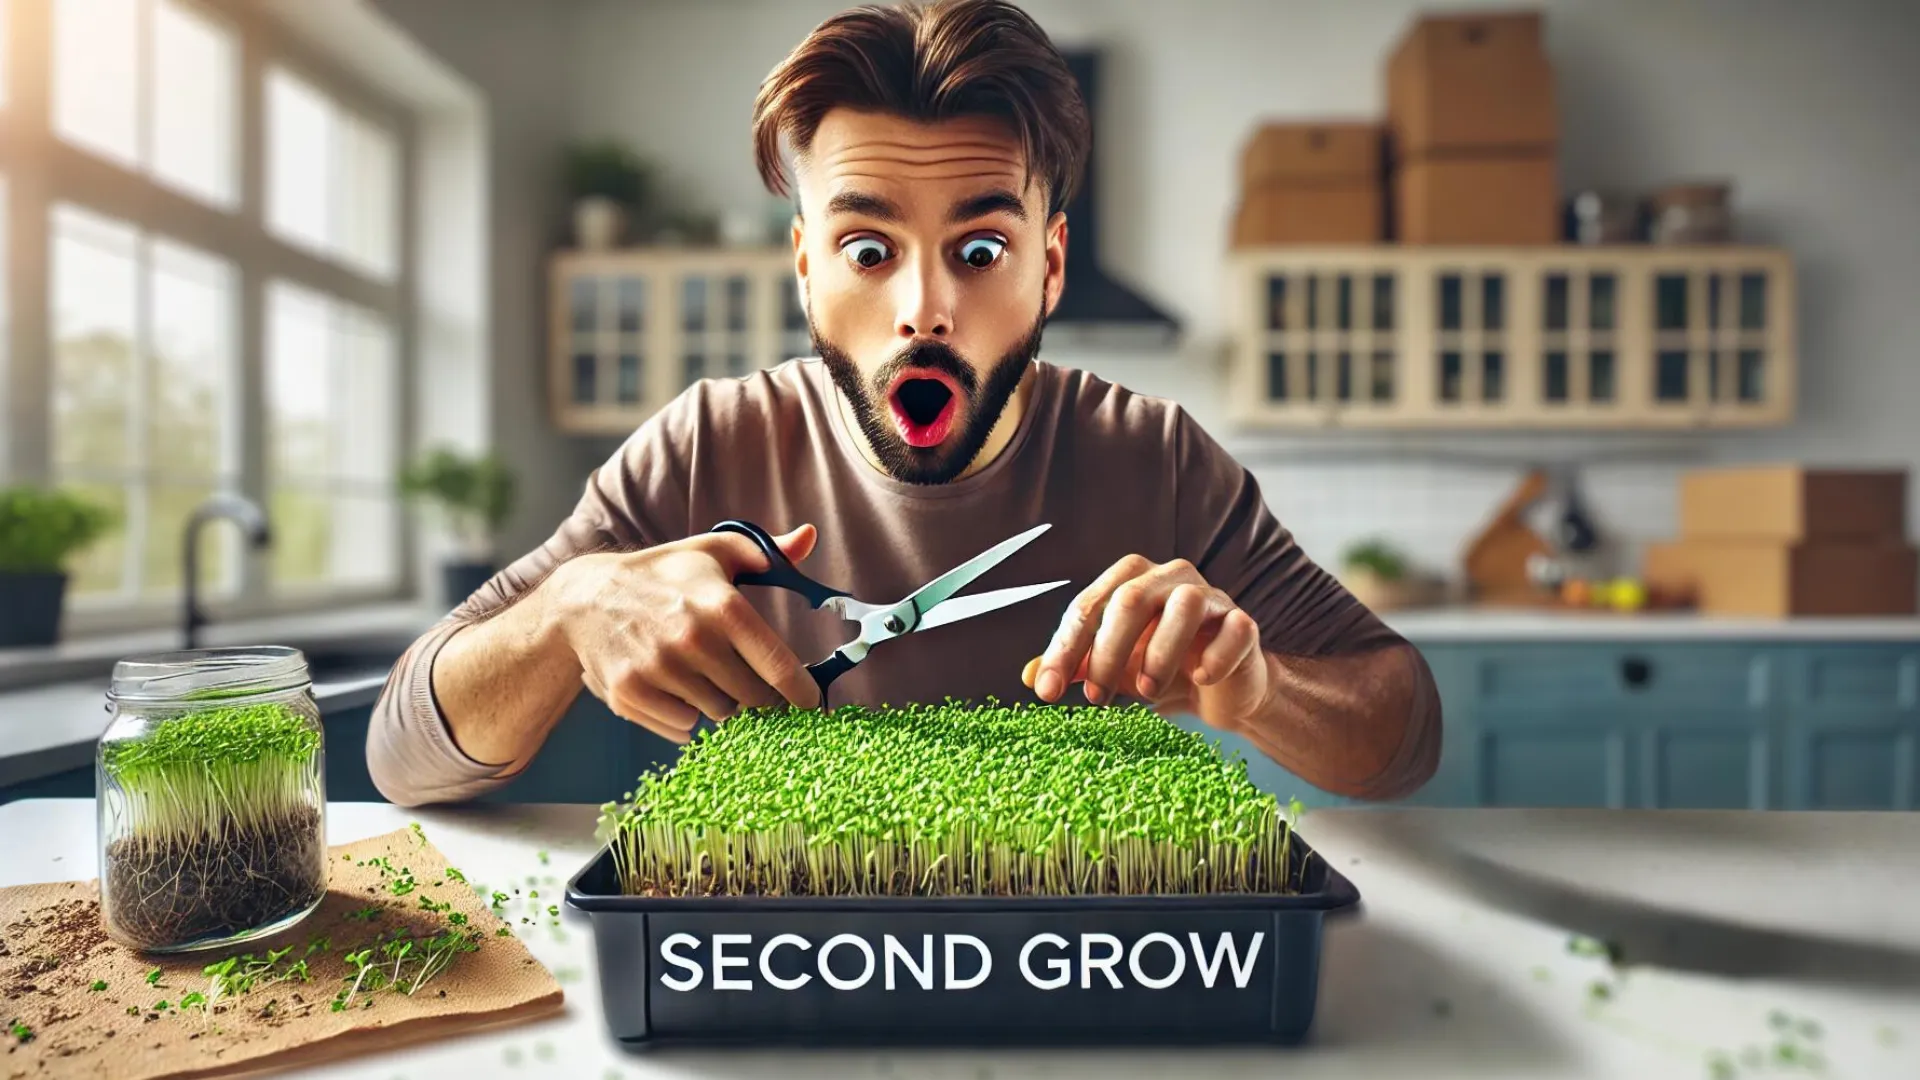
In this post, we’re diving into Jeanie’s journey as a beginner microgreen grower. With the expert guidance of Connor Hiebel, she faced her fears, learned essential techniques, and discovered how easy—and fun—it is to grow these tiny powerhouses of nutrition. And the best part? You can, too.
Video Highlights:
Why Microgreens Are a Game-Changer
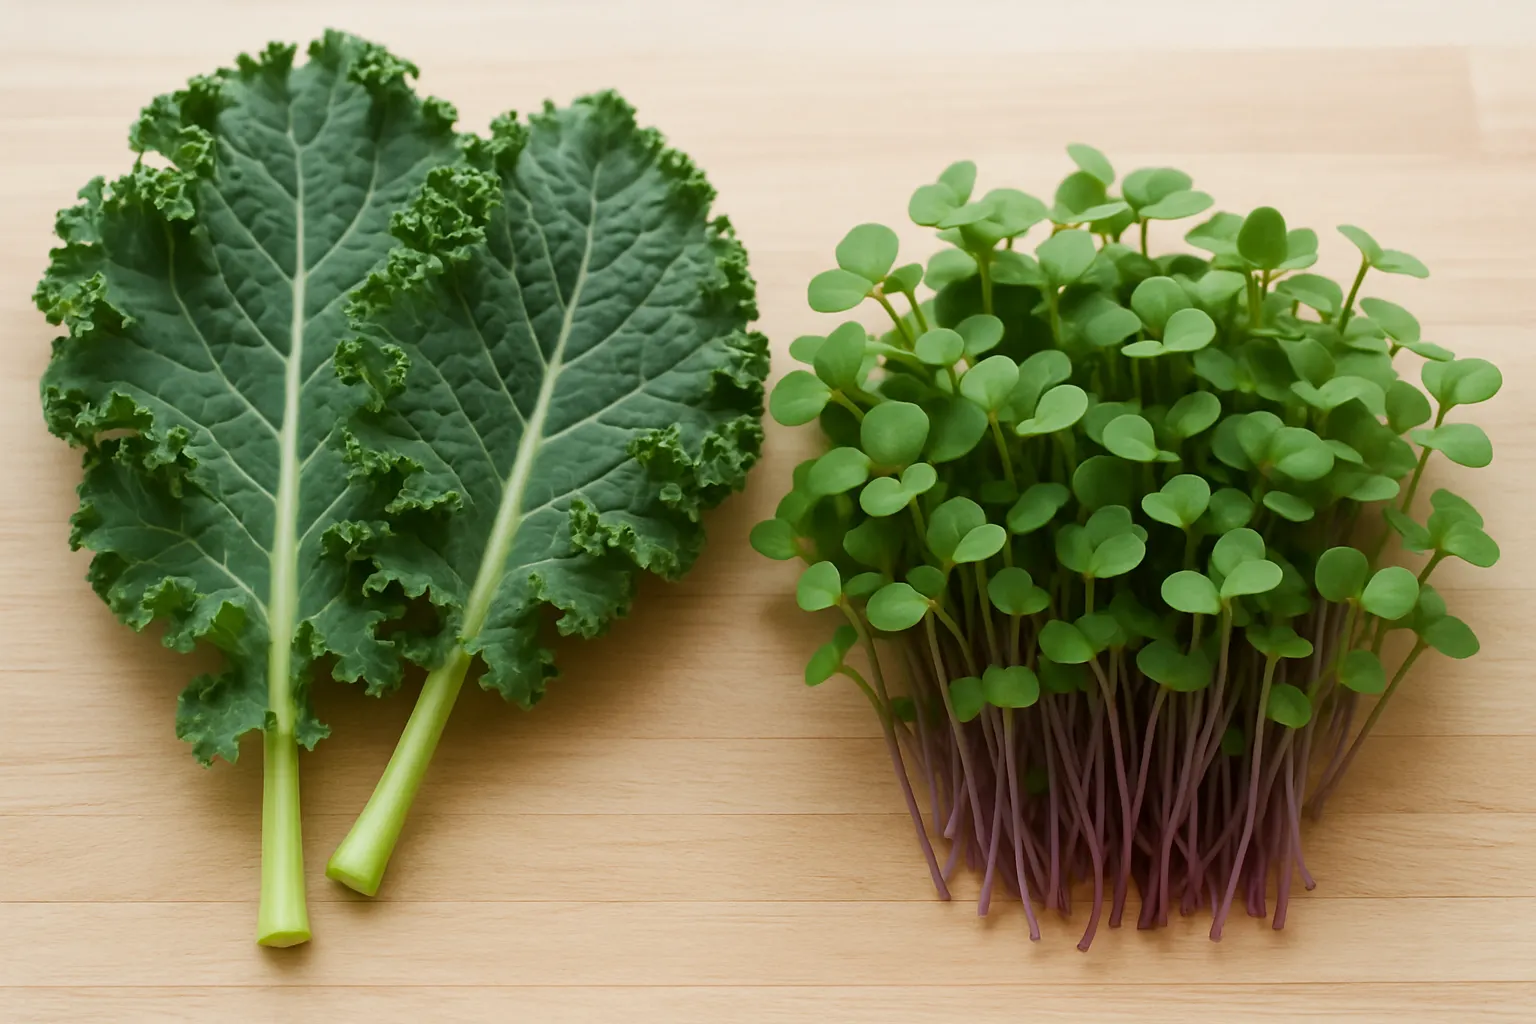
Microgreens aren’t just trendy—they’re nutritional powerhouses, with up to 40% more nutrients than mature plants! Connor explains that broccoli microgreens, for instance, are rich in sulforaphane, which supports cancer prevention and boosts overall health.
Essential Tools for Success
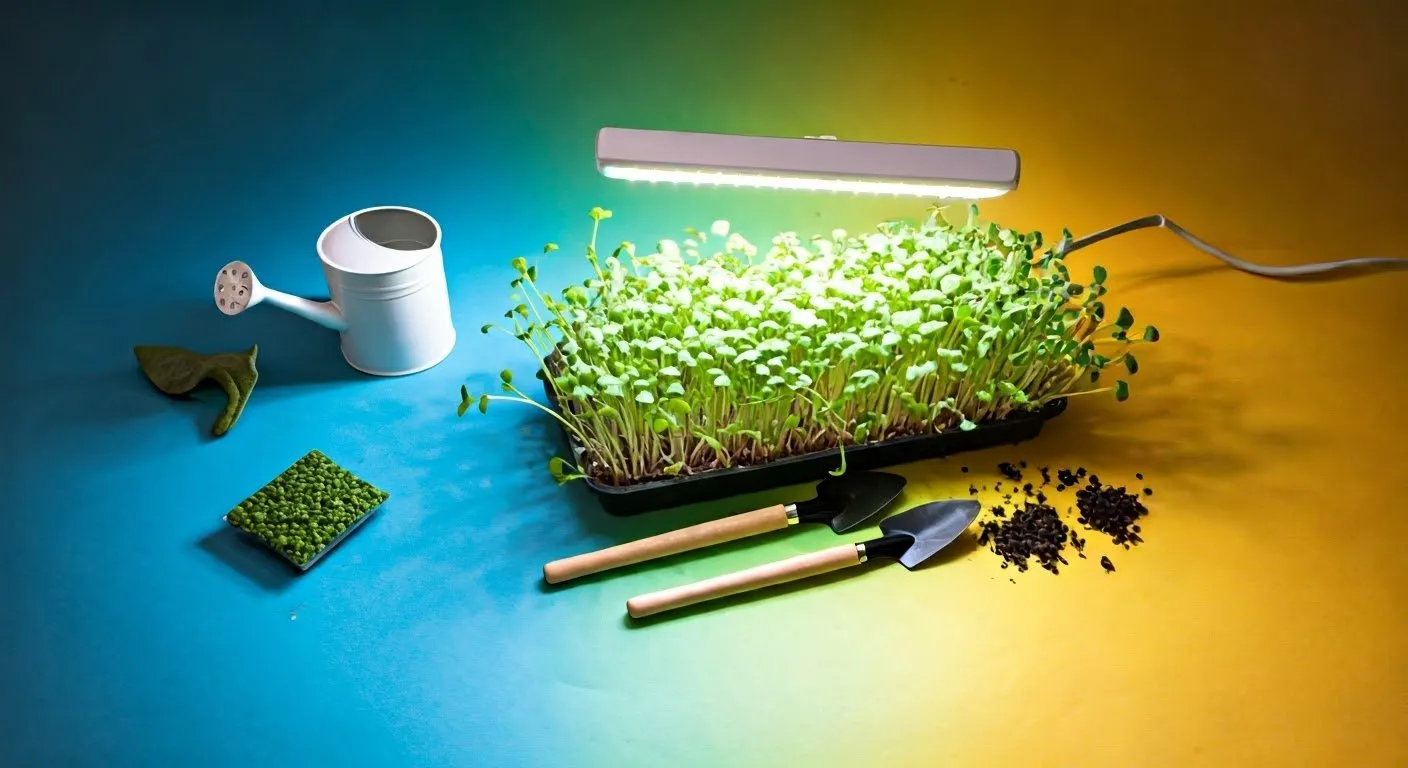
Connor’s recommended tools make growing microgreens a breeze:
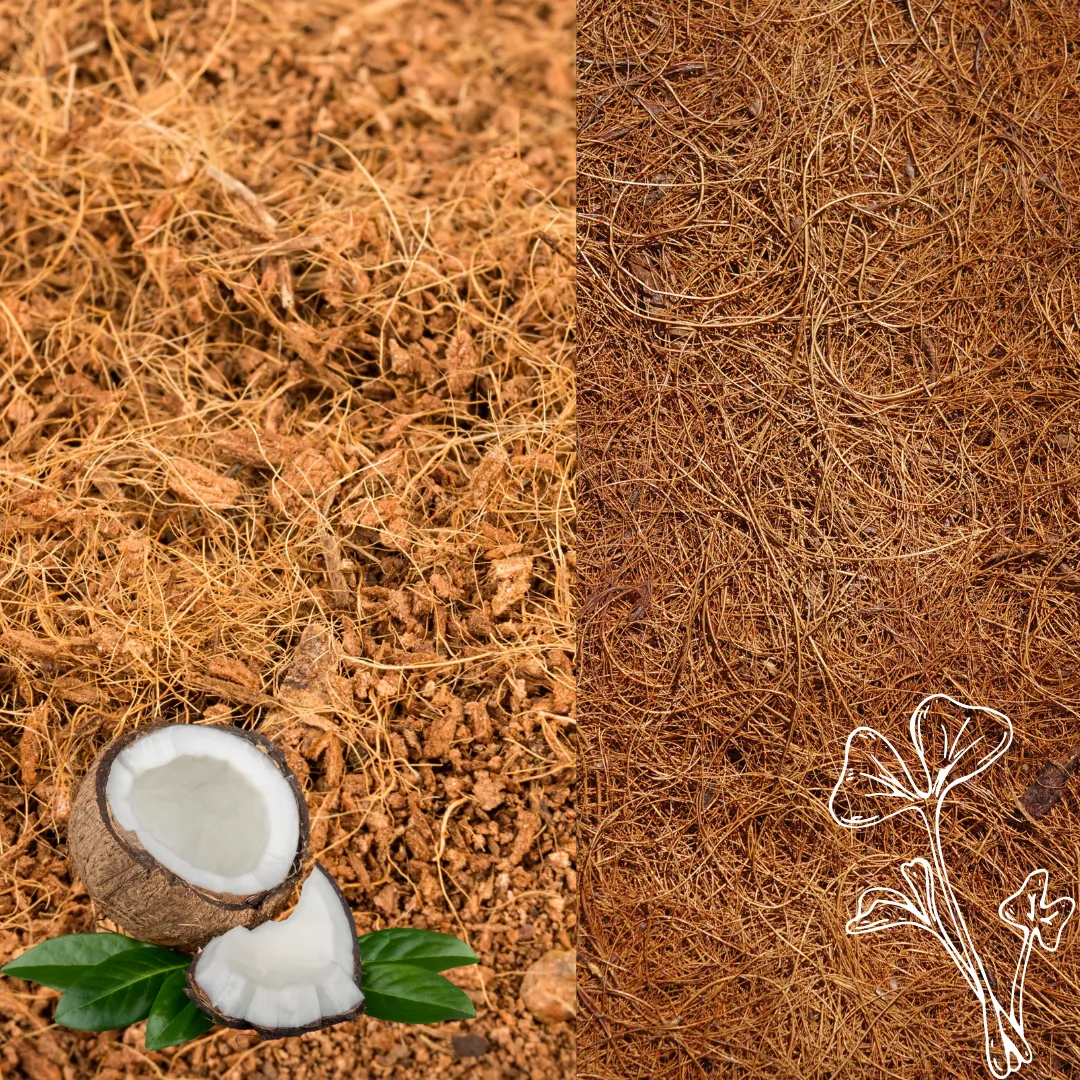
- Coco Coir Discs: Sterilized and pest-free, this growing medium is a clean and hassle-free alternative to soil.
- Spray Bottle: Essential for keeping your microgreens hydrated without overwatering.
- PH Testing Strips: Ensuring water’s pH stays between 6.5 and 7 optimizes plant growth.
Step-by-Step Growing Process
- Hydrate Coco Coir Discs: Watch them expand like magic! Use warm water for best results.
- Prepare Your Tray: Spread hydrated coco coir evenly in the top tray.
- Plant Seeds: Scatter them lightly and evenly—clumps can lead to mold.
- Spray Daily: Keep the soil moist and dark for the first three days with a tin foil cover.
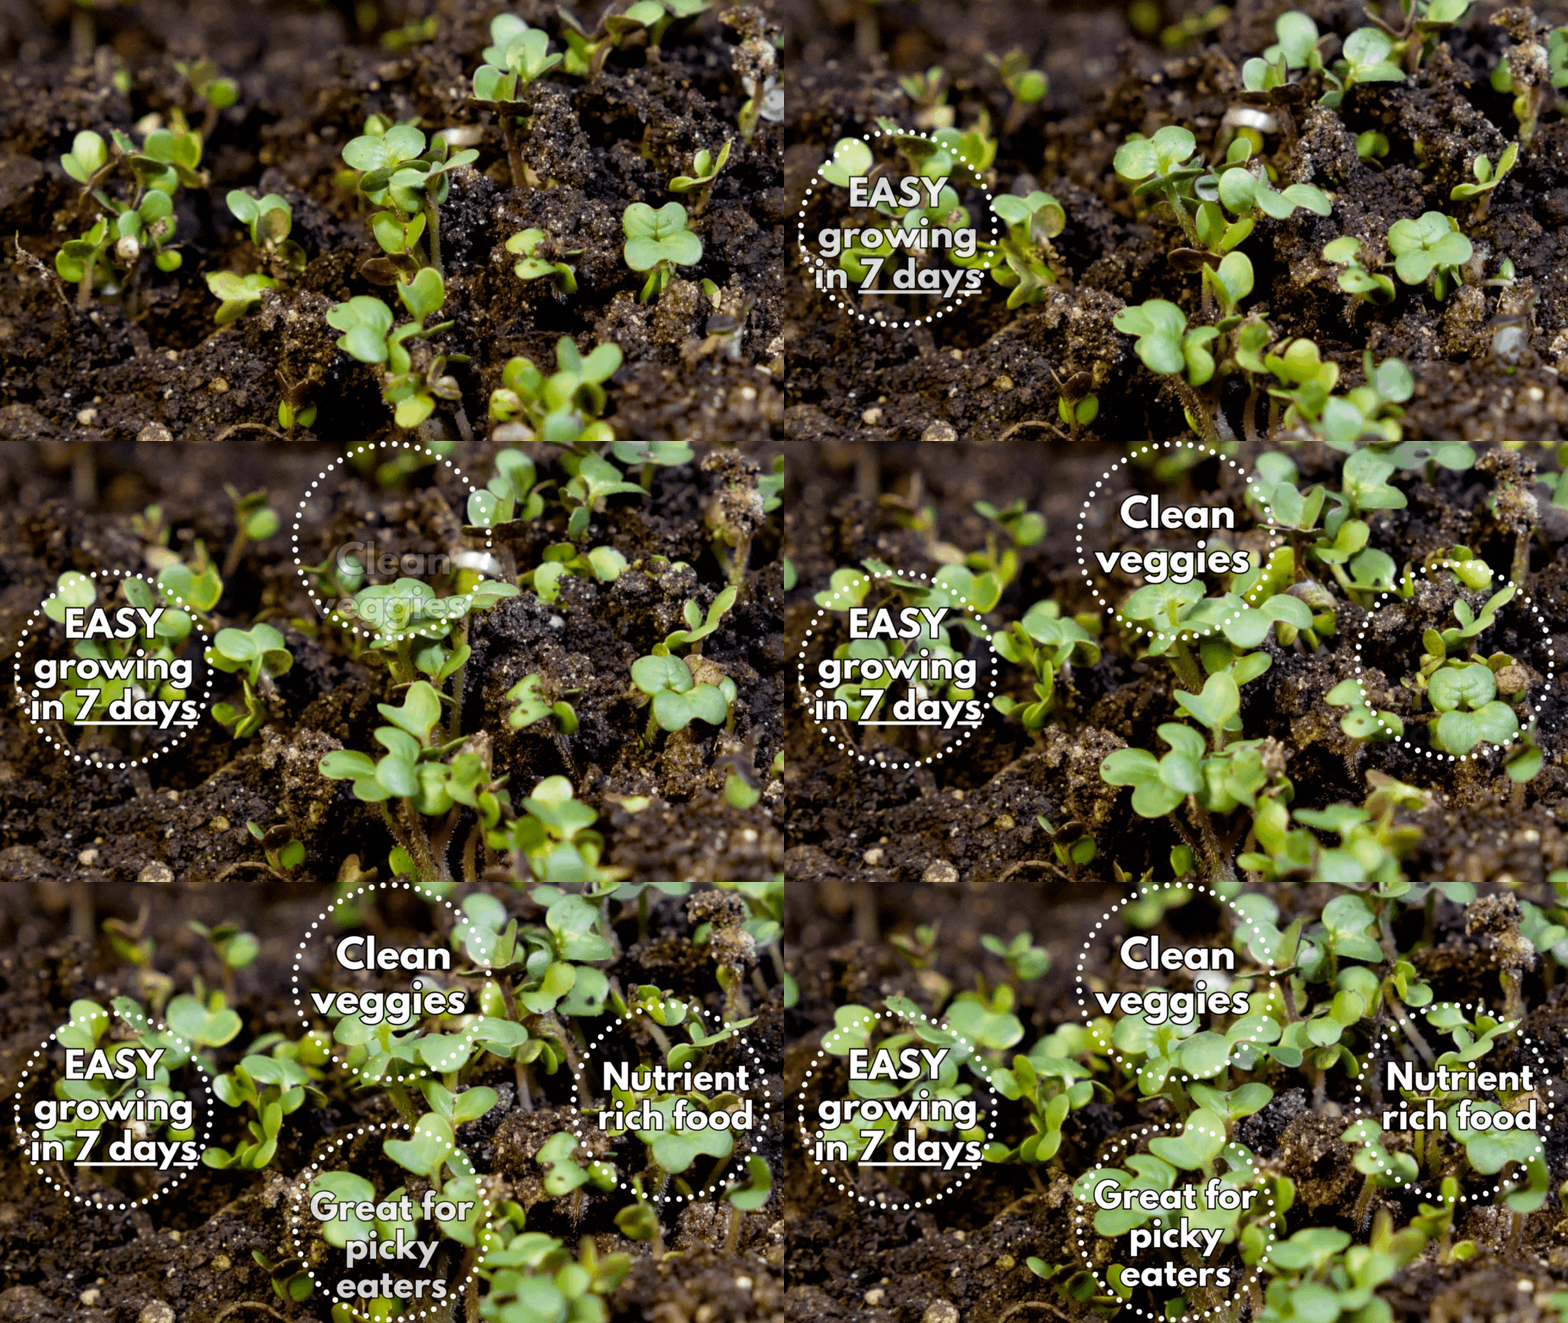
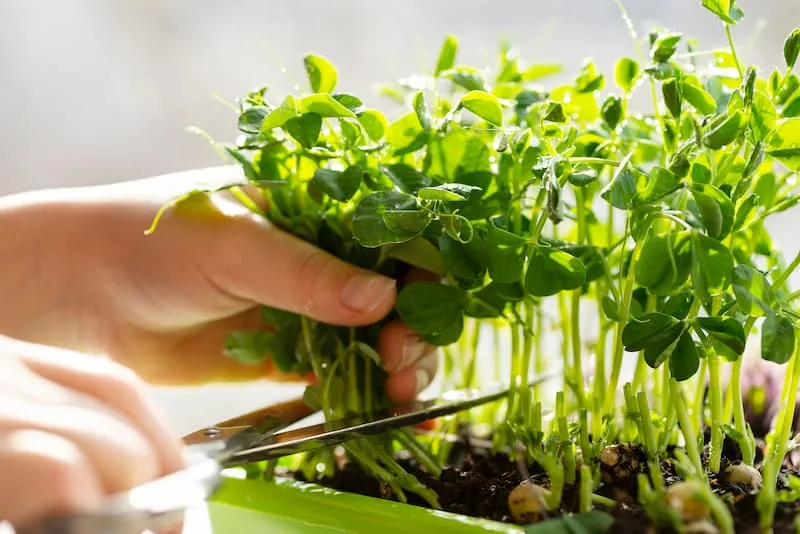
- Harvest in Seven Days: Enjoy fresh greens or store them for later.
Pro Tips for Beginners:
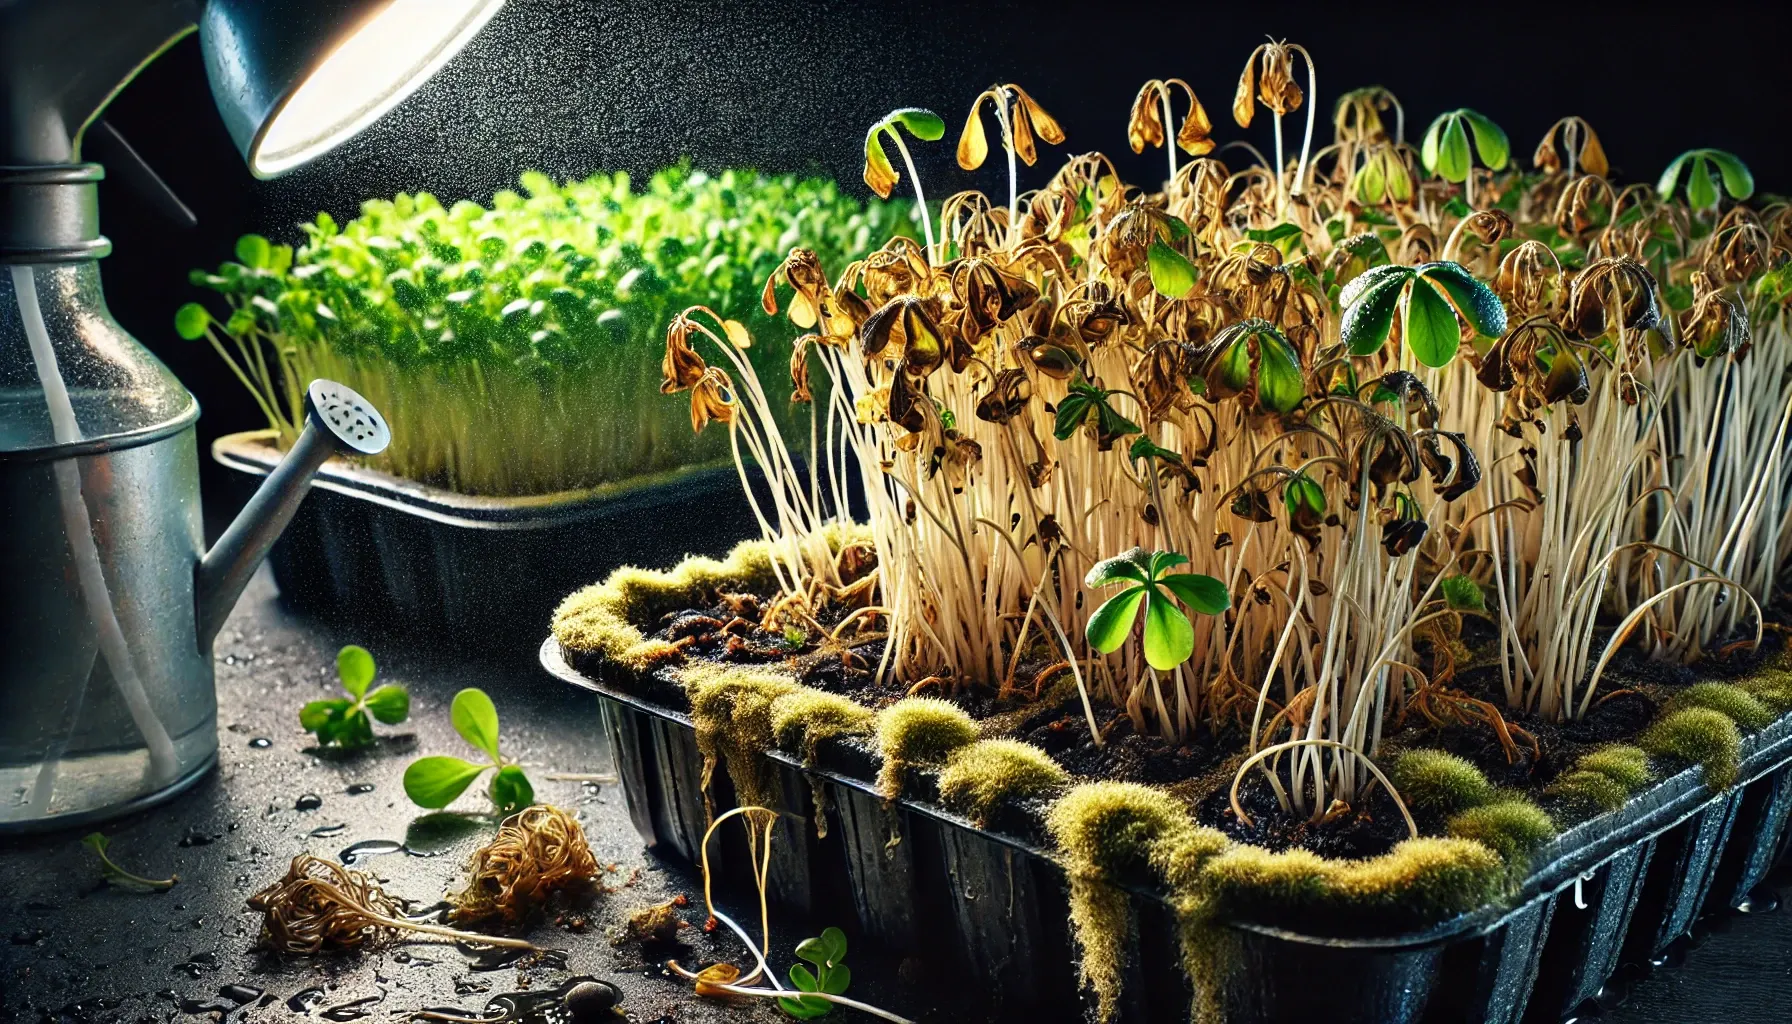
- Avoid Mold: Don’t overwater! Use bottom watering after germination.
- Storage Ideas: Freeze microgreens for smoothies or dehydrate them for seasoning blends.
Ready to transform your meals with fresh microgreens? Grab your kit today and take the first step toward healthier, home-grown eating. Check out the video above to follow Jeanie’s journey and learn exactly how to grow your own. Don’t wait—your microgreen adventure is just a click away! 🌱 [Include a purchase link here.]
Growing microgreens at home isn’t just for seasoned gardeners—it’s for everyone. Whether you’re in it for the incredible nutritional benefits, the fun of cultivating something from scratch, or simply the satisfaction of adding your own fresh greens to every dish, the process is worth every step.
🌱 Ready to grow your own fresh, nutritious microgreens at home? Join our exclusive Microgreens Masterclass and unlock the secrets to success! 🚀 Learn everything you need to start growing like a pro.
👉 Sign up now at Ameliaislandmicrogreens.com/101 – spots are filling fast! Don't miss out! 🌟
Jeanie’s experience shows that even if you’re a total beginner, with the right guidance and tools, success is within reach. And the best part? The possibilities are endless—from spicy wasabi microgreens to nutrient-rich broccoli.
So, what are you waiting for? Pick up a kit, start experimenting, and let us know in the comments: Which microgreen are you most excited to try first? Let’s grow together! 🌱

