Second Grow: The Shocking Truth About Microgreen Regrowth You Need to Know!

If you're like many who are new to growing microgreens, you might wonder: Will my microgreens grow back after I cut them? It’s a common question with a fascinating answer. Today, we’re going to dive deep into the secrets of microgreen regrowth, and by the end of this post, you’ll be armed with the knowledge to keep your microgreens thriving and ready for continuous harvests.
But first, let me share a little secret that could change the way you harvest your microgreens forever. Stick around, because I'll reveal this game-changing tip a bit later!
Microgreens are not just any plant; they're young, vibrant, and packed with nutrition, often boasting more vitamins and nutrients than fully grown vegetables. Whether you’re growing pea shoots, sunflower greens, or an array of herbs, these tiny plants are a fantastic addition to your diet. They add flavor, crunch, and a nutritional boost to any meal.
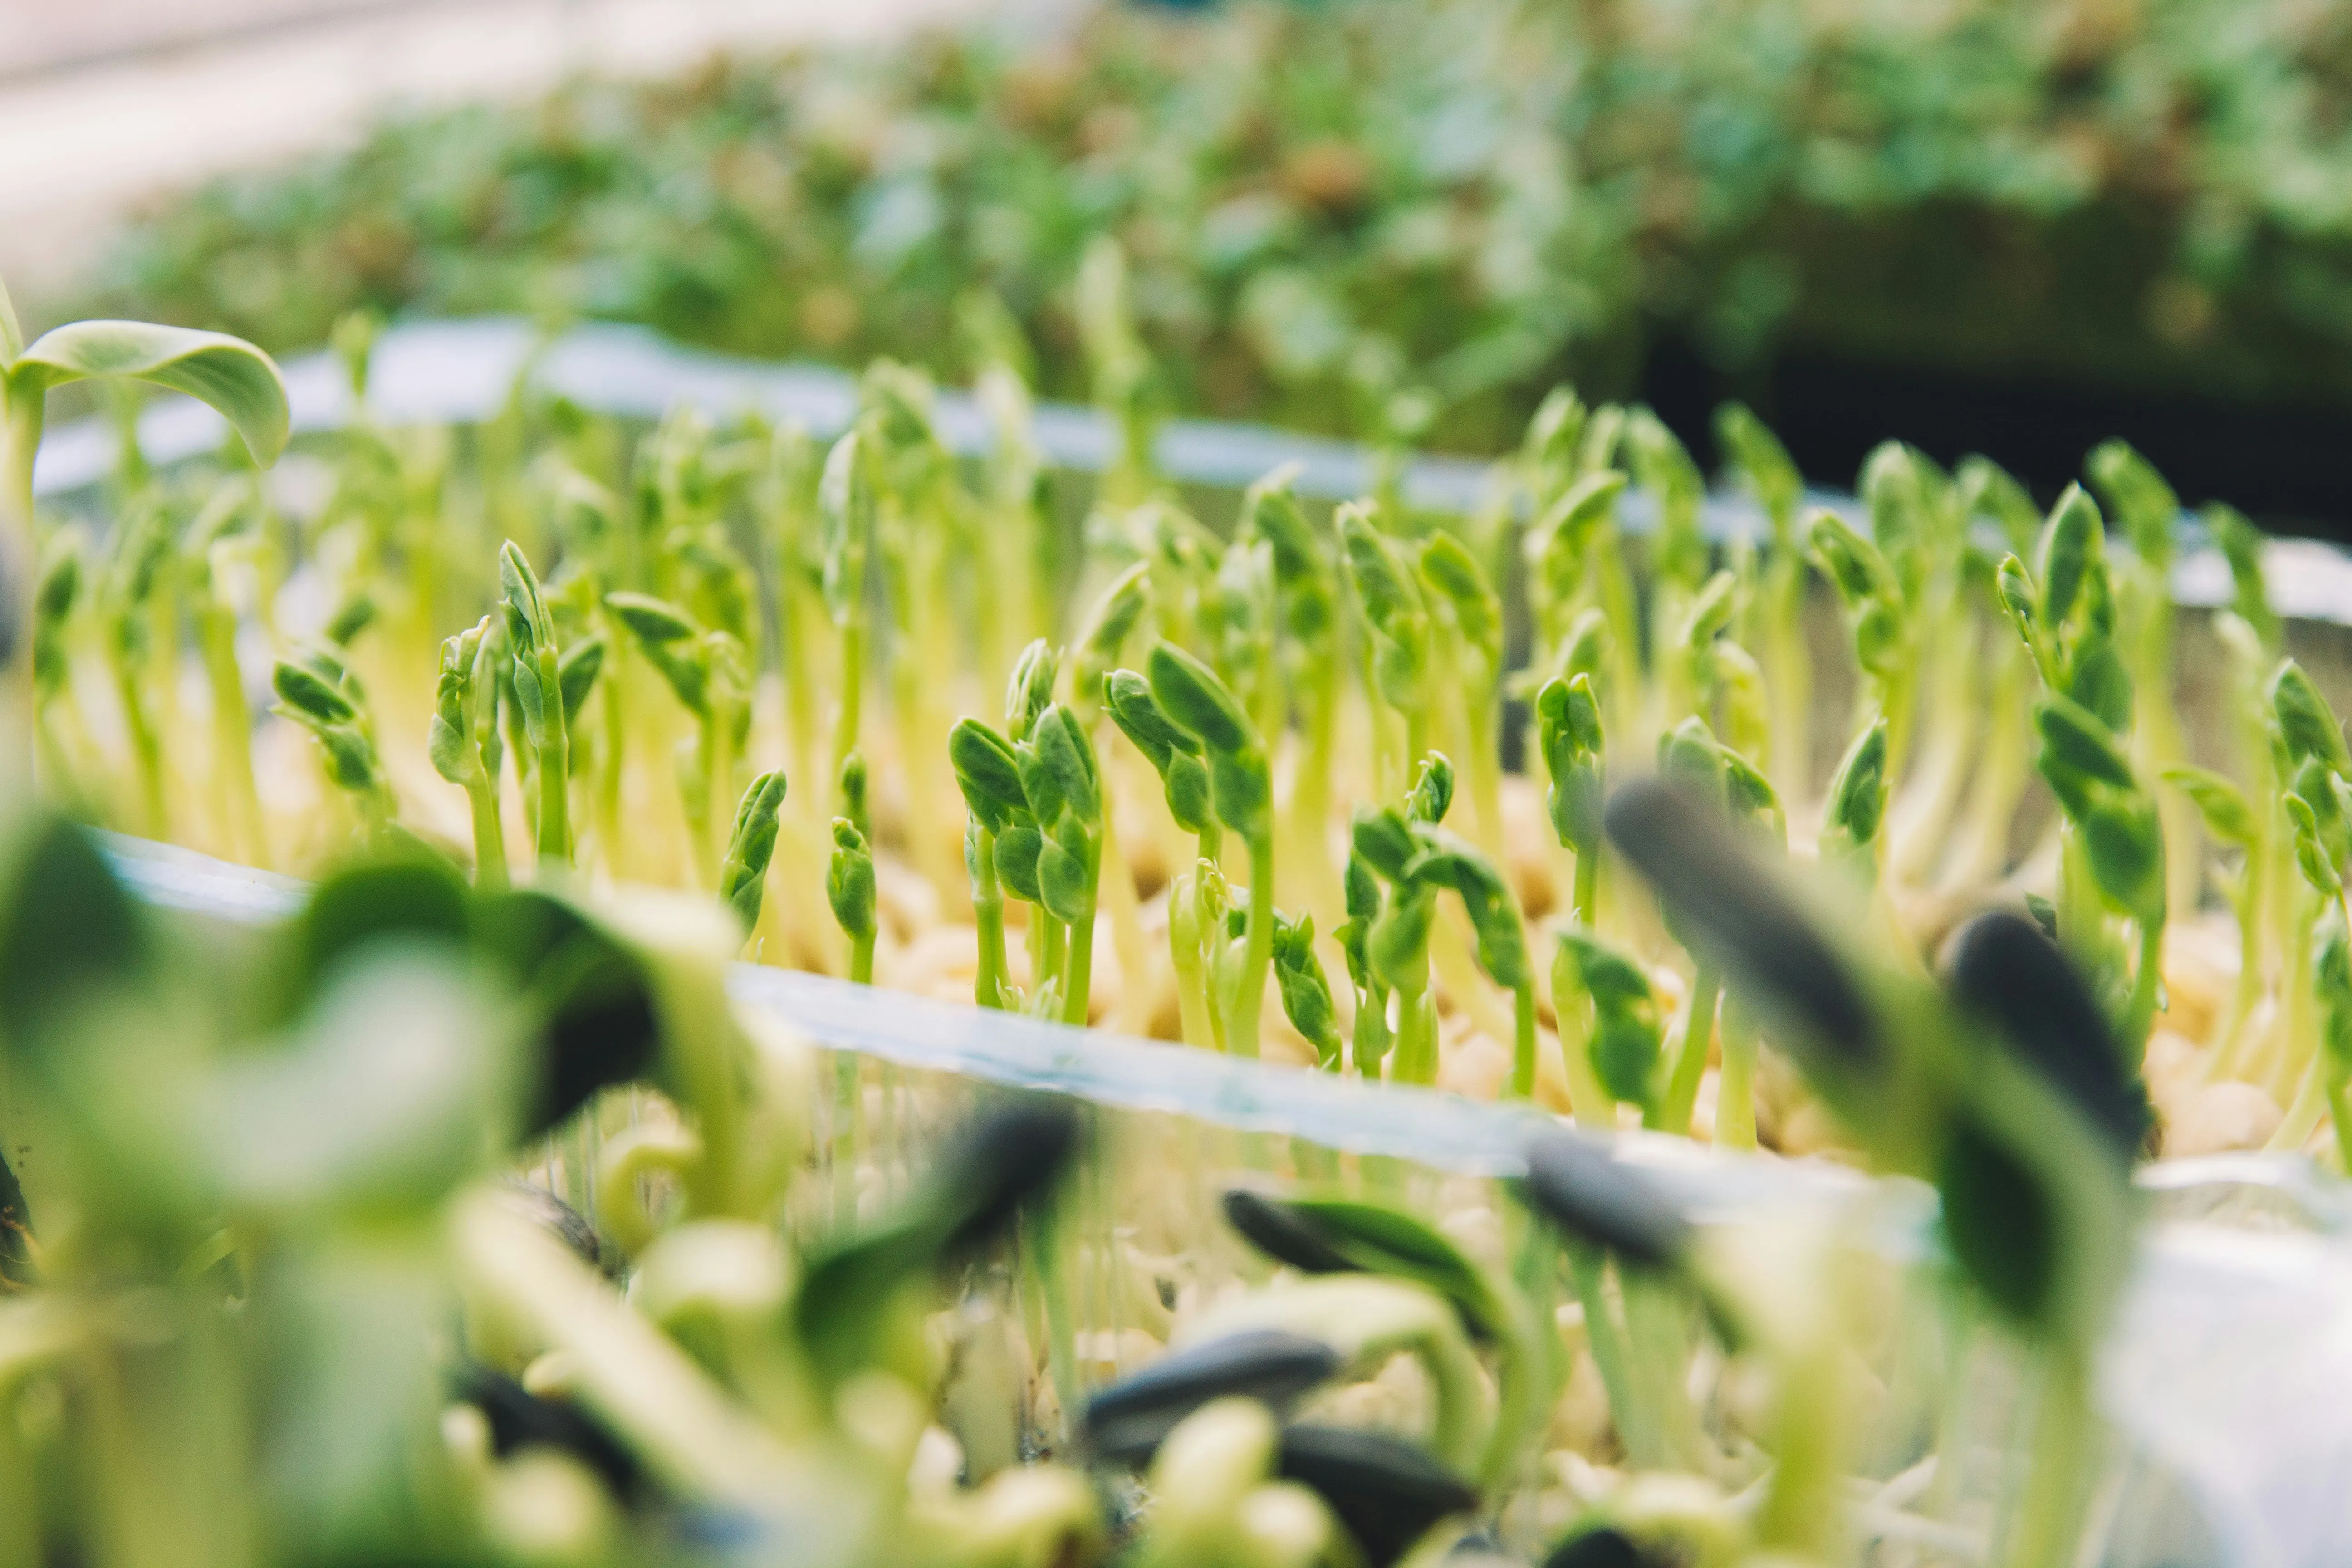
However, when it comes to regrowth, not all microgreens are created equal. While some, like pea shoots and certain herbs, have the potential to regrow after cutting, others, such as sunflower shoots, do not. Even when regrowth occurs, the nutrient density isn’t as high as the first harvest. The initial burst of nutrition is drawn from the seed itself, meaning subsequent growths won’t be as potent. My advice? Don’t rely on regrowth; grow a fresh batch instead! Starting anew gives you the opportunity to experiment with different varieties and ensures you’re getting the full nutritional benefits.
With Amelia Island Microgreens’ seed subscription, you can enjoy a diverse and delicious selection without compromising on nutrient density.
Harvesting Techniques: Focus on the First Cut
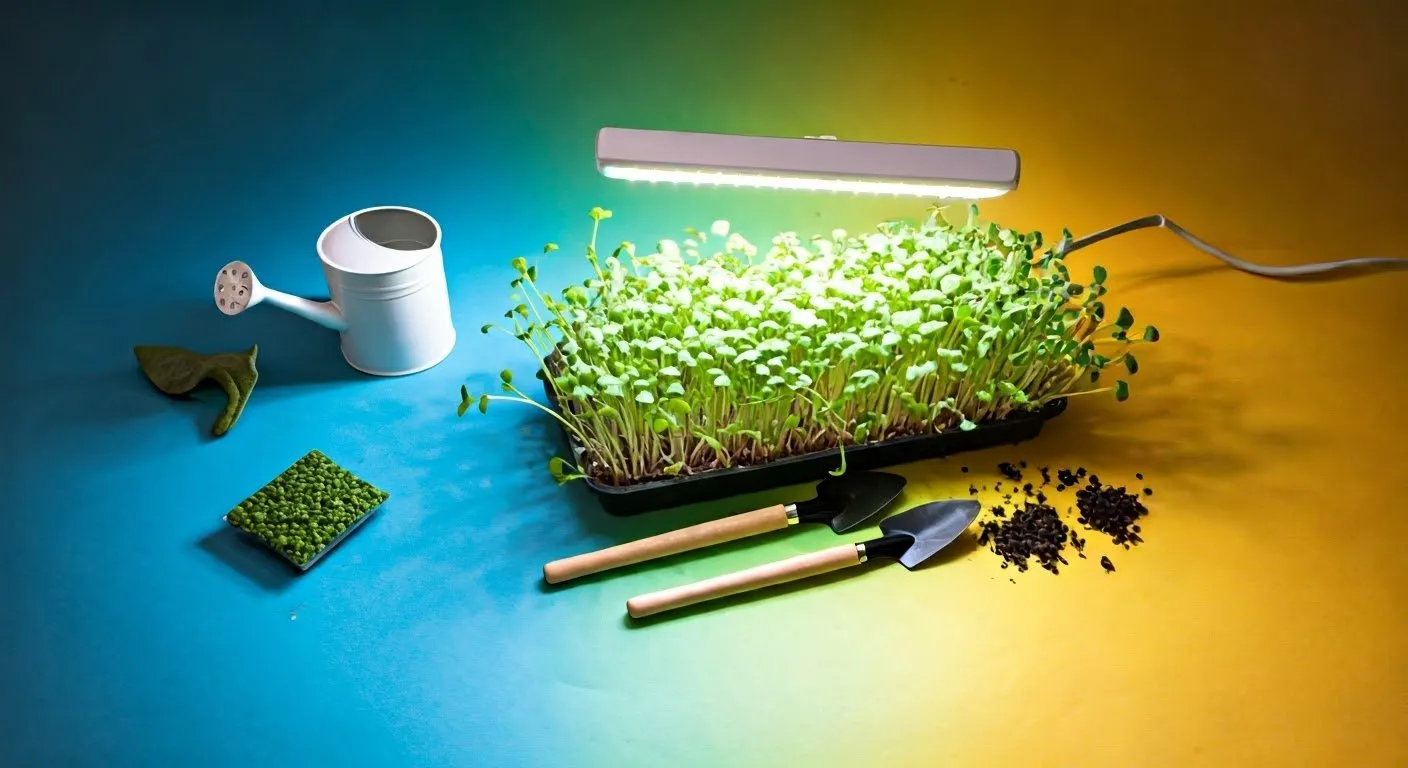
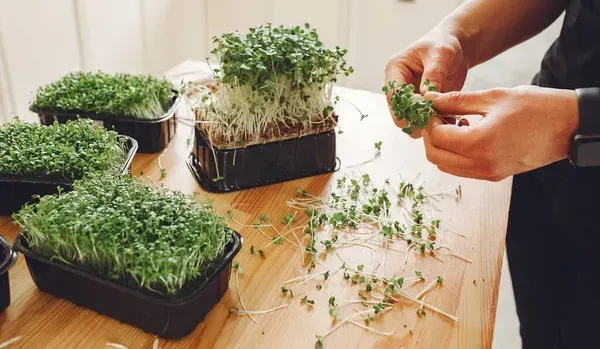
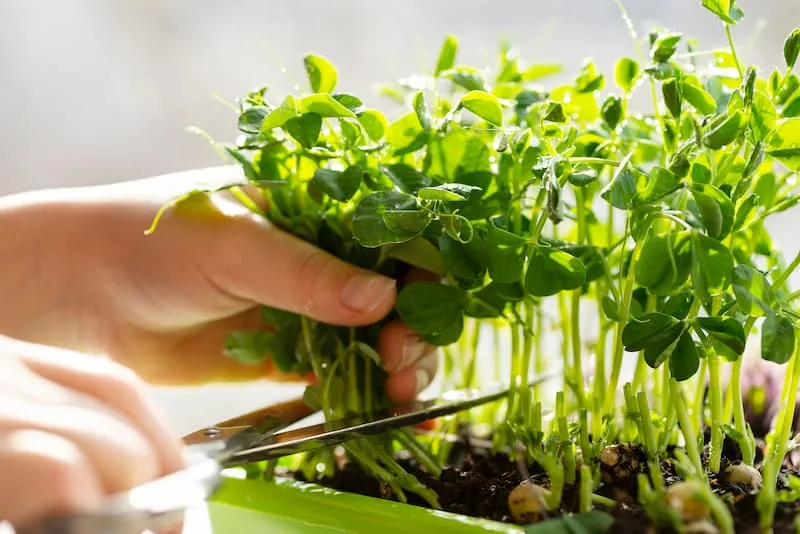
When it’s time to harvest, technique is everything. Grab some clean, sharp scissors or a knife and cut your microgreens just above the soil line. Using clean, sharp tools is crucial—not only does it make the process easier, but it also helps ensure a clean cut, which is important if you're aiming for a second harvest. However, because the first harvest is where the highest nutrient density is found, it’s often more beneficial to maximize this initial cut rather than hoping for a lesser second growth.
Why Regrowth Isn’t Always the Best Option
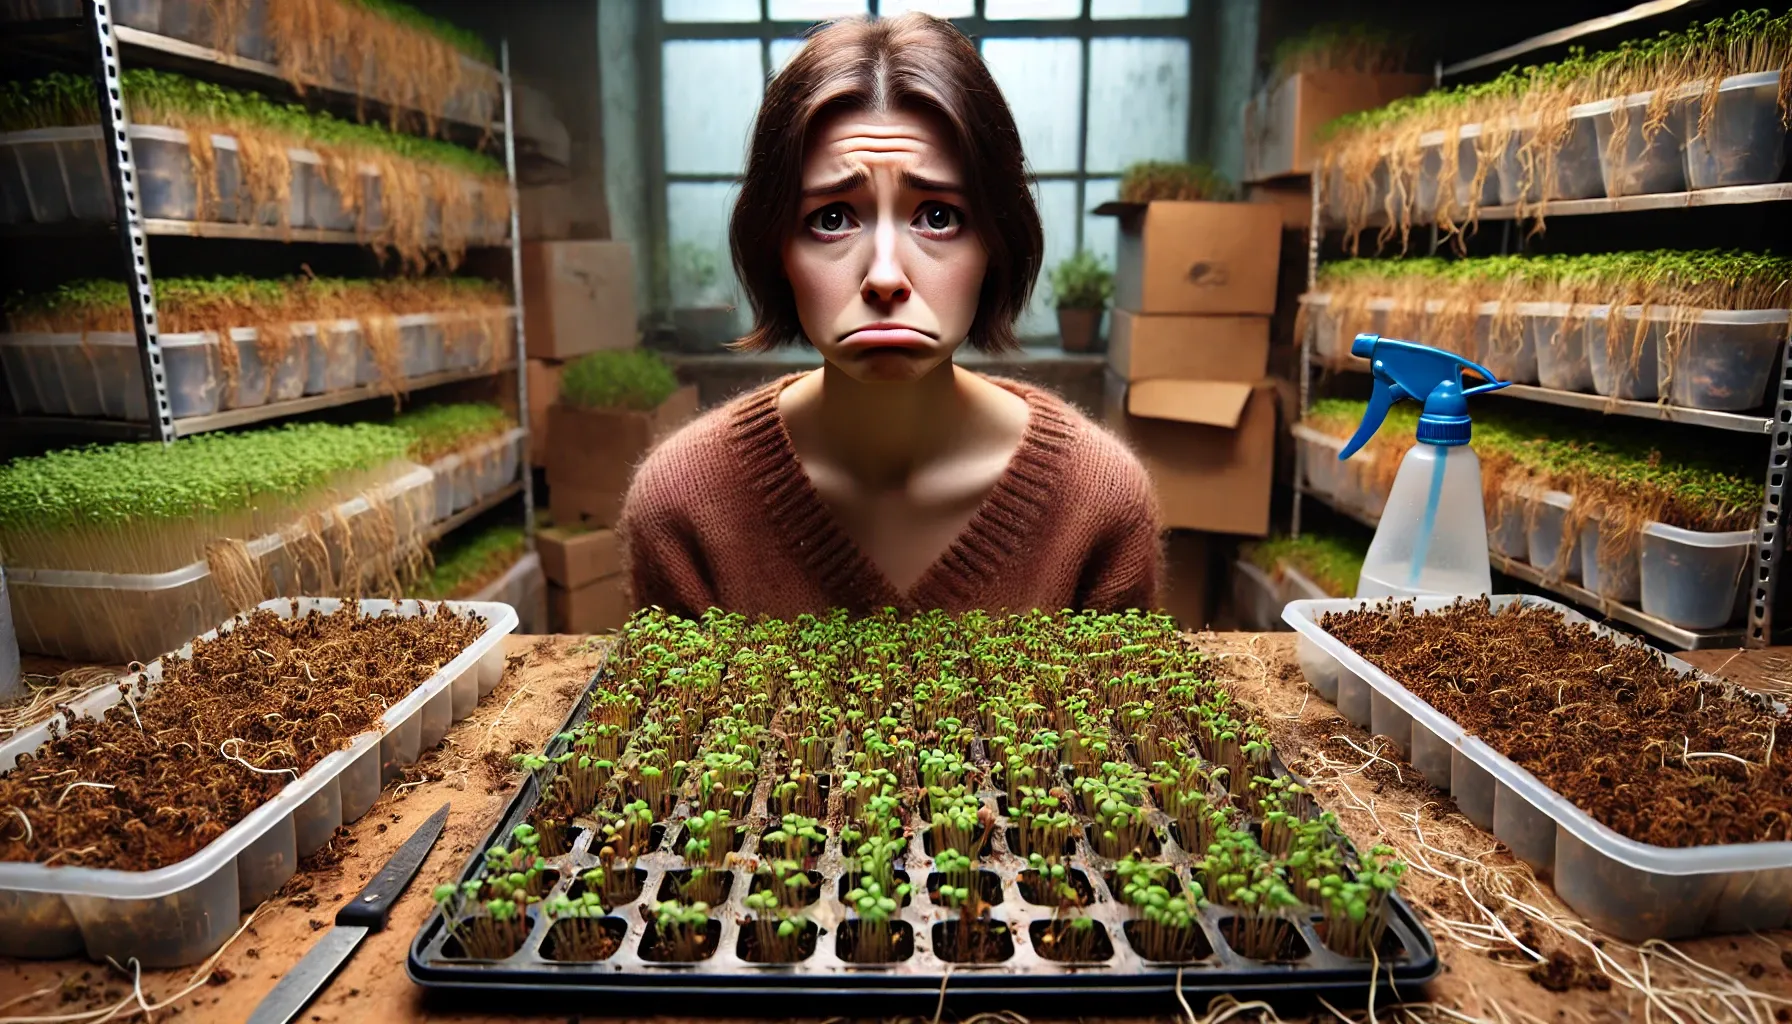
Regrowth might seem like a great idea at first, but it comes with significant drawbacks. As mentioned, the second growth is less nutrient-dense, and the plant's energy is more depleted after the first harvest. Additionally, regrowth requires ideal environmental conditions to thrive, which can be challenging to maintain consistently.
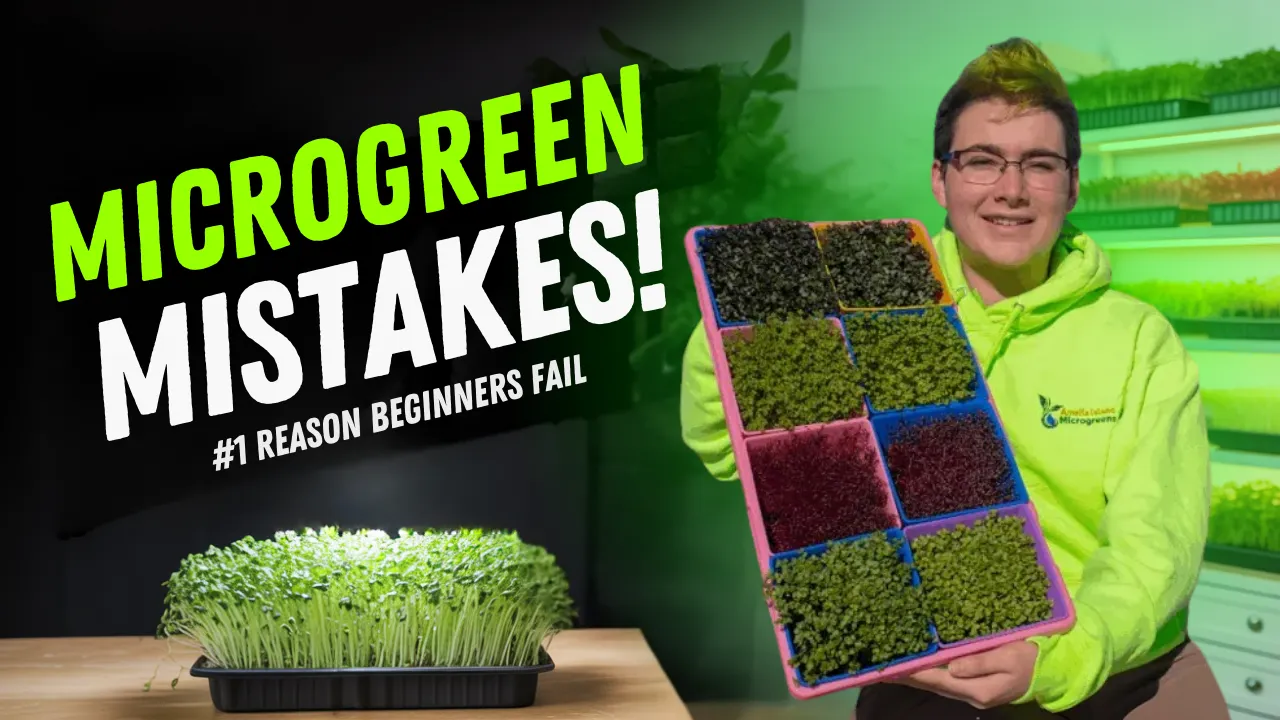
Ensuring your microgreens have adequate light, water, and nutrients is crucial, but the best way to guarantee a high-quality, nutrient-rich supply is to plant a new batch. For detailed tips on optimizing your microgreen environment, check out my video, 5 Mistakes Beginners Must Avoid When Growing Microgreens.
Replanting for a Continuous Supply
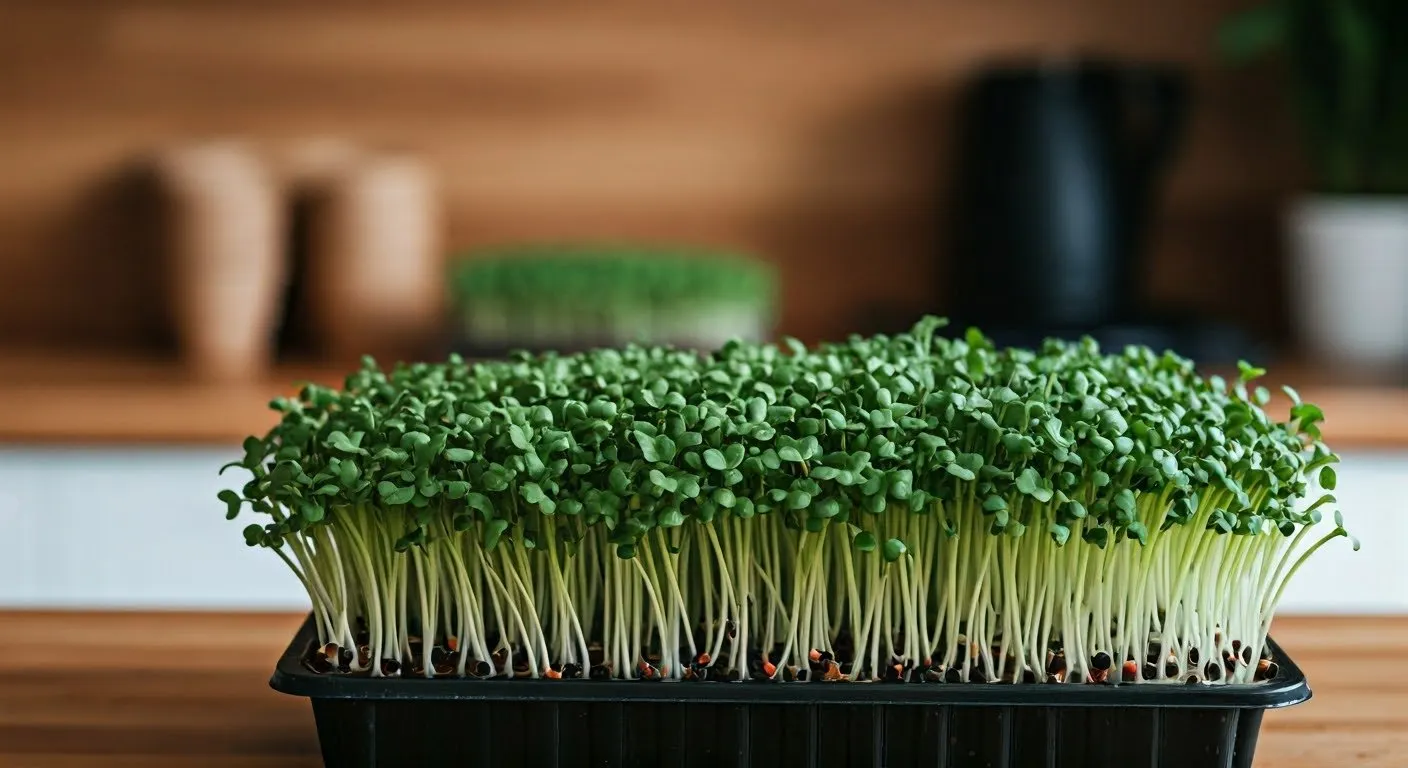
One of the best strategies for ensuring a constant supply of microgreens is replanting. By keeping two trays in rotation—one to eat from and one newly planted—you can enjoy fresh greens every day. This simple system will keep your kitchen stocked with nutritious microgreens all year long without the downsides of trying to regrow a depleted crop.
By following these steps, you’ll not only ensure your microgreens thrive, but also maximize the nutritional benefits by focusing on fresh, new growth!
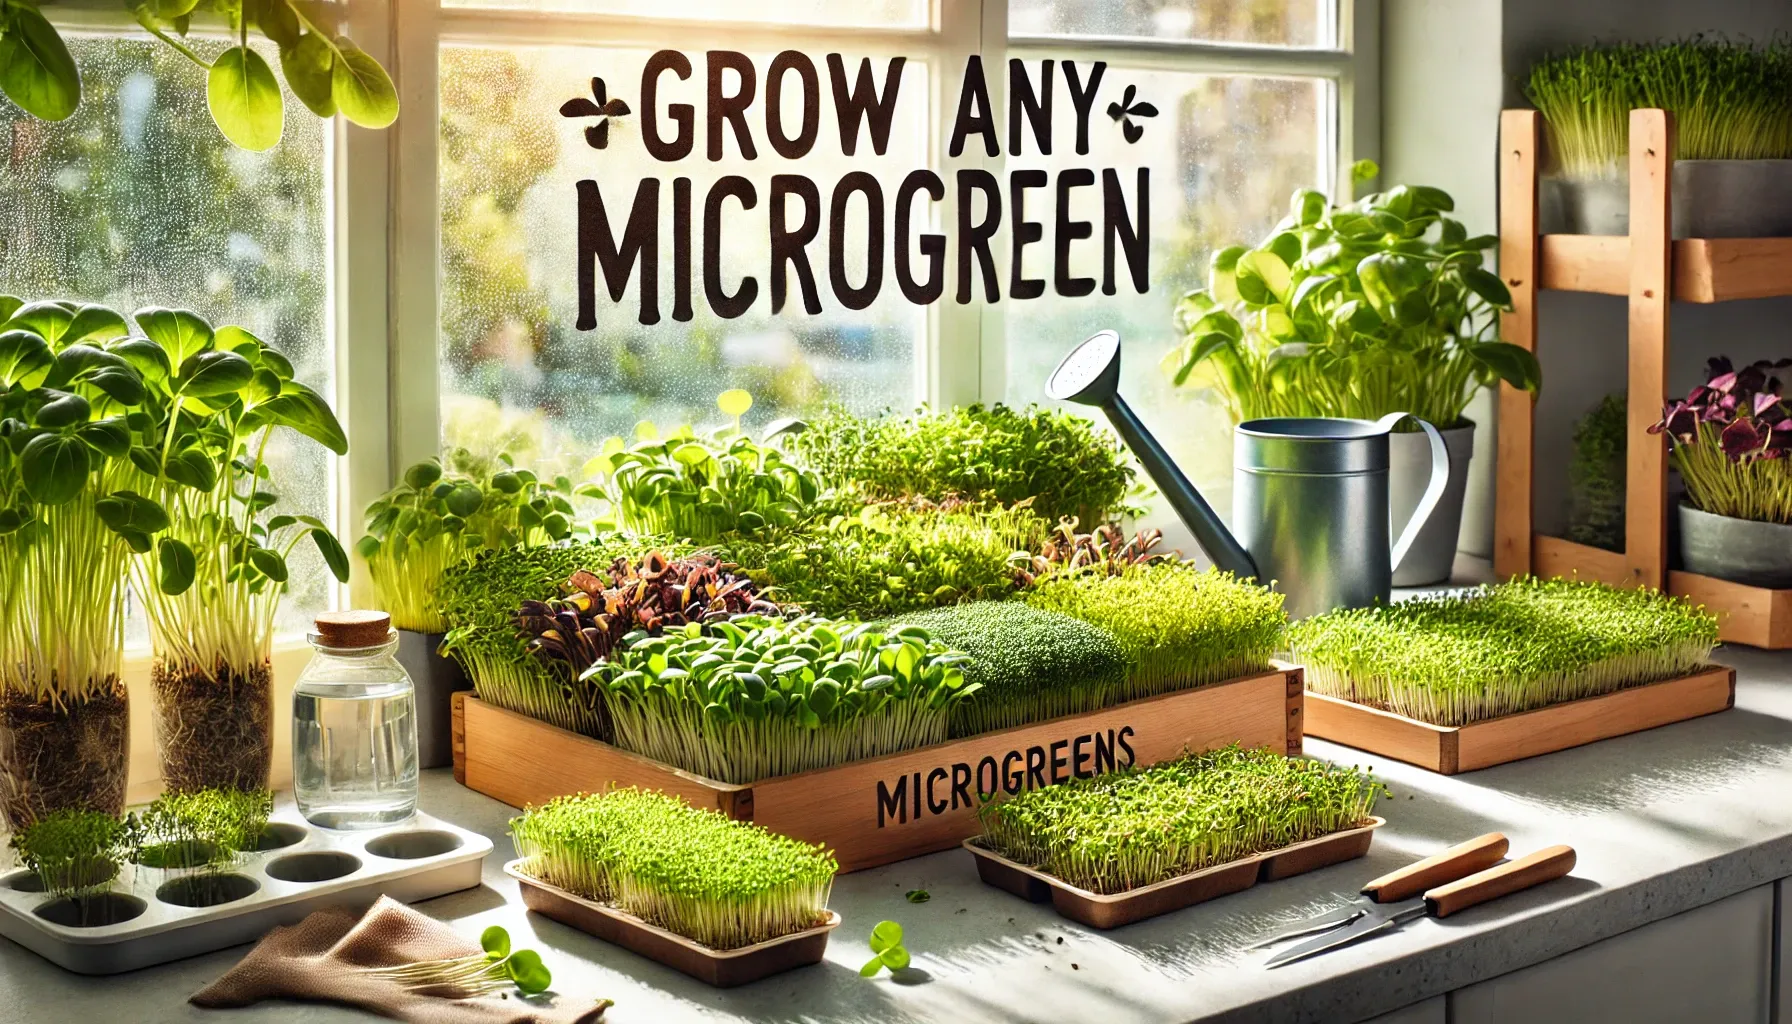
If you’re excited about the idea of growing fresh, nutrient-packed microgreens at home, but unsure where to start, our Microgreens Starter Kit is the perfect solution. Designed for beginners and seasoned growers alike, this kit includes everything you need to cultivate a vibrant, healthy crop of microgreens in just a few days. With easy-to-follow instructions and all the essentials provided, you can enjoy the satisfaction of growing your own superfoods right on your kitchen counter. Plus, with our seed subscription, you’ll always have a fresh variety of microgreens to experiment with. It’s never been easier to add a burst of flavor and nutrition to your meals!
Post-Harvest Care: Don’t Let Mold Ruin Your Greens
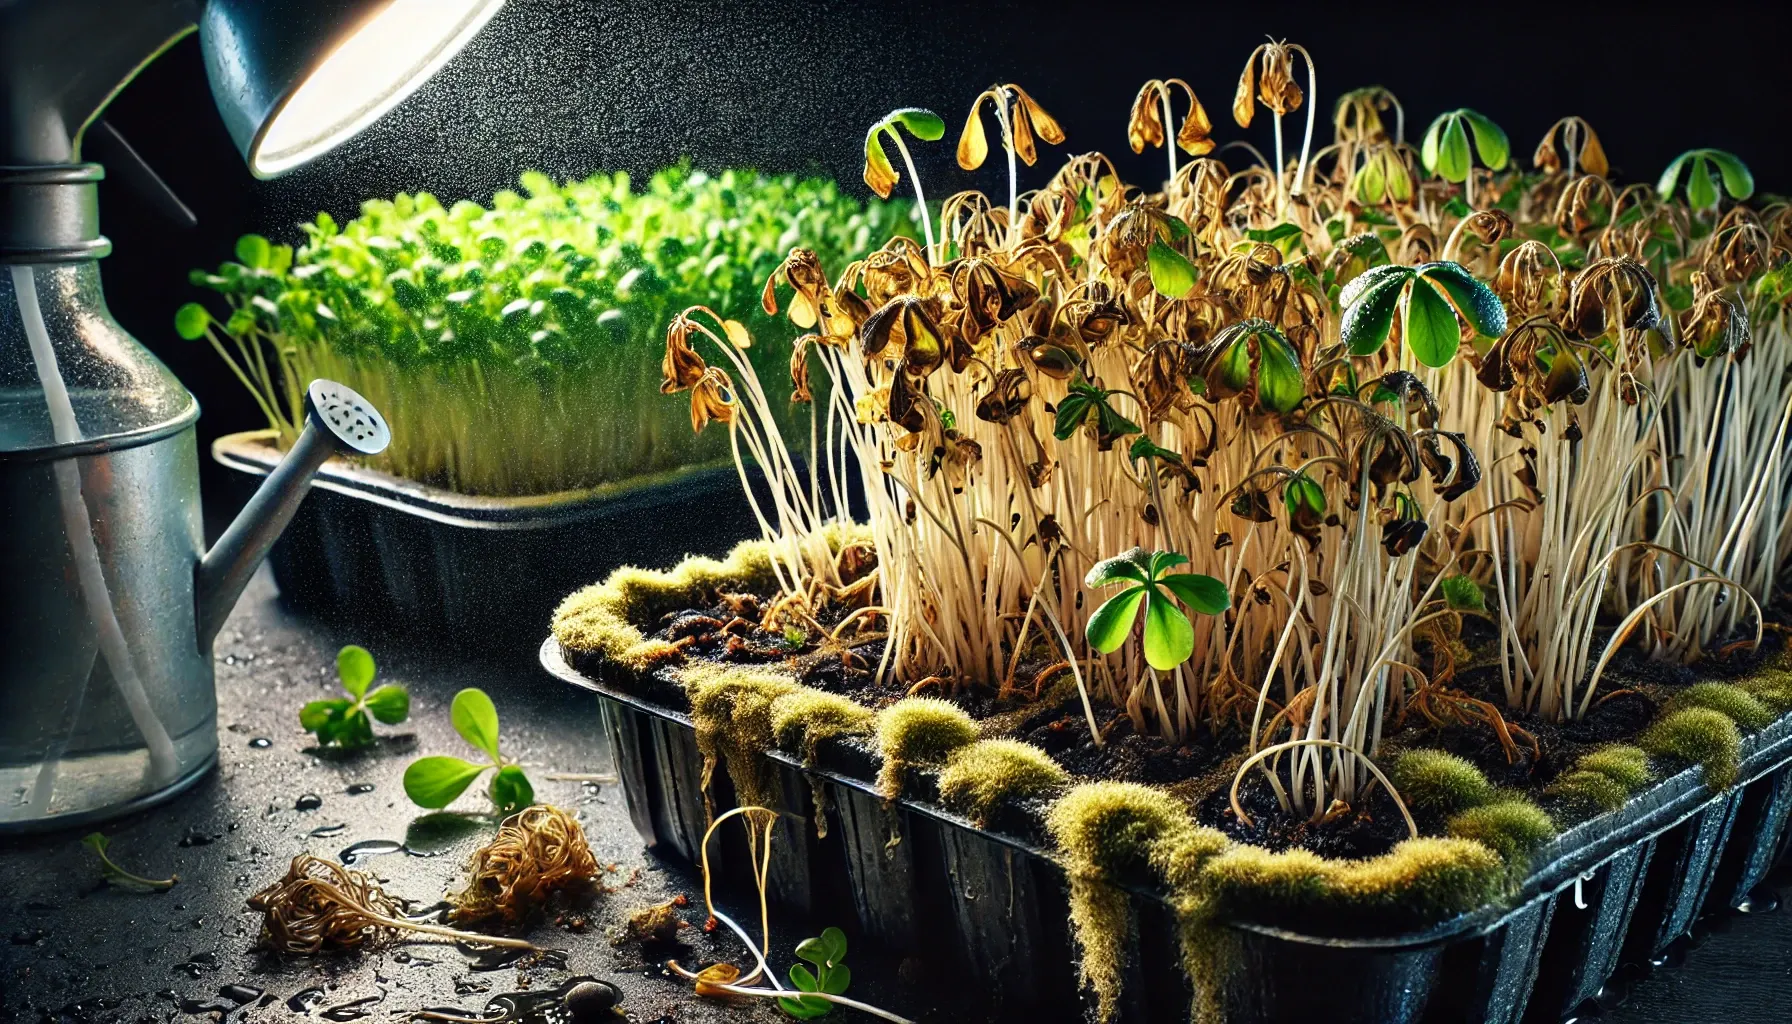
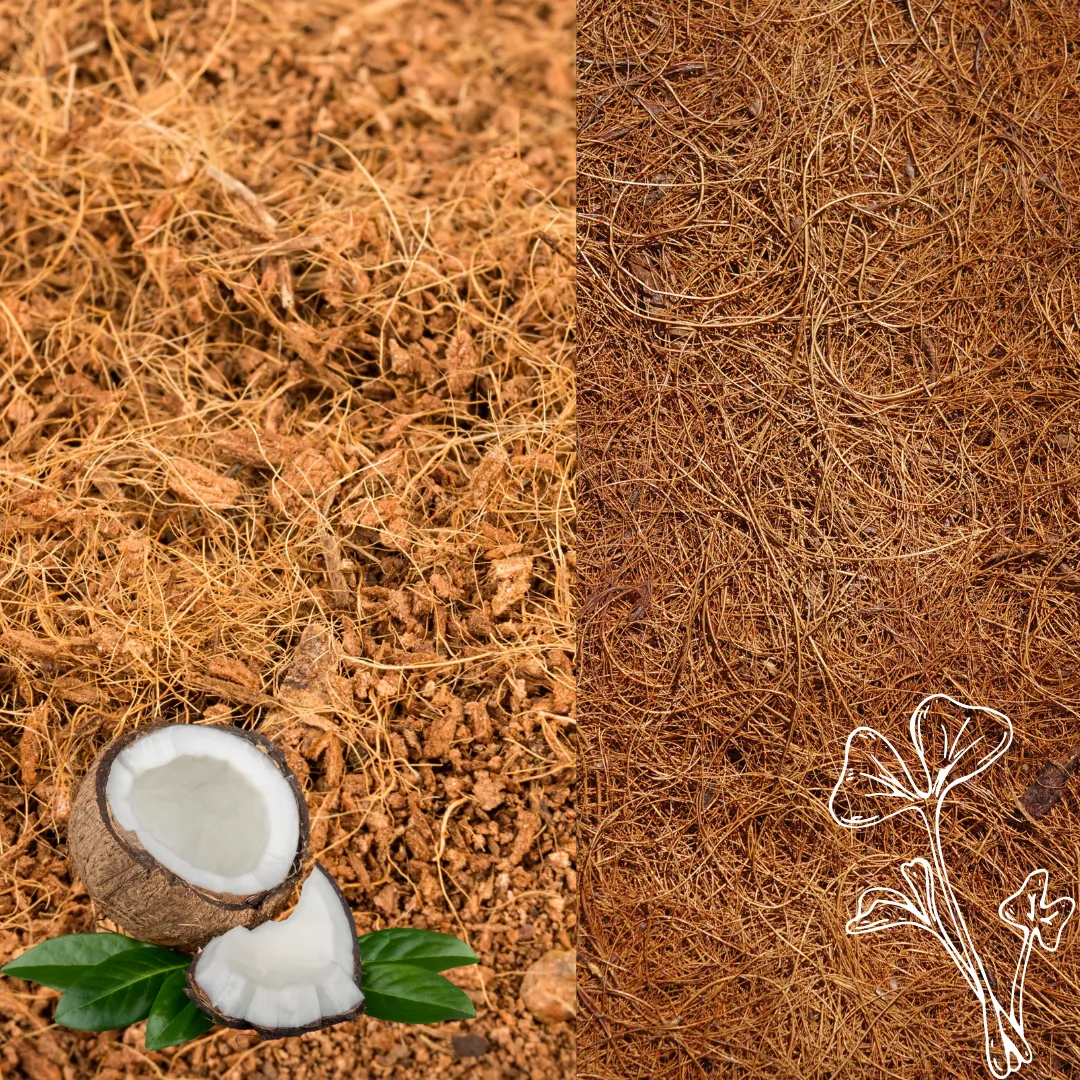
After harvesting, it’s important to clean up. Remove any debris from the soil surface to prevent mold. At Amelia Island Microgreens, we use coco coir, a sterilized coconut husk, which is perfect for growing microgreens. While it's safe if ingested, it doesn't taste great, so it’s best to avoid it.
Store your freshly cut microgreens in a container with a dry paper towel to keep them fresher longer and reduce the risk of mold. Rather than regrowing in the same soil, consider replanting in a fresh tray to avoid potential mold issues and ensure the highest quality greens.
The Secret Tip You’ve Been Waiting For
Remember that game-changing tip I teased earlier? Here it is: Do not water your microgreens for at least 6 hours before harvesting. This simple step can make all the difference in your harvesting experience, giving you cleaner cuts and longer-lasting greens.
How Long Will Microgreens Last After Harvesting?
Now that you know why it's best to avoid regrowth, you might be wondering: How long will my freshly harvested microgreens last? I’ve got all the answers in my next blog post—be sure to check it out!
Let’s Grow Together!
If you’ve found these tips helpful, give this post a thumbs up, and don’t forget to subscribe to my channel for more microgreen magic! Want to dive deeper into the world of microgreens? Join our free 10-part email series and learn all my secrets from over a decade of growing experience. Head over to AmeliaIslandMicrogreens.com/101 or click the link in the description to get started!
What’s your biggest challenge in growing microgreens?
Share your thoughts in the comments below! Your insights might just help someone else on their microgreen journey, and I’ll be there to respond to every comment. Let's build a thriving microgreen community together!


