Microgreens at Home: Why They’re Dying and How to Fix It Fast
Microgreens at Home: Why They’re Dying and How to Fix It Fast
Mar 07, 2025
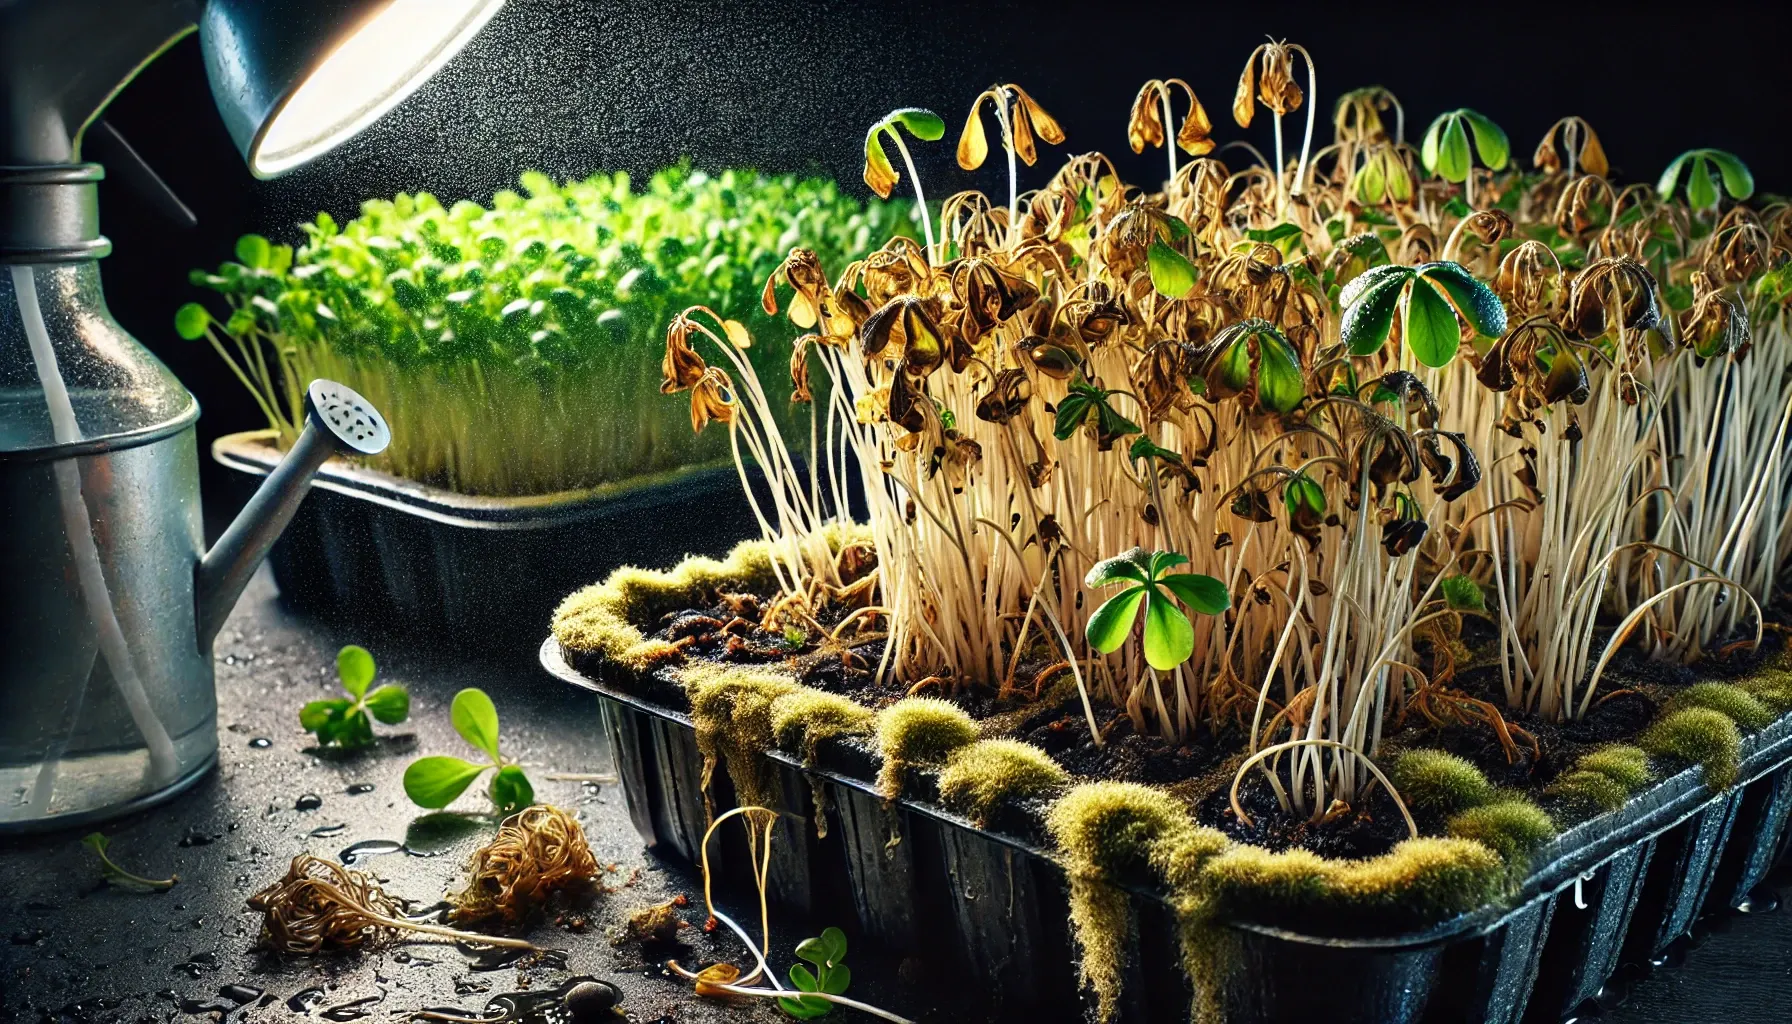
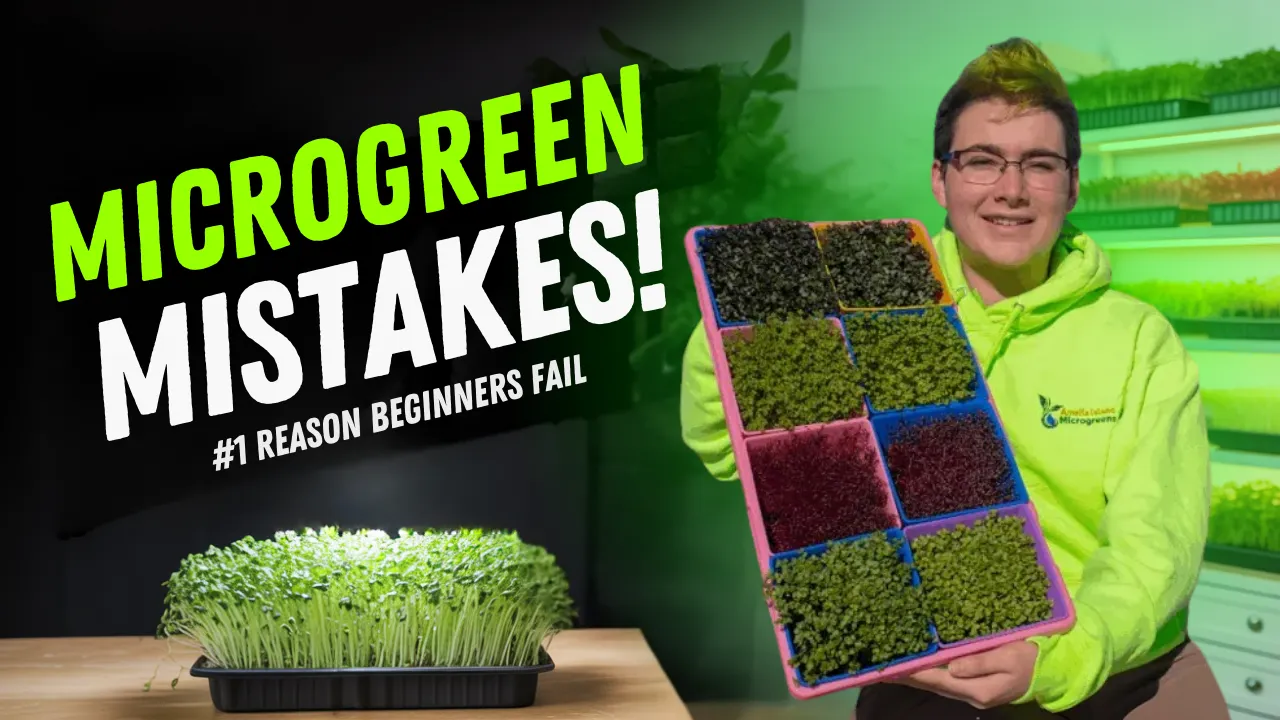
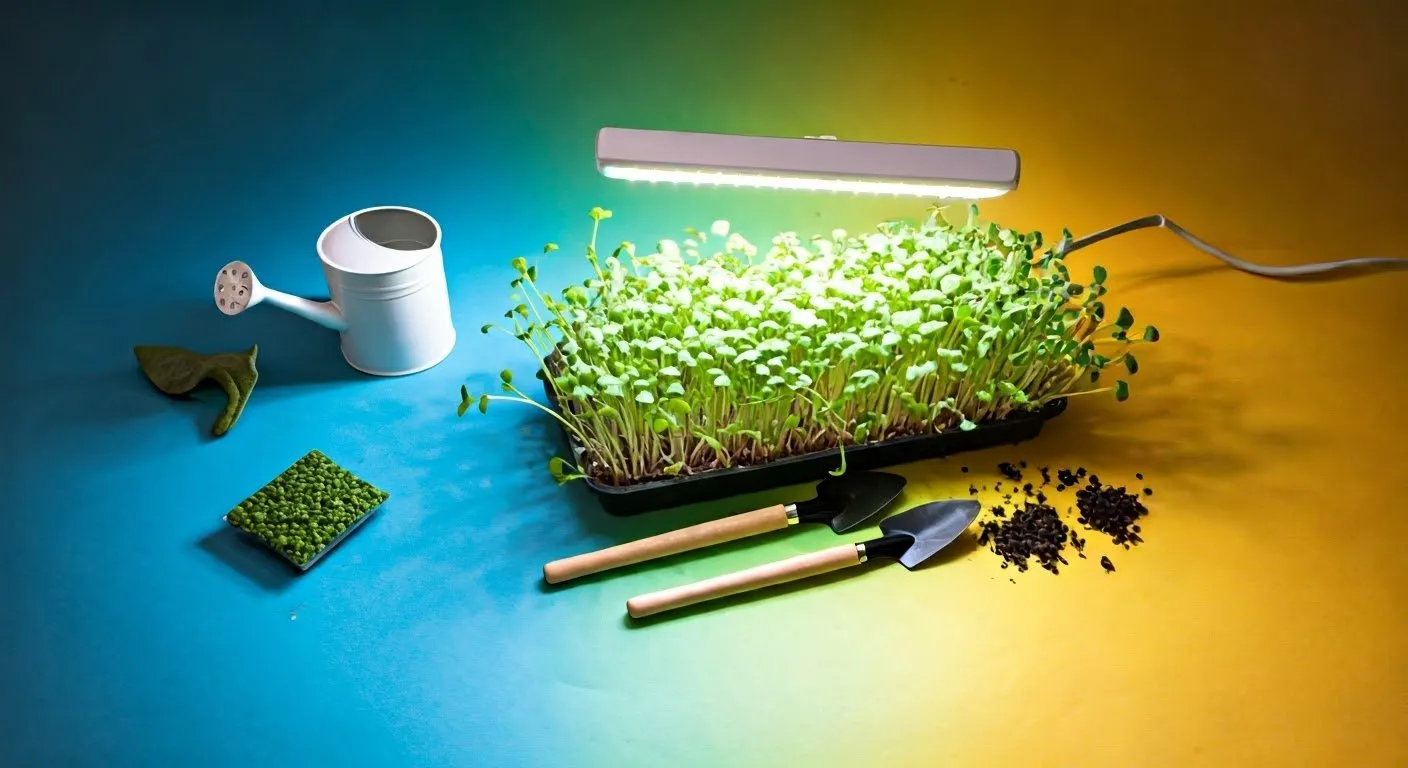
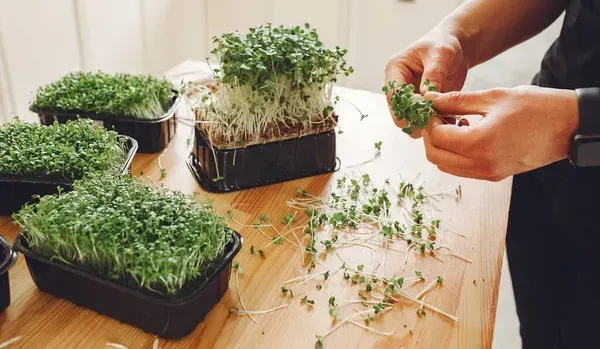
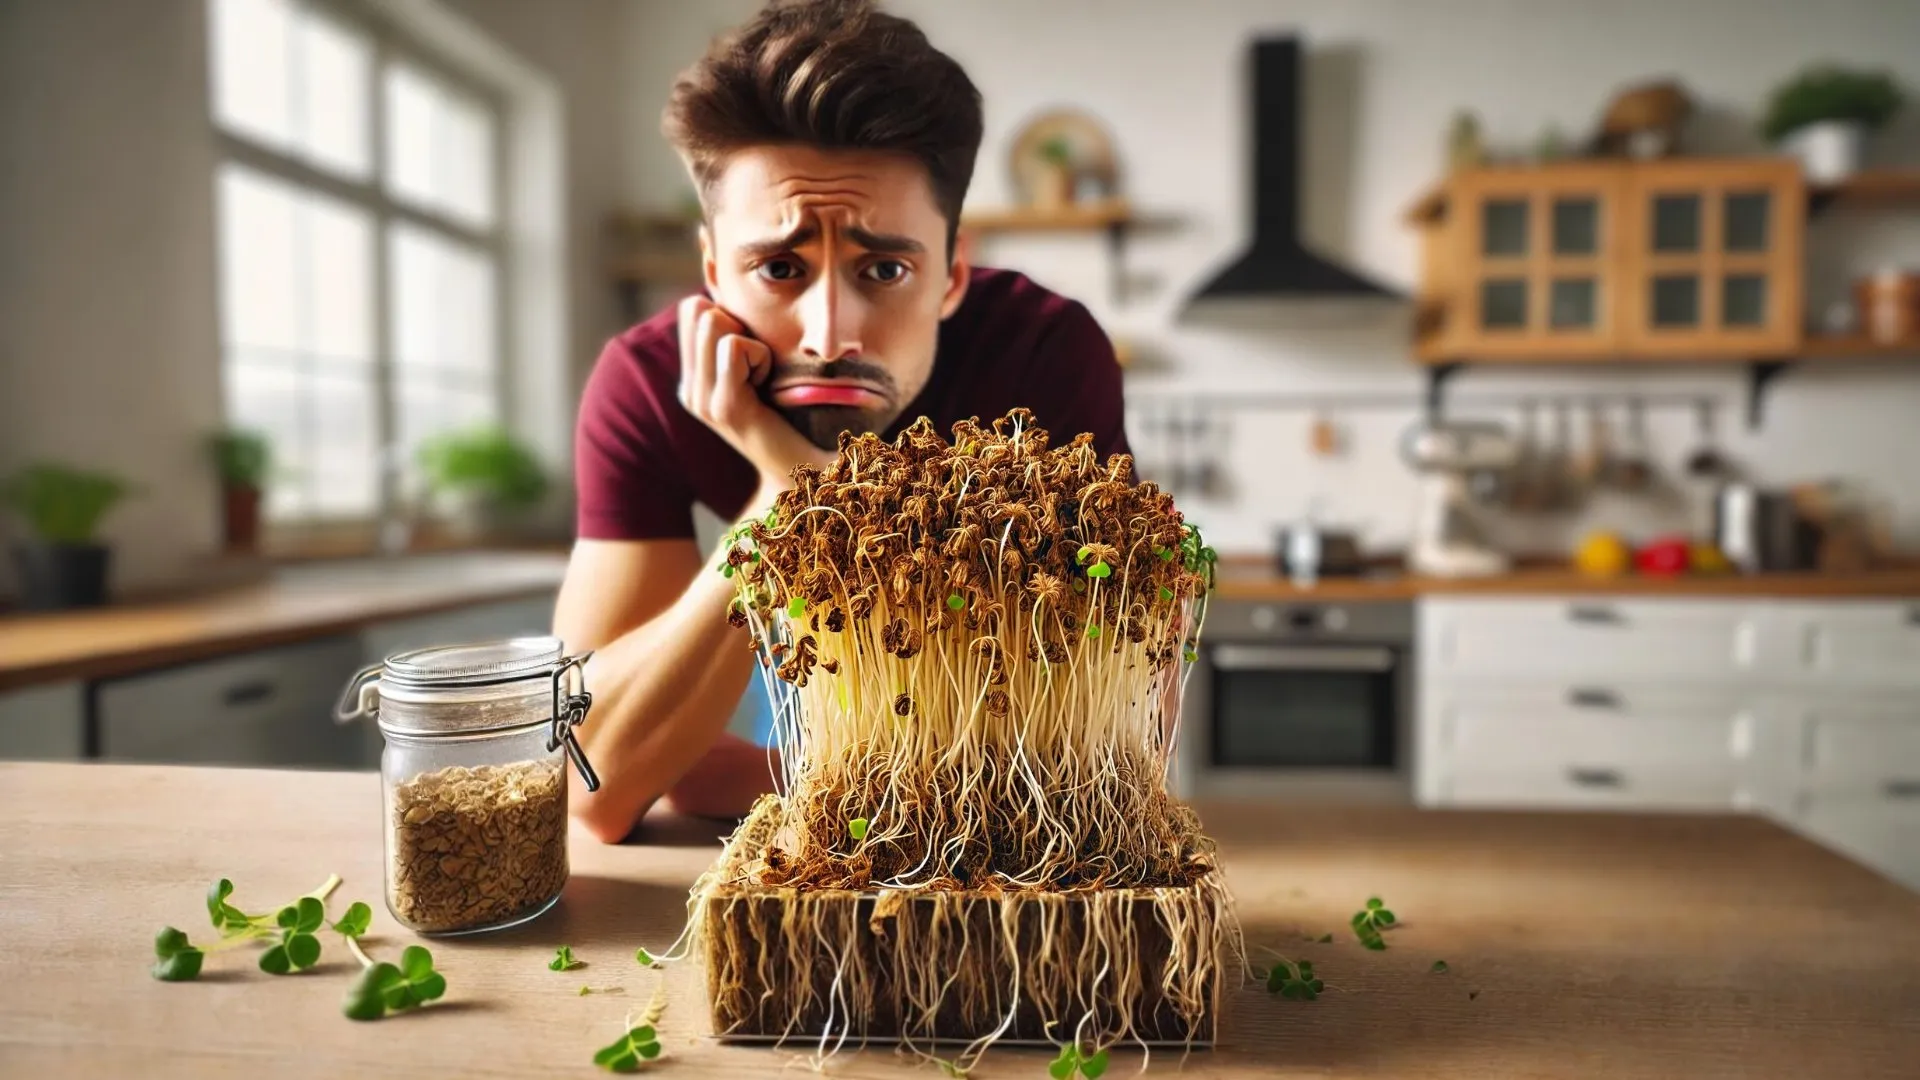
Growing microgreens at home is a fun and rewarding way to produce fresh, nutrient-packed greens. But if your microgreens are turning yellow, growing weak, or developing mold, don’t worry—you’re not alone! Many beginners face these common problems, but with a few simple fixes, you can grow healthy, vibrant microgreens every time.
In this guide, we’ll cover the most common mistakes and how to avoid them so you can master the art of growing microgreens at home.
👉 Want to become a microgreens pro? Check out the Microgreens 101 Masterclass at ameliaislandmicrogreens.com/101 for step-by-step guidance!
Have you faced any challenges while growing microgreens at home? Let us know in the comments! 🌱✨
1. Not Enough Light
One of the biggest reasons microgreens struggle is a lack of proper lighting. Without enough light, your greens will become leggy and weak instead of lush and compact.
How to Fix It:
- Place your microgreens near a bright window for natural light.
- If sunlight isn’t enough, use LED grow lights for 12–16 hours a day.
- Avoid direct harsh sunlight, which can dry out your greens too quickly.
2. Overwatering (or Underwatering)
Watering mistakes can quickly ruin your microgreens. Too much water leads to mold and root rot, while too little causes stunted growth.
How to Fix It:
- Use a two-tier microgreen tray—water from the bottom tray to prevent mold.
- Keep the soil moist, not soggy. If you see standing water, drain the excess.
- Avoid splashing water on the leaves to prevent fungal growth.

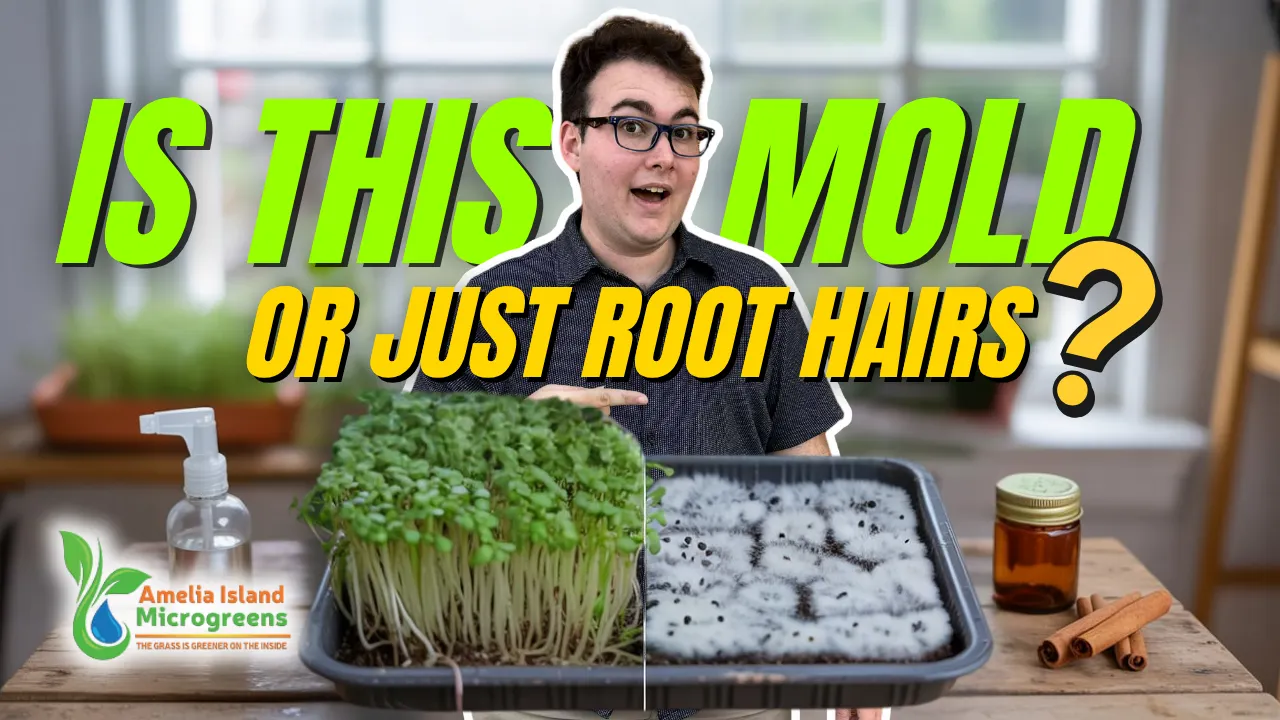
3. Poor Air Circulation & High Humidity
Mold and fungus love warm, humid conditions. If your microgreens at home are developing white fuzz, poor airflow is likely the culprit.
How to Fix It:
- Grow microgreens in a cool, dry place (ideal temp: 65°F–75°F).
- Use a small fan to keep air moving and prevent mold growth.
- Sprinkle cinnamon on the soil—it’s a natural antifungal!

4. Using the Wrong Soil
Not all soil is good for microgreens. Heavy, compact soil retains too much moisture, increasing the risk of mold.
Best Growing Mediums for Microgreens at Home:
- Coco coir – Expands 8x, holds moisture well, and prevents mold.
- Hemp or jute mats – Work well but may dry out quickly.
Pro Tip: Coco coir changes color when dry—when it turns light brown, it’s time to water!

5. Using Low-Quality Seeds
Good seeds = good microgreens. If your seeds have low germination rates, they won’t grow well—no matter how perfect your setup is.
How to Fix It:
- Buy pathogen-tested seeds to ensure food safety and high germination rates.
- Store seeds in a cool, dark place to extend their shelf life.

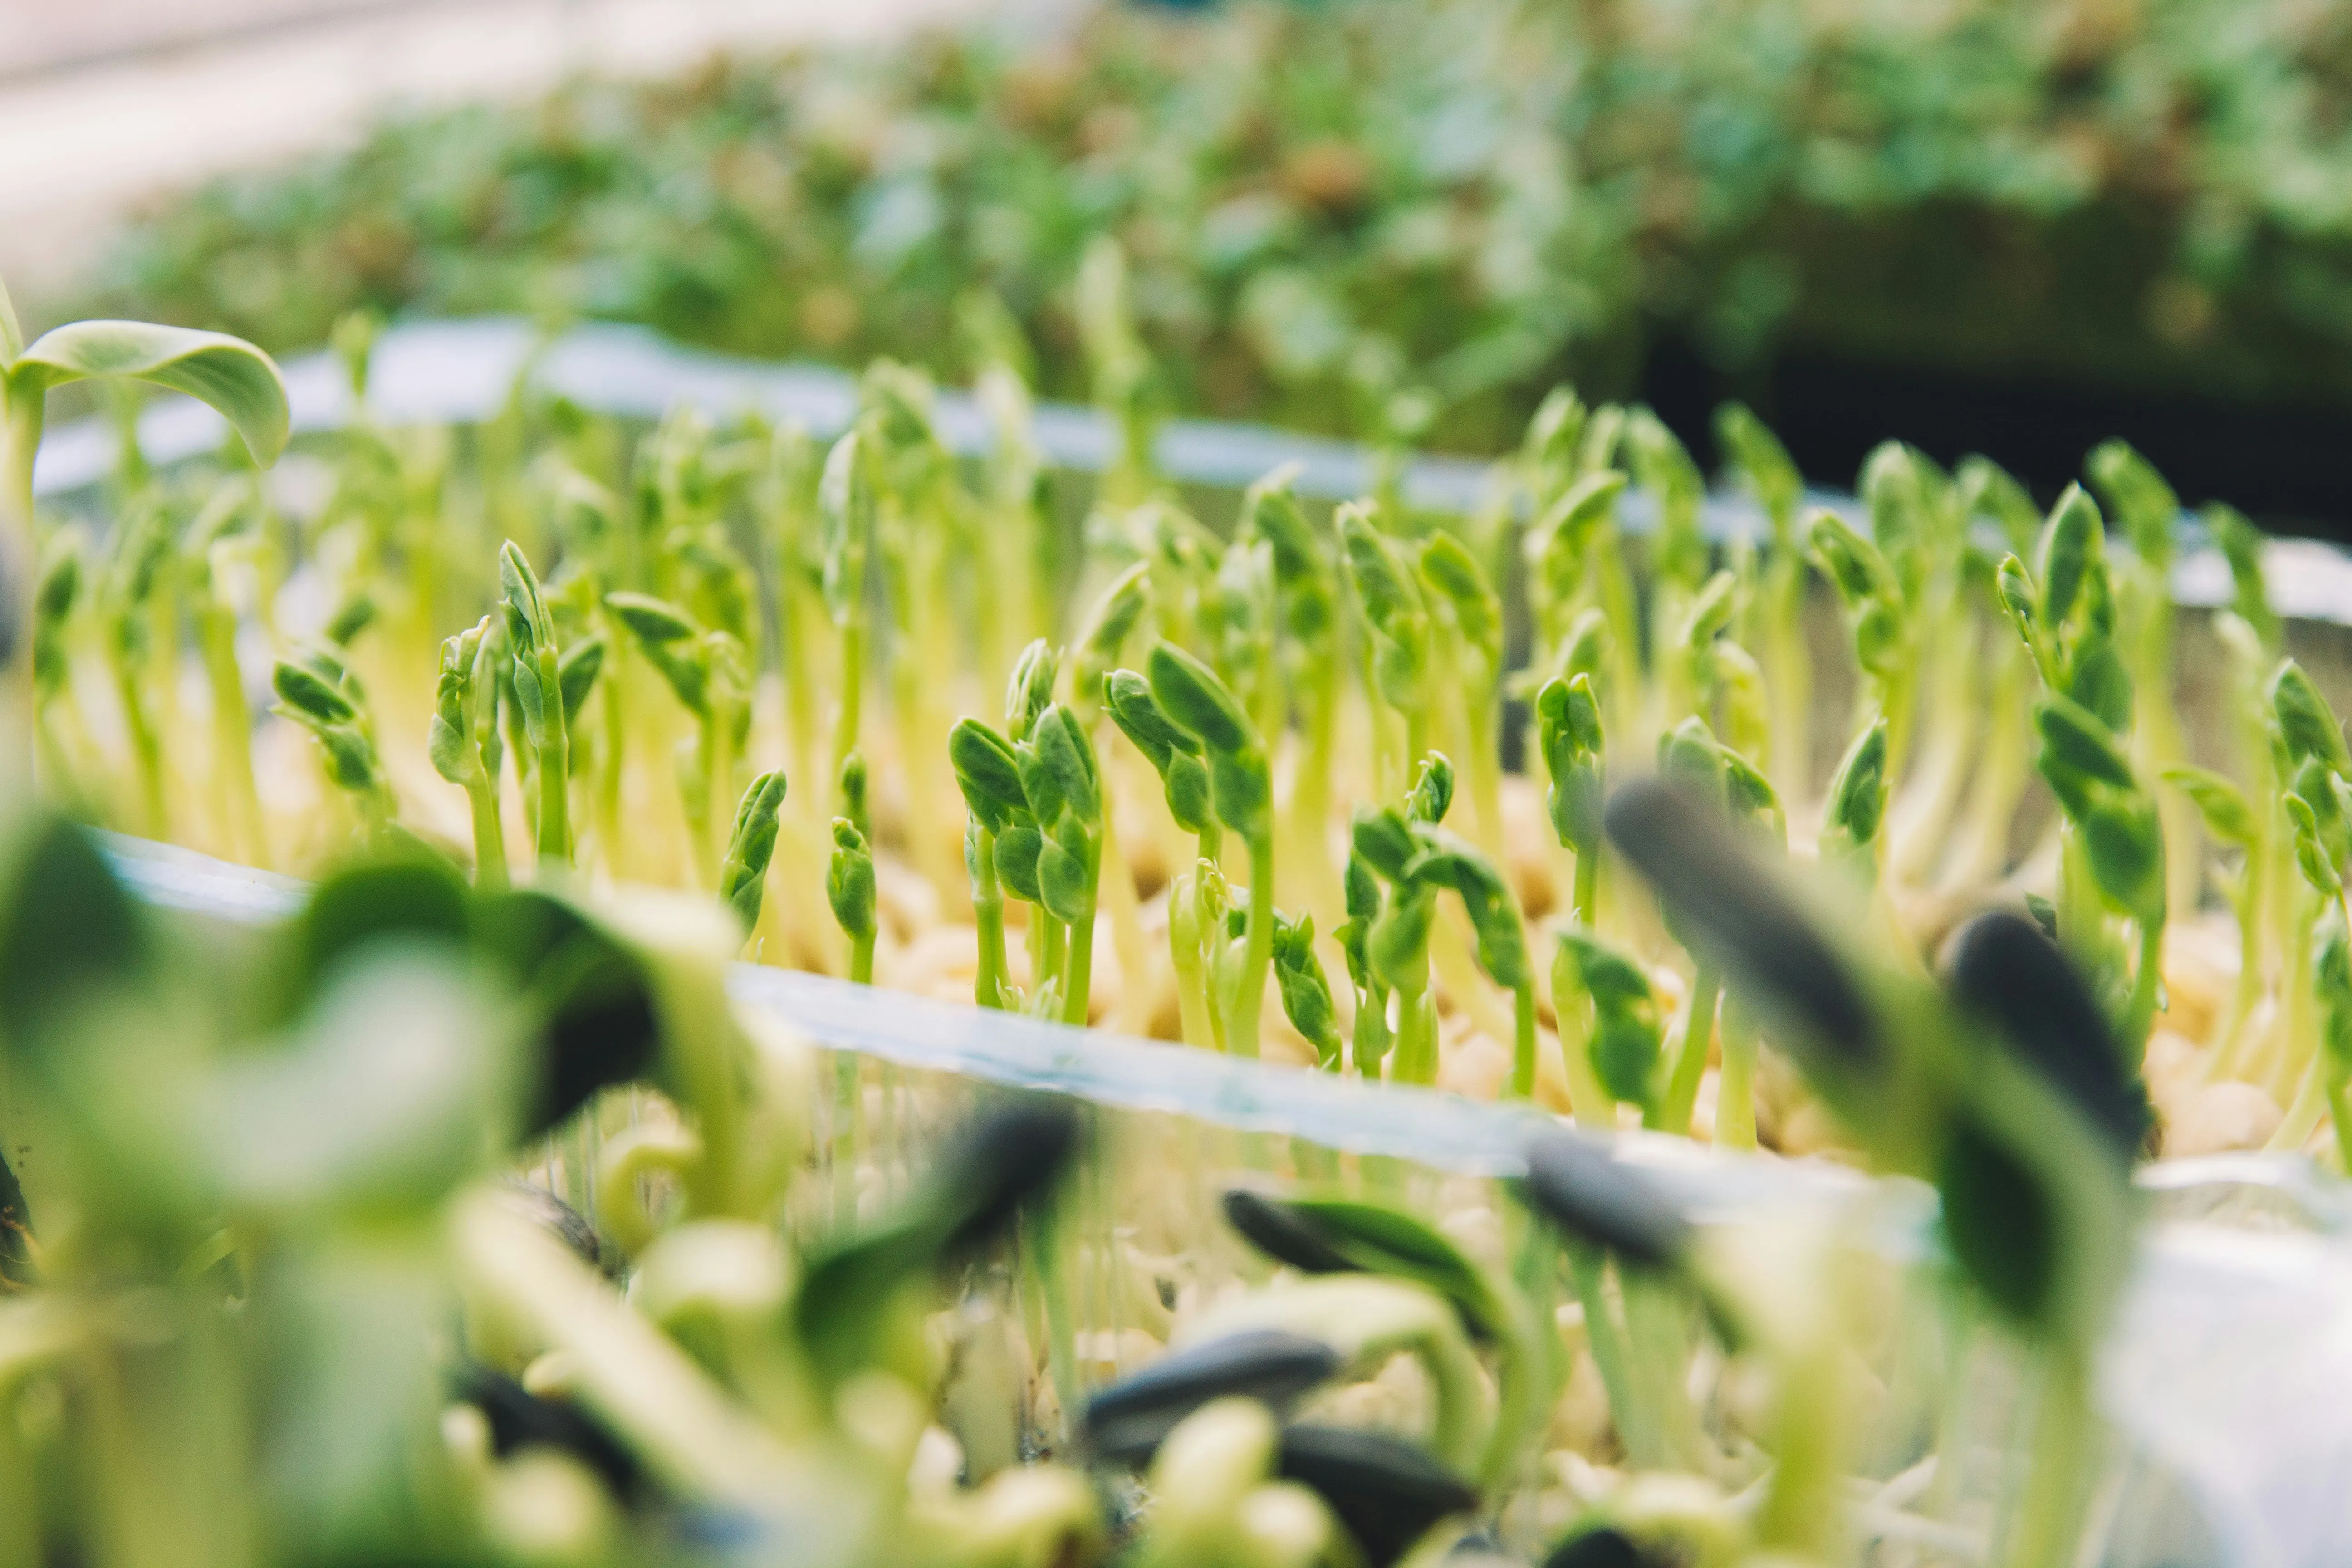
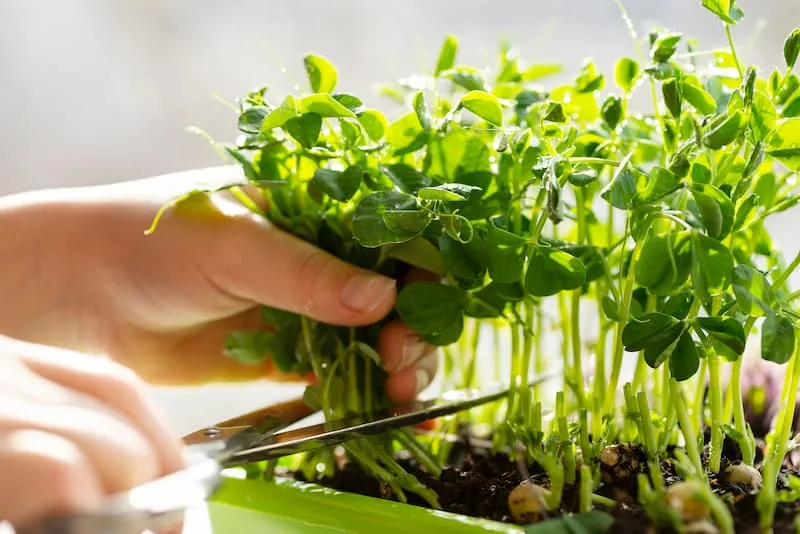
6. Not Soaking Large Seeds
Some seeds—like sunflowers and peas—need extra prep before planting.
How to Fix It:
- Soak large seeds in water for 6–12 hours before planting.
- This softens the seed coat, helping them germinate faster.

Final Thoughts: Mastering Microgreens at Home
The secret to growing microgreens at home successfully? Master the basics: light, water, air circulation, soil, and seed quality. Once you get these right, you’ll have a steady supply of fresh, delicious microgreens!
👉 Want to become a microgreens pro? Check out the Microgreens 101 Masterclass at ameliaislandmicrogreens.com/101 for step-by-step guidance!
Have you faced any challenges while growing microgreens at home? Let us know in the comments! 🌱✨