The Ultimate Step-by-Step Guide to Growing Microgreens at Home
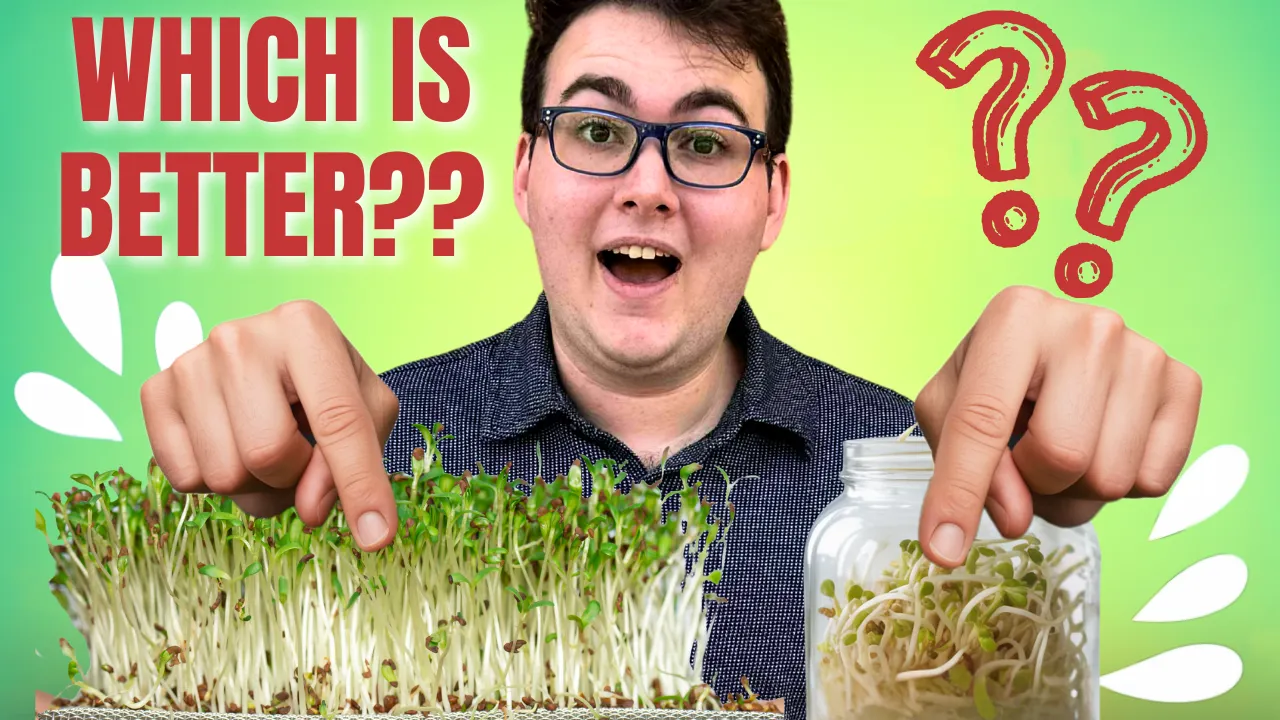
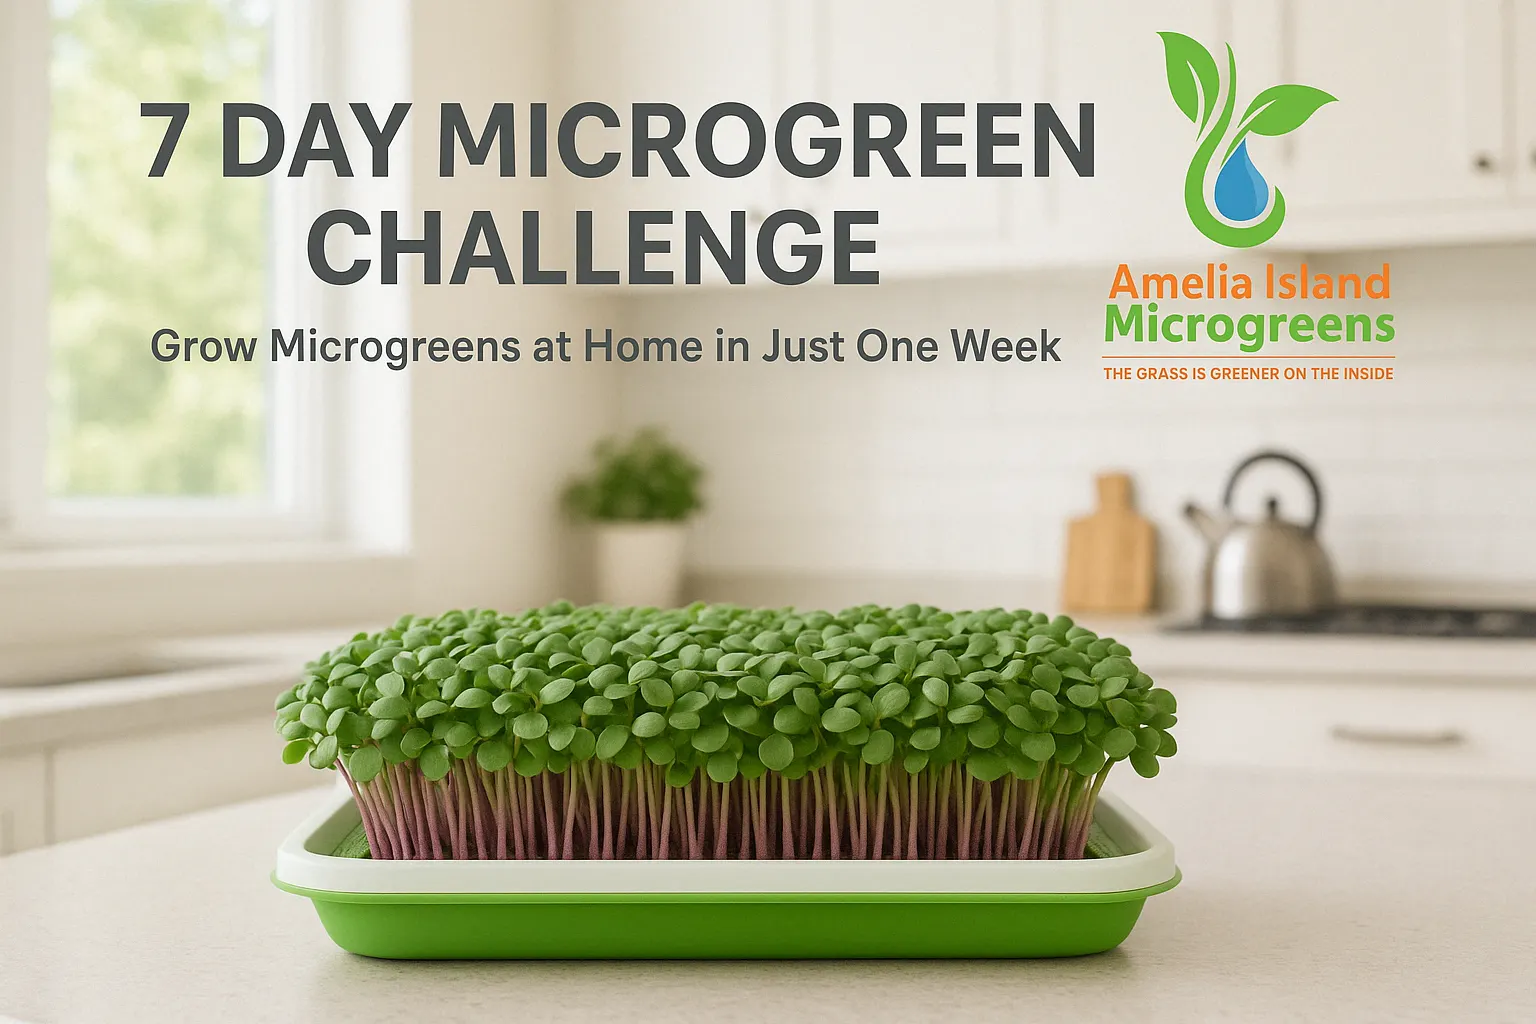
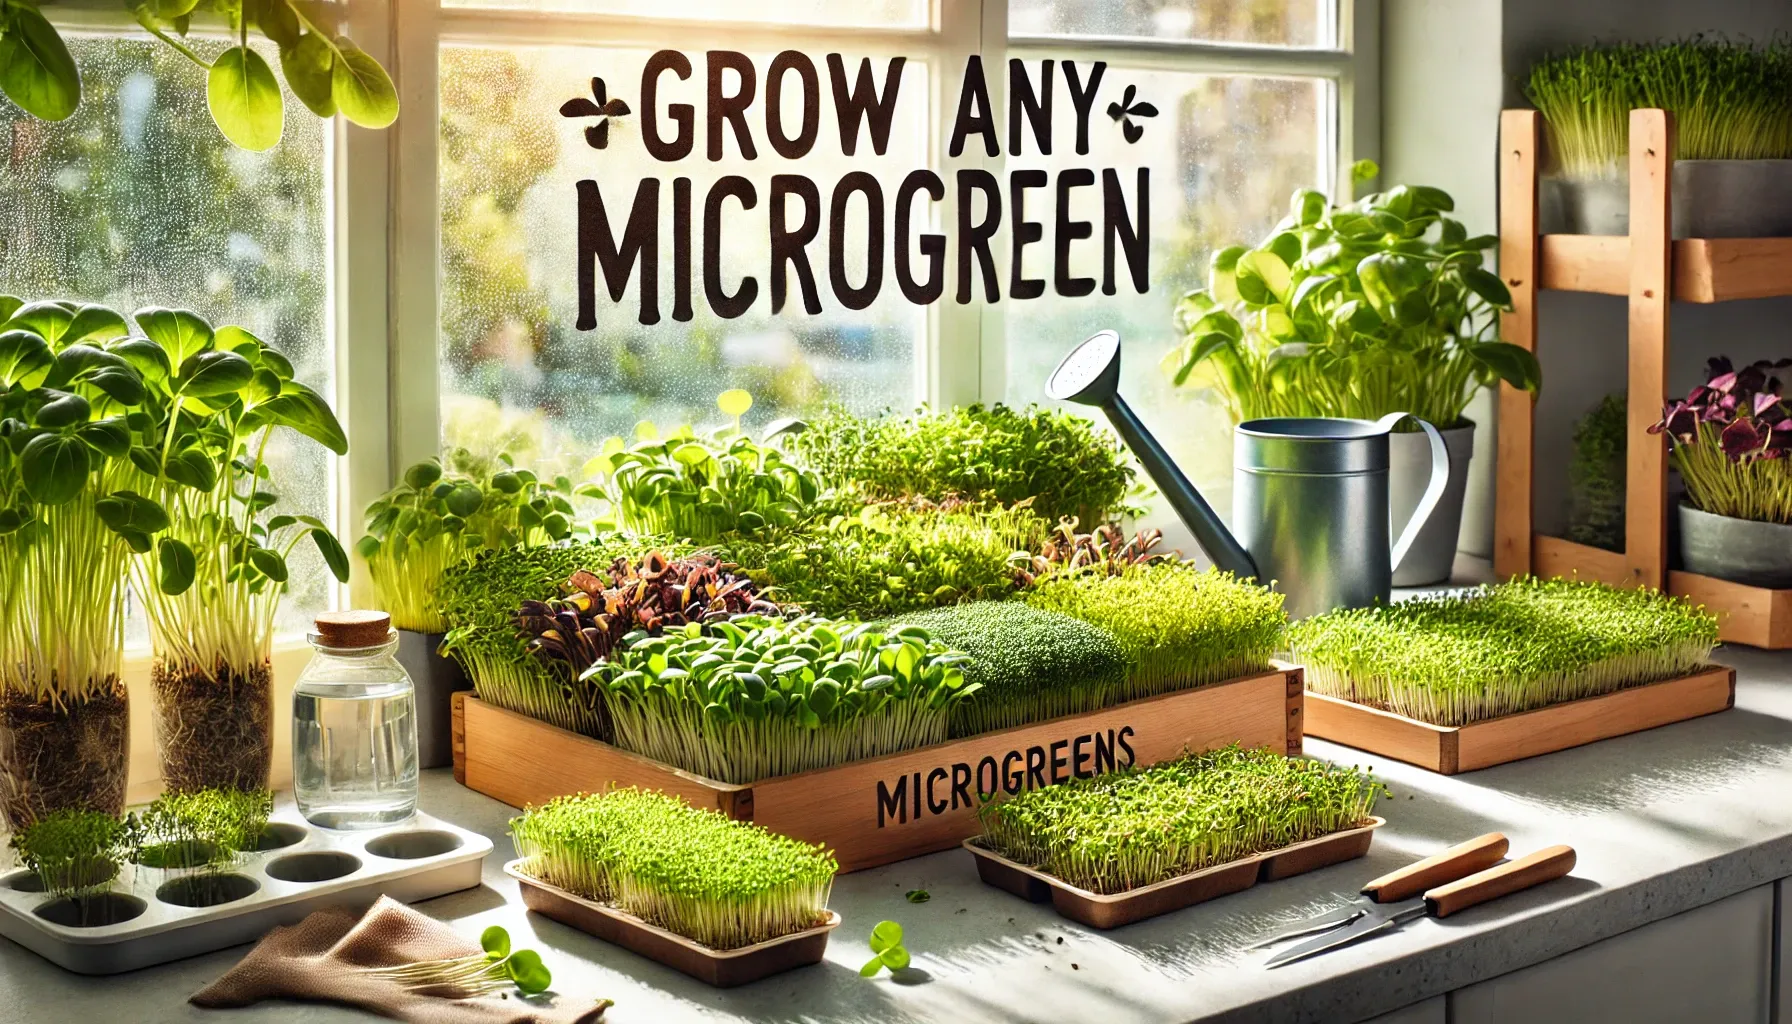
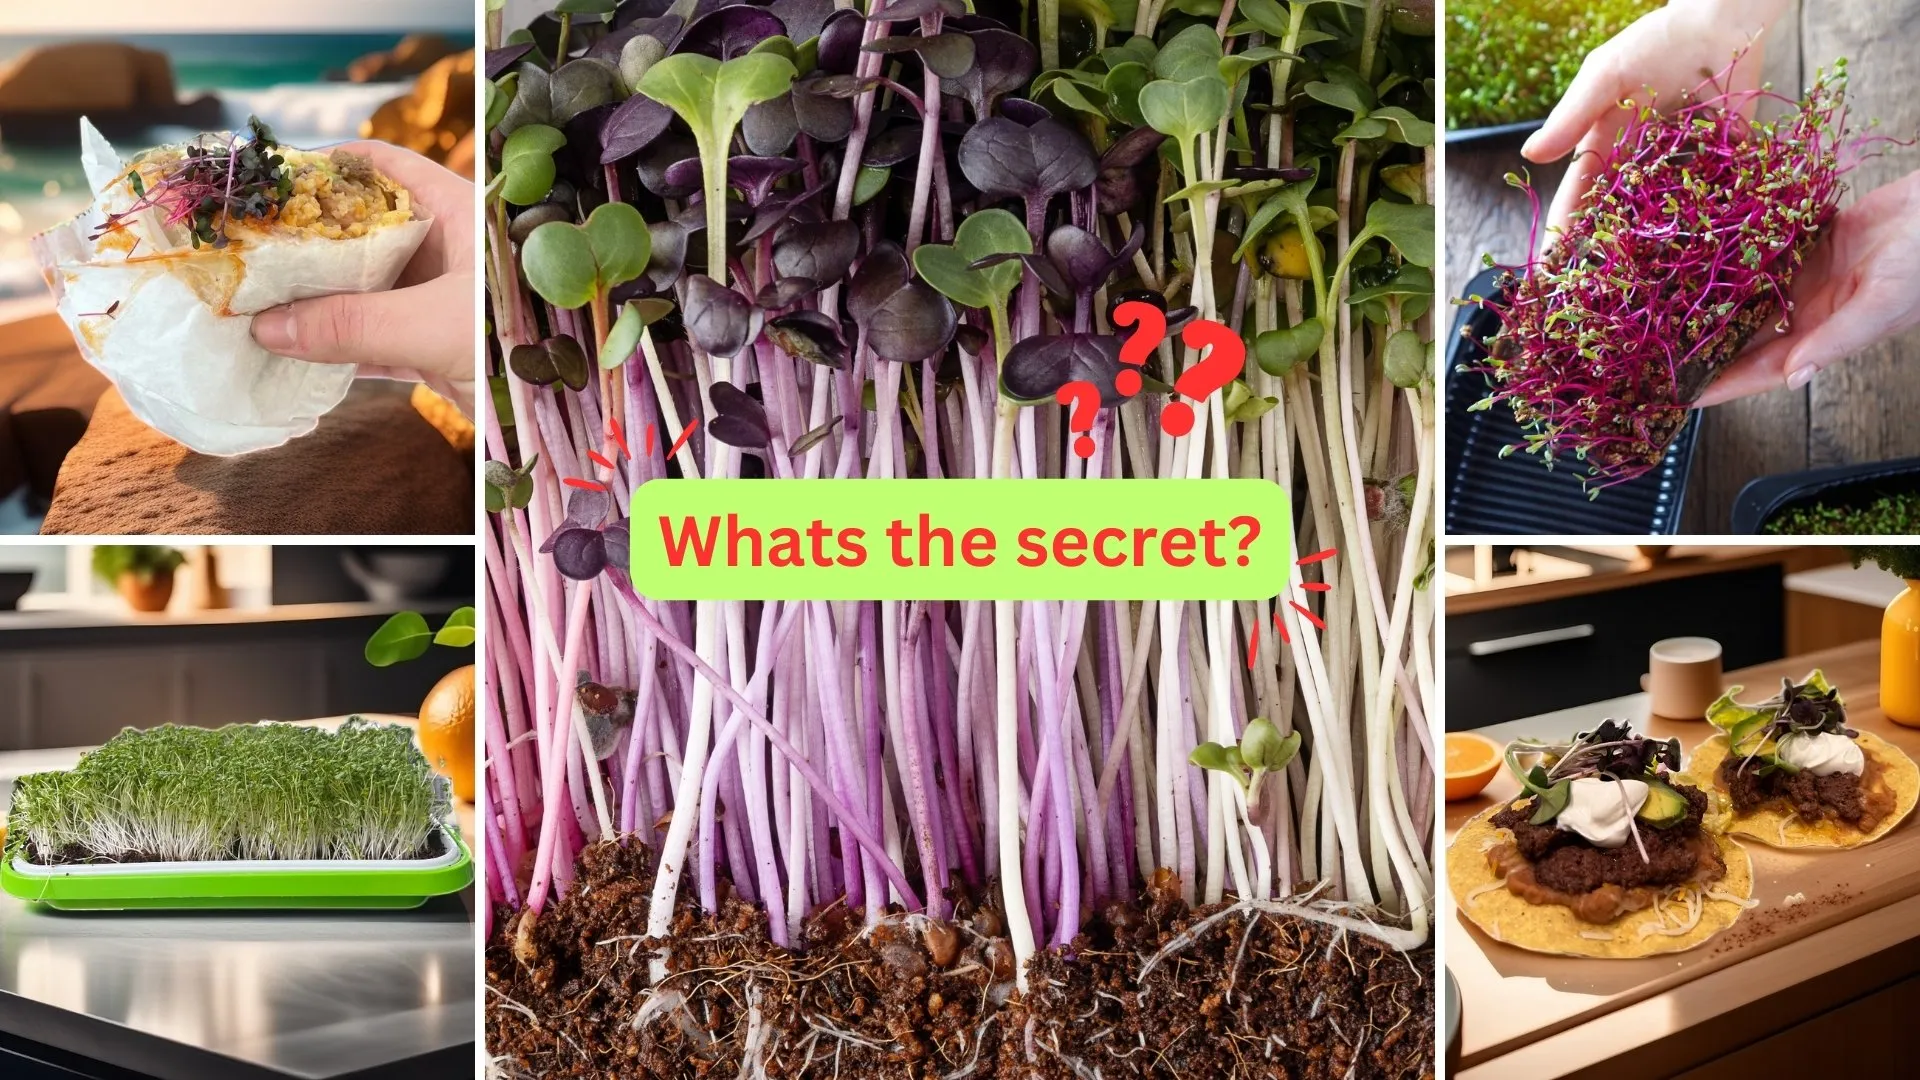
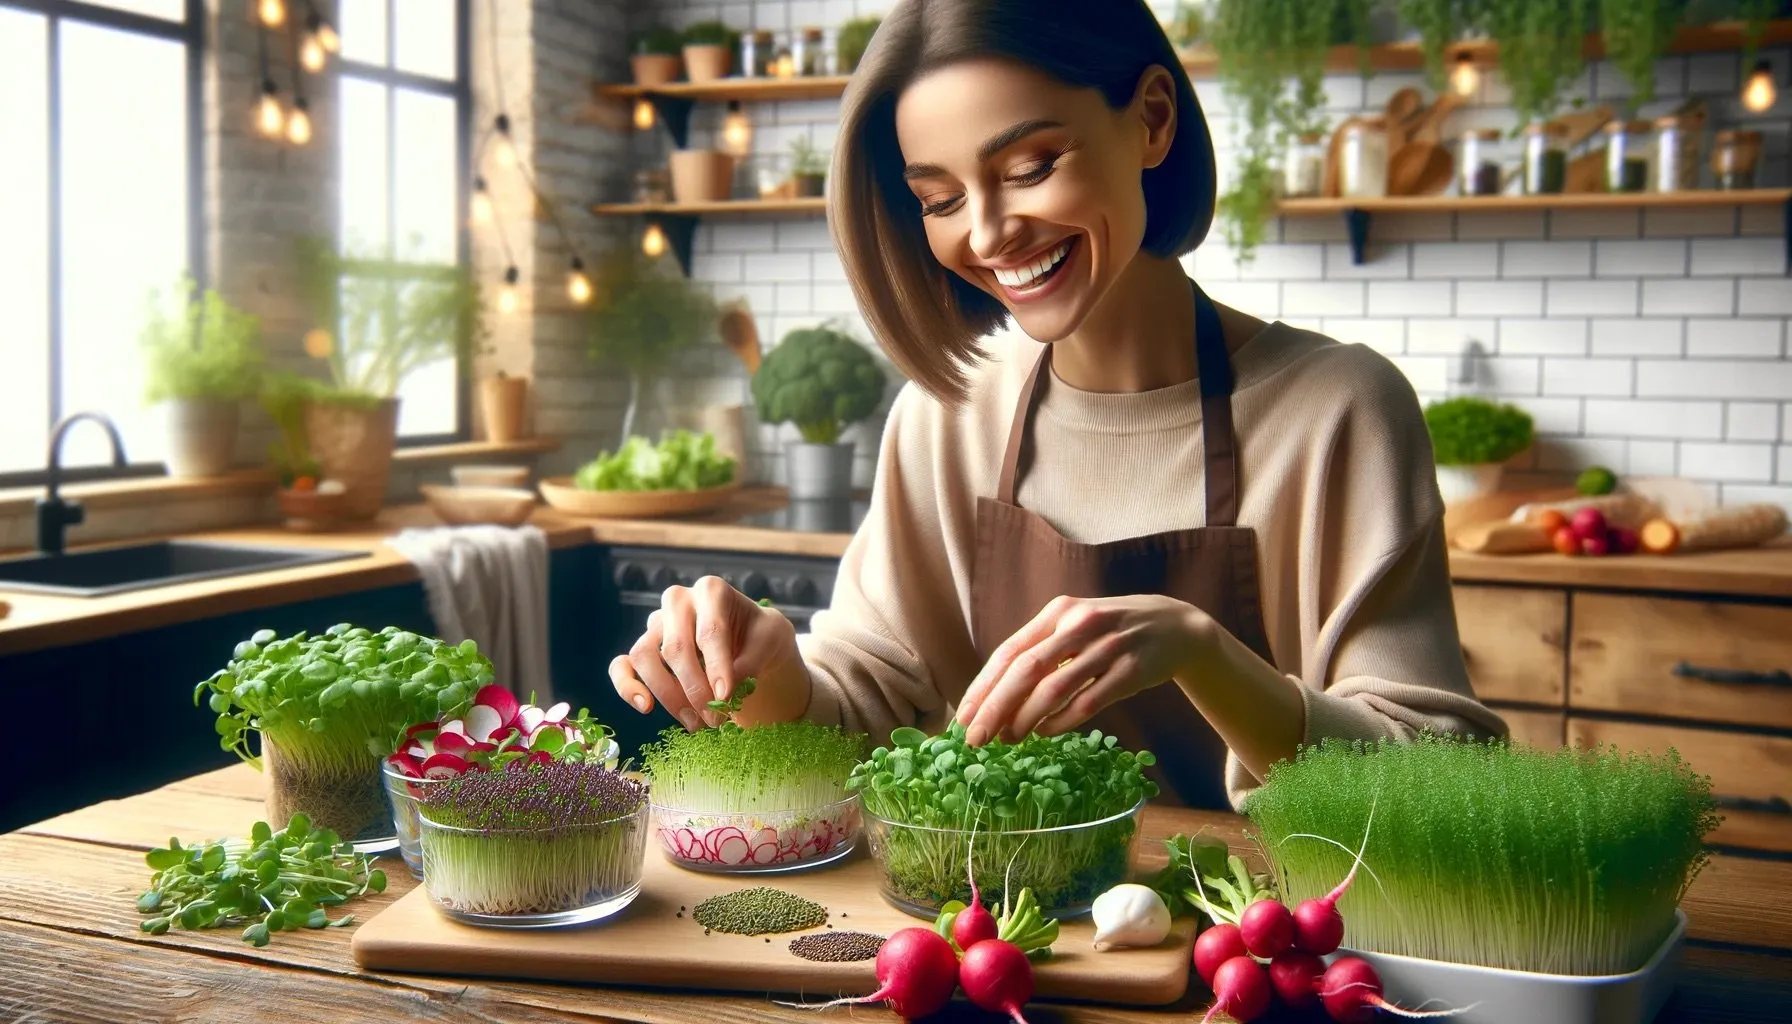
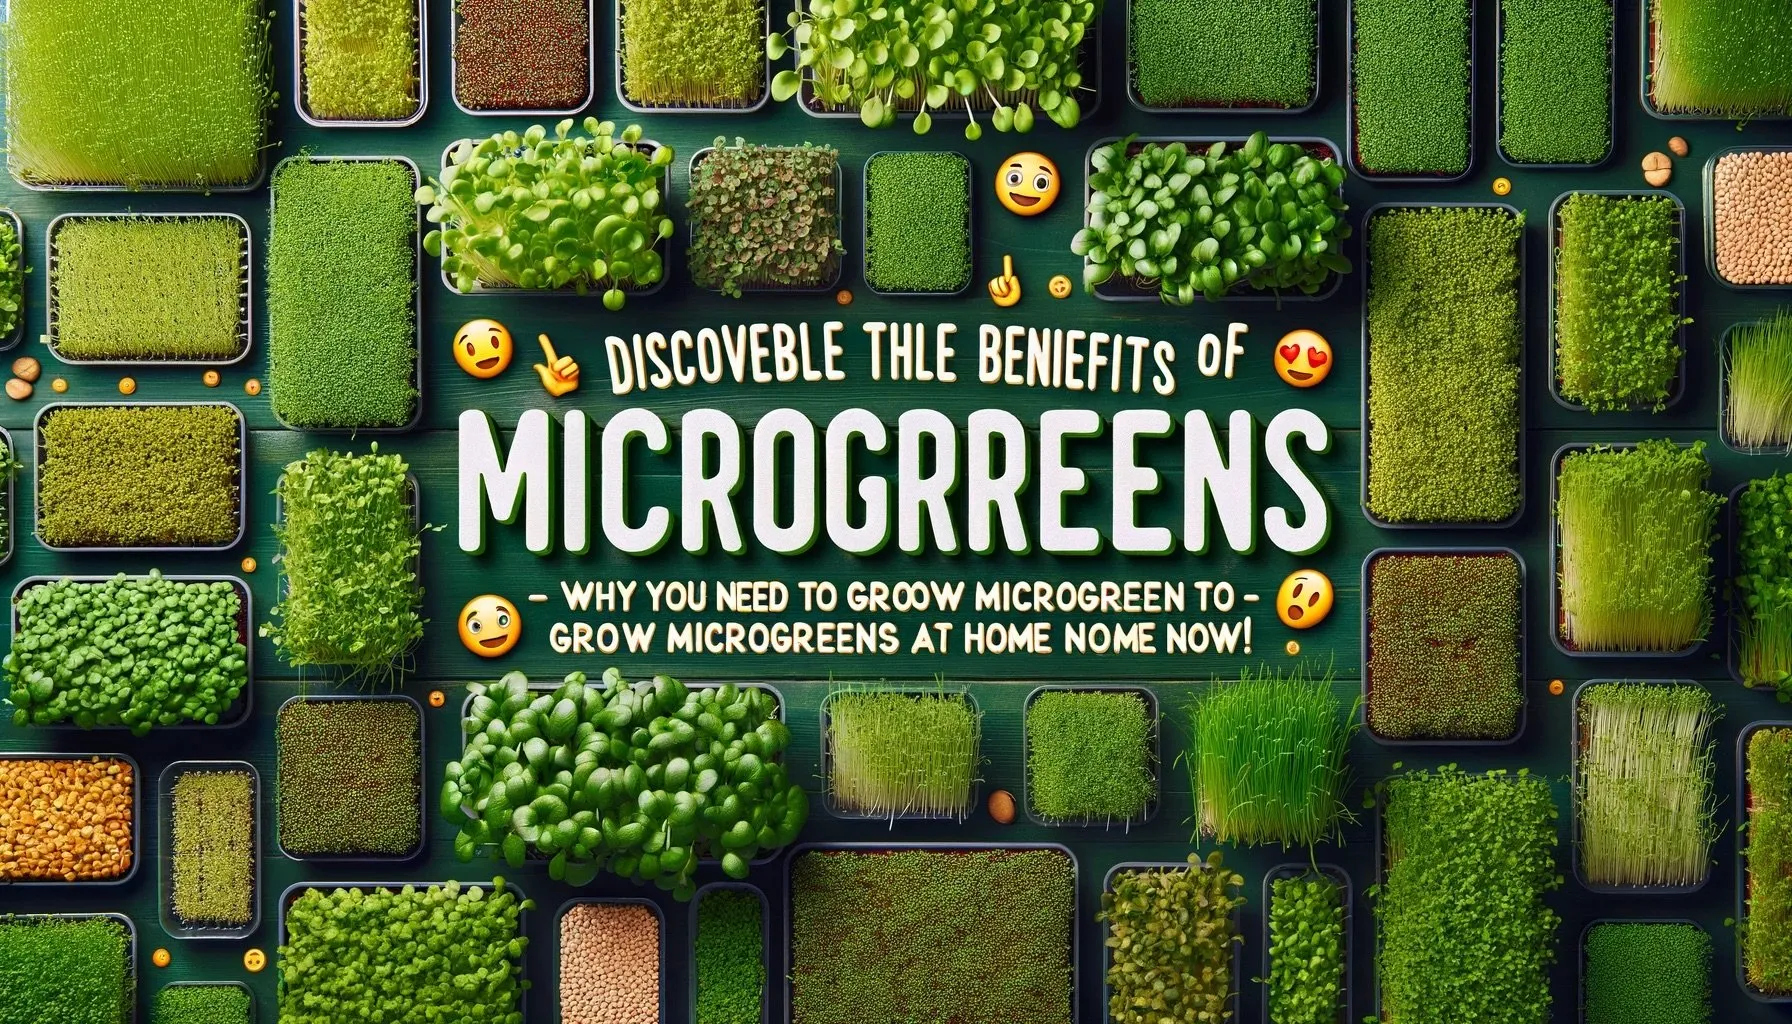
Have you noticed how microgreens have become a massive trend lately? If you're wondering why, you're in the right place! In this guide, I’ll walk you through how you can grow fresh, nutrient-packed microgreens right at home—in just seven days!
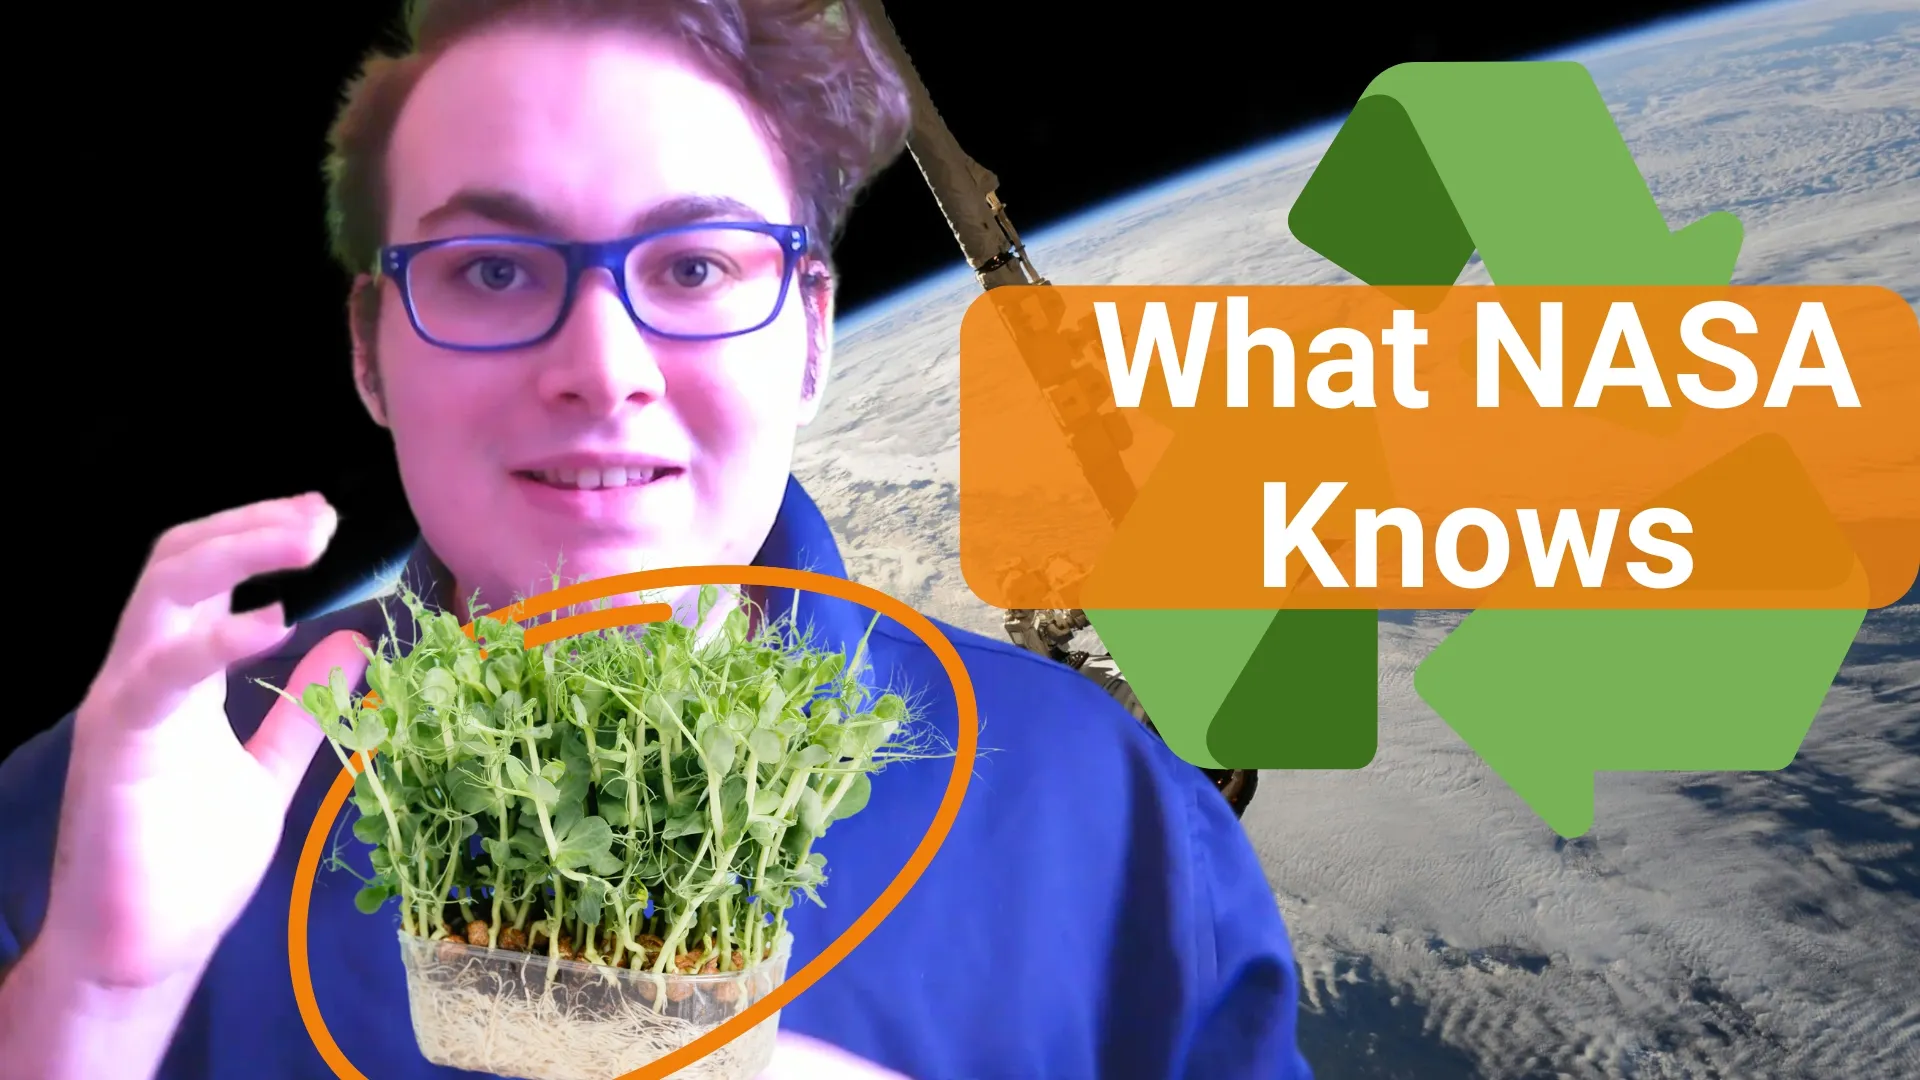
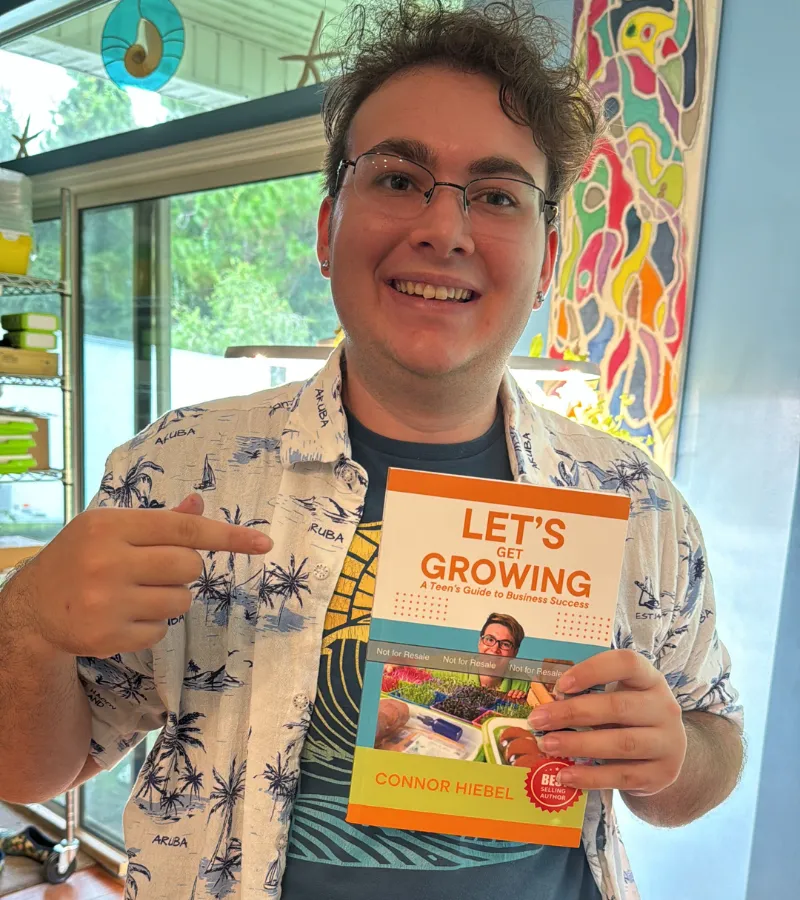
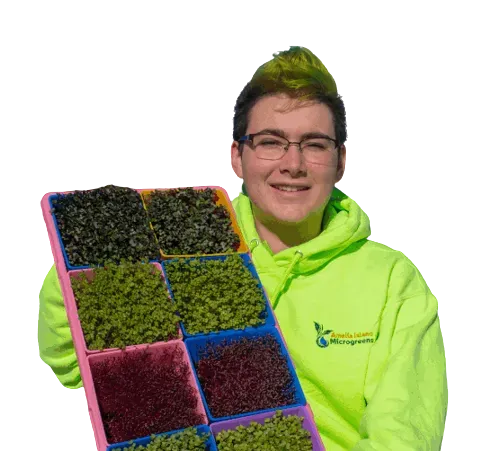
Hi, I’m Connor Hebel, founder of Amelia Island Microgreens. I started my journey at just 14 years old with one goal: to empower you to grow your own food—easily and affordably.
💡 Stick around till the end because I have a secret tip you won’t want to miss!
Why Grow Microgreens?
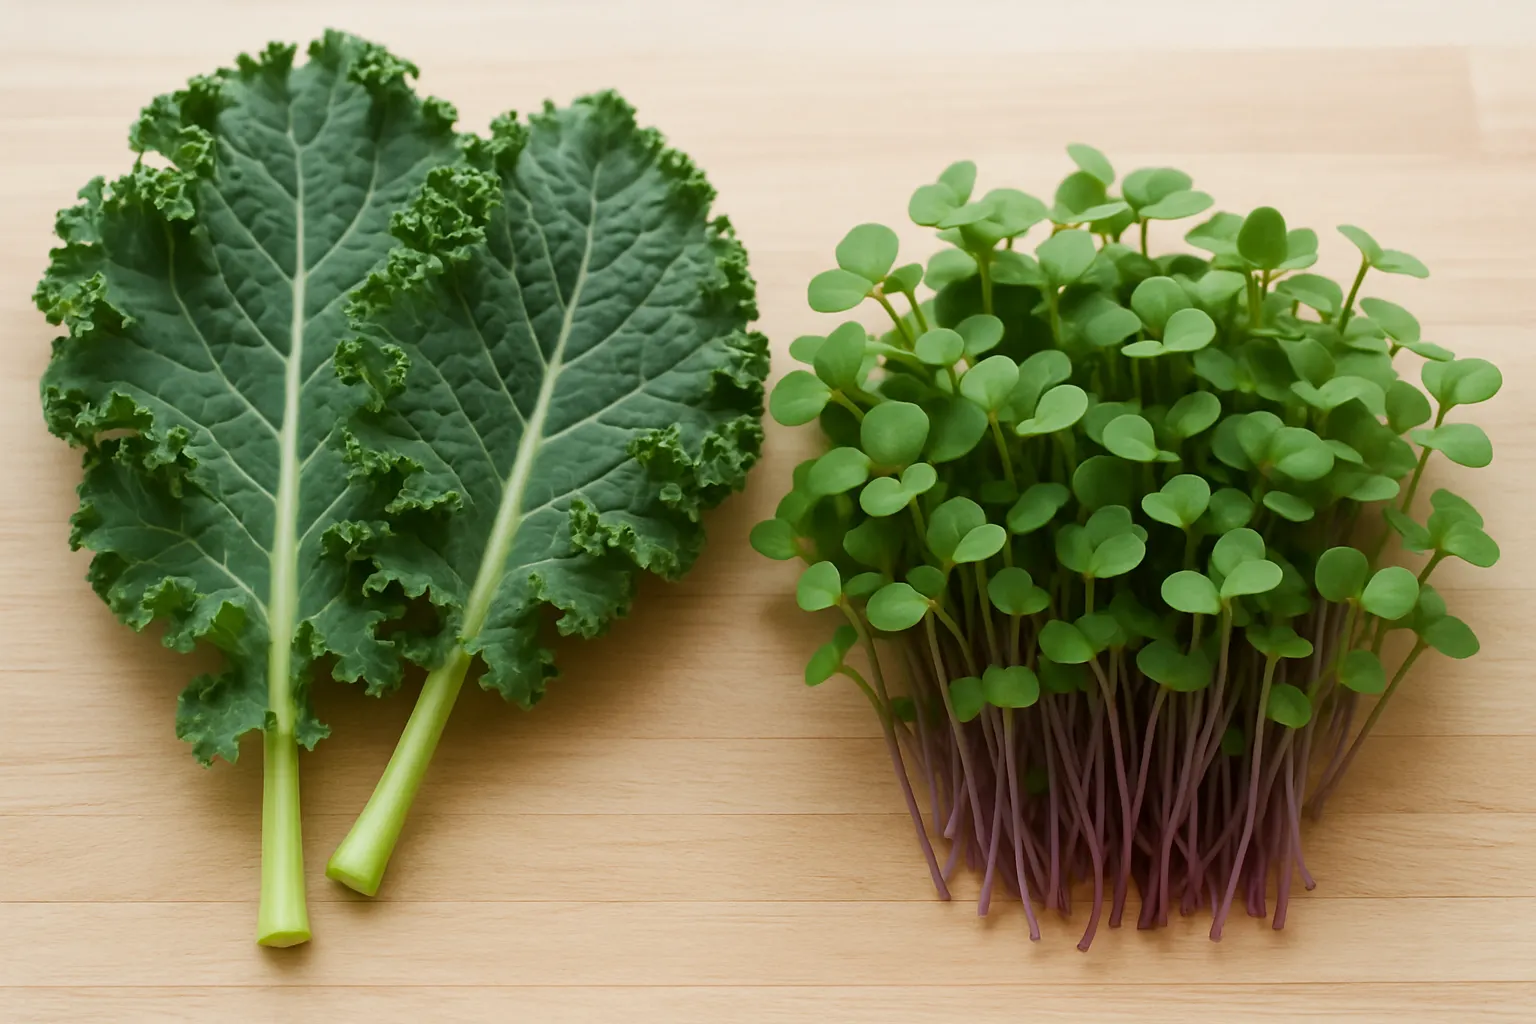
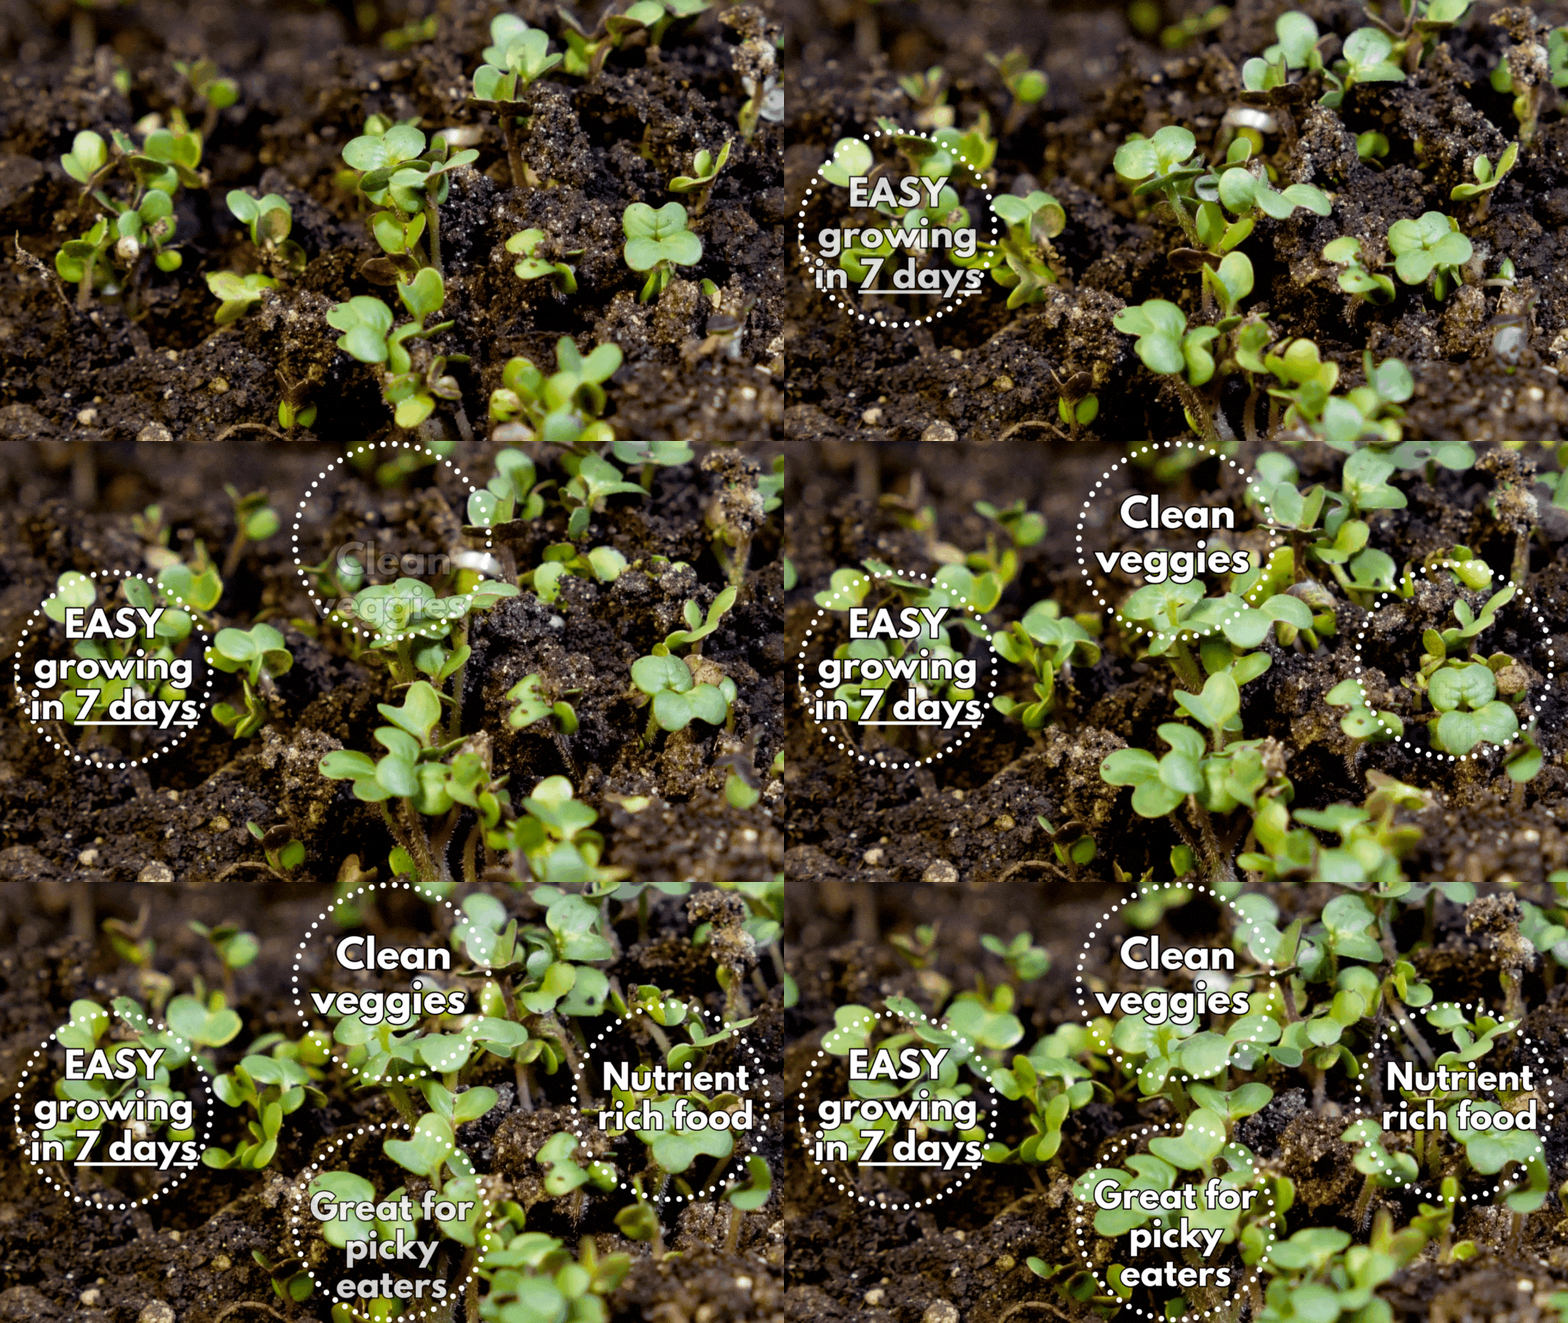
Microgreens are one of the fastest, easiest, and most nutrient-dense foods you can grow. They contain up to 40% more nutrients than their mature counterparts—which is incredible!
Plus, they’re:
✅ Super easy to grow (even for beginners)
✅ Ready to harvest in just 7 days
✅ Packed with flavor and nutrients
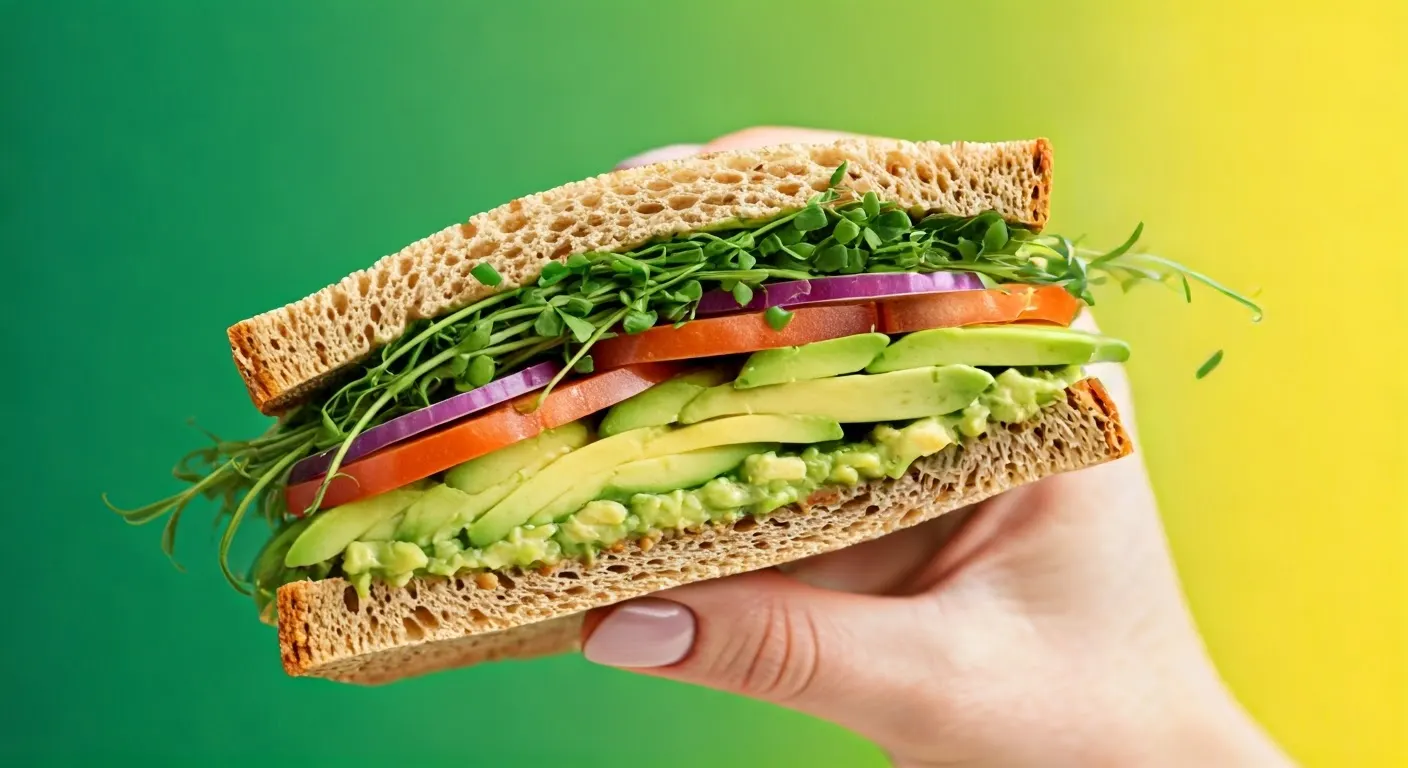
✅ Perfect for adding to salads, sandwiches, smoothies, and more
Sounds good? Let’s dive in! 🚀
Step 1: Prepare Your Growing Medium
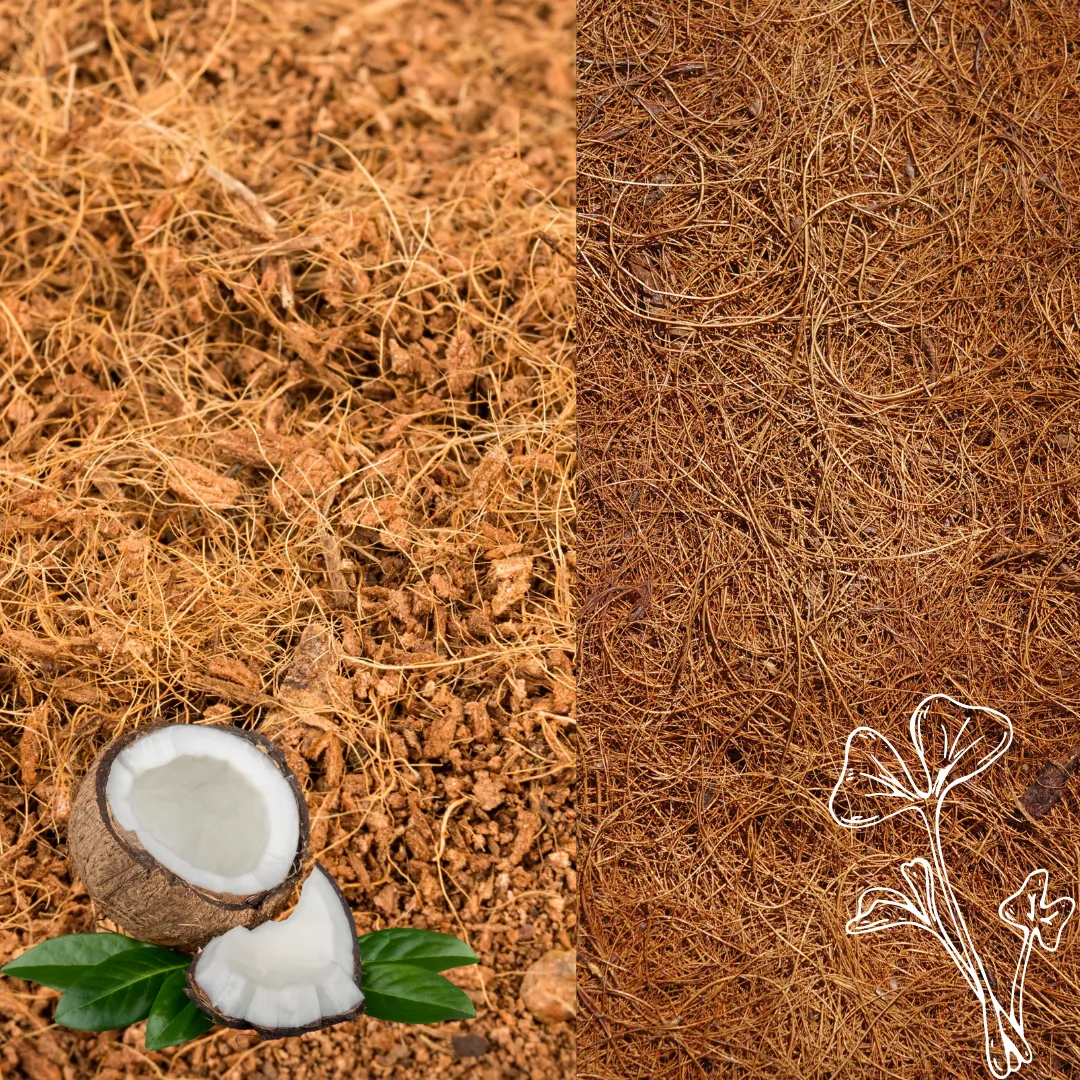
We’ll be using coco coir—a sterilized coconut husk that makes an excellent soil alternative.
How to Prepare Coco Coir:
1️⃣ Take the coco coir puck out of its wrapper.
2️⃣ Place it in a bowl and add warm water (this helps it expand faster).
3️⃣ Let it absorb the water and fluff it up with your hands.
4️⃣ If it’s still compact, flip it over and break it apart gently.
💡 Pro Tip: Always use pH-tested water to ensure the best growing conditions.|
Step 2: Fill Your Microgreen Tray
Once your coco coir is ready:
✅ Spread it evenly across your tray (don’t press too hard).
✅ Keep the surface light and fluffy—this helps the roots grow better.
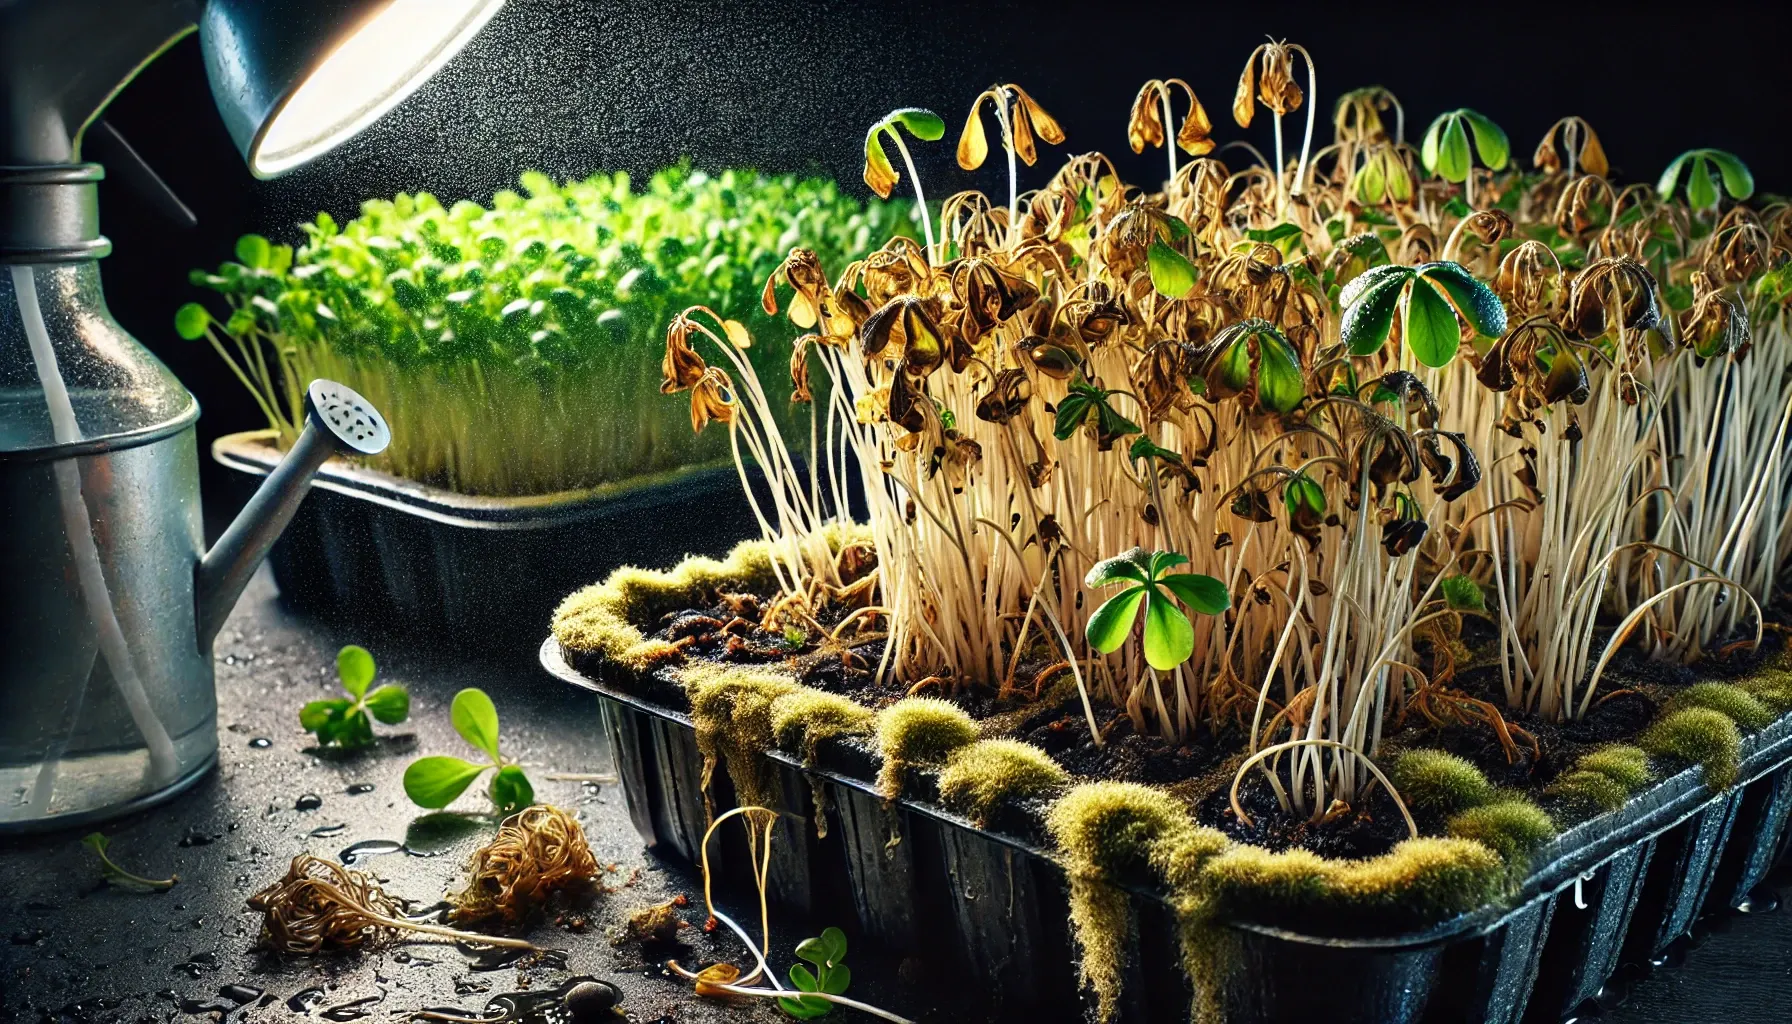
✅ Avoid making deep divots where seeds can get stuck (this can cause mold issues).
Now, let’s get to the fun part—planting the seeds! 🌱
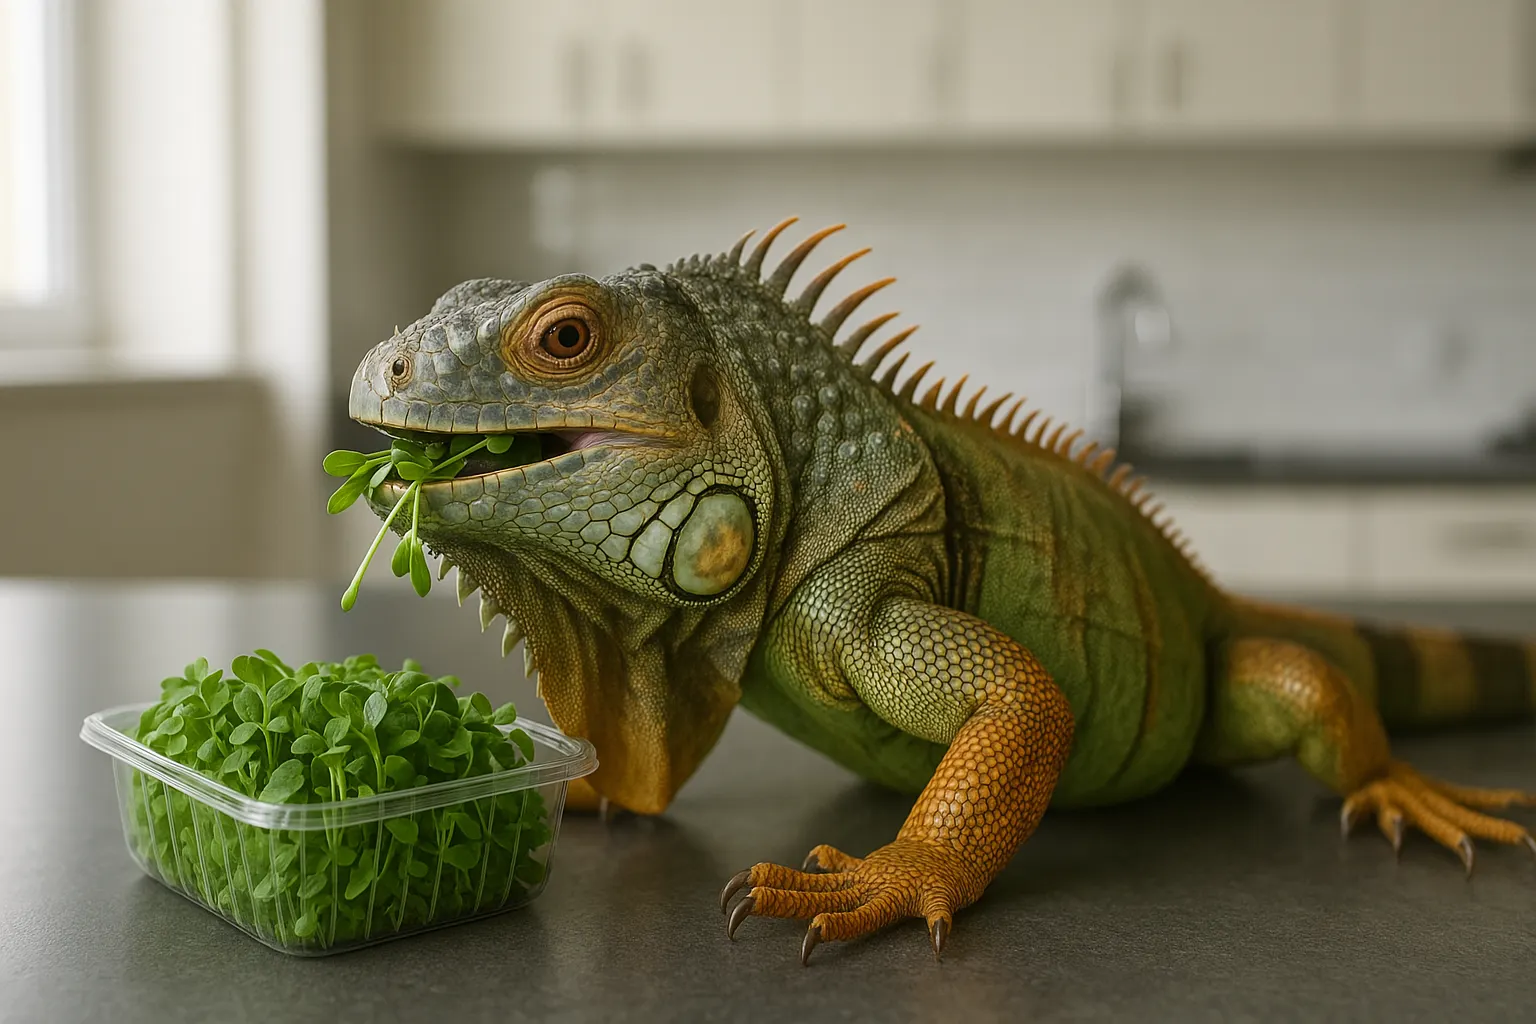
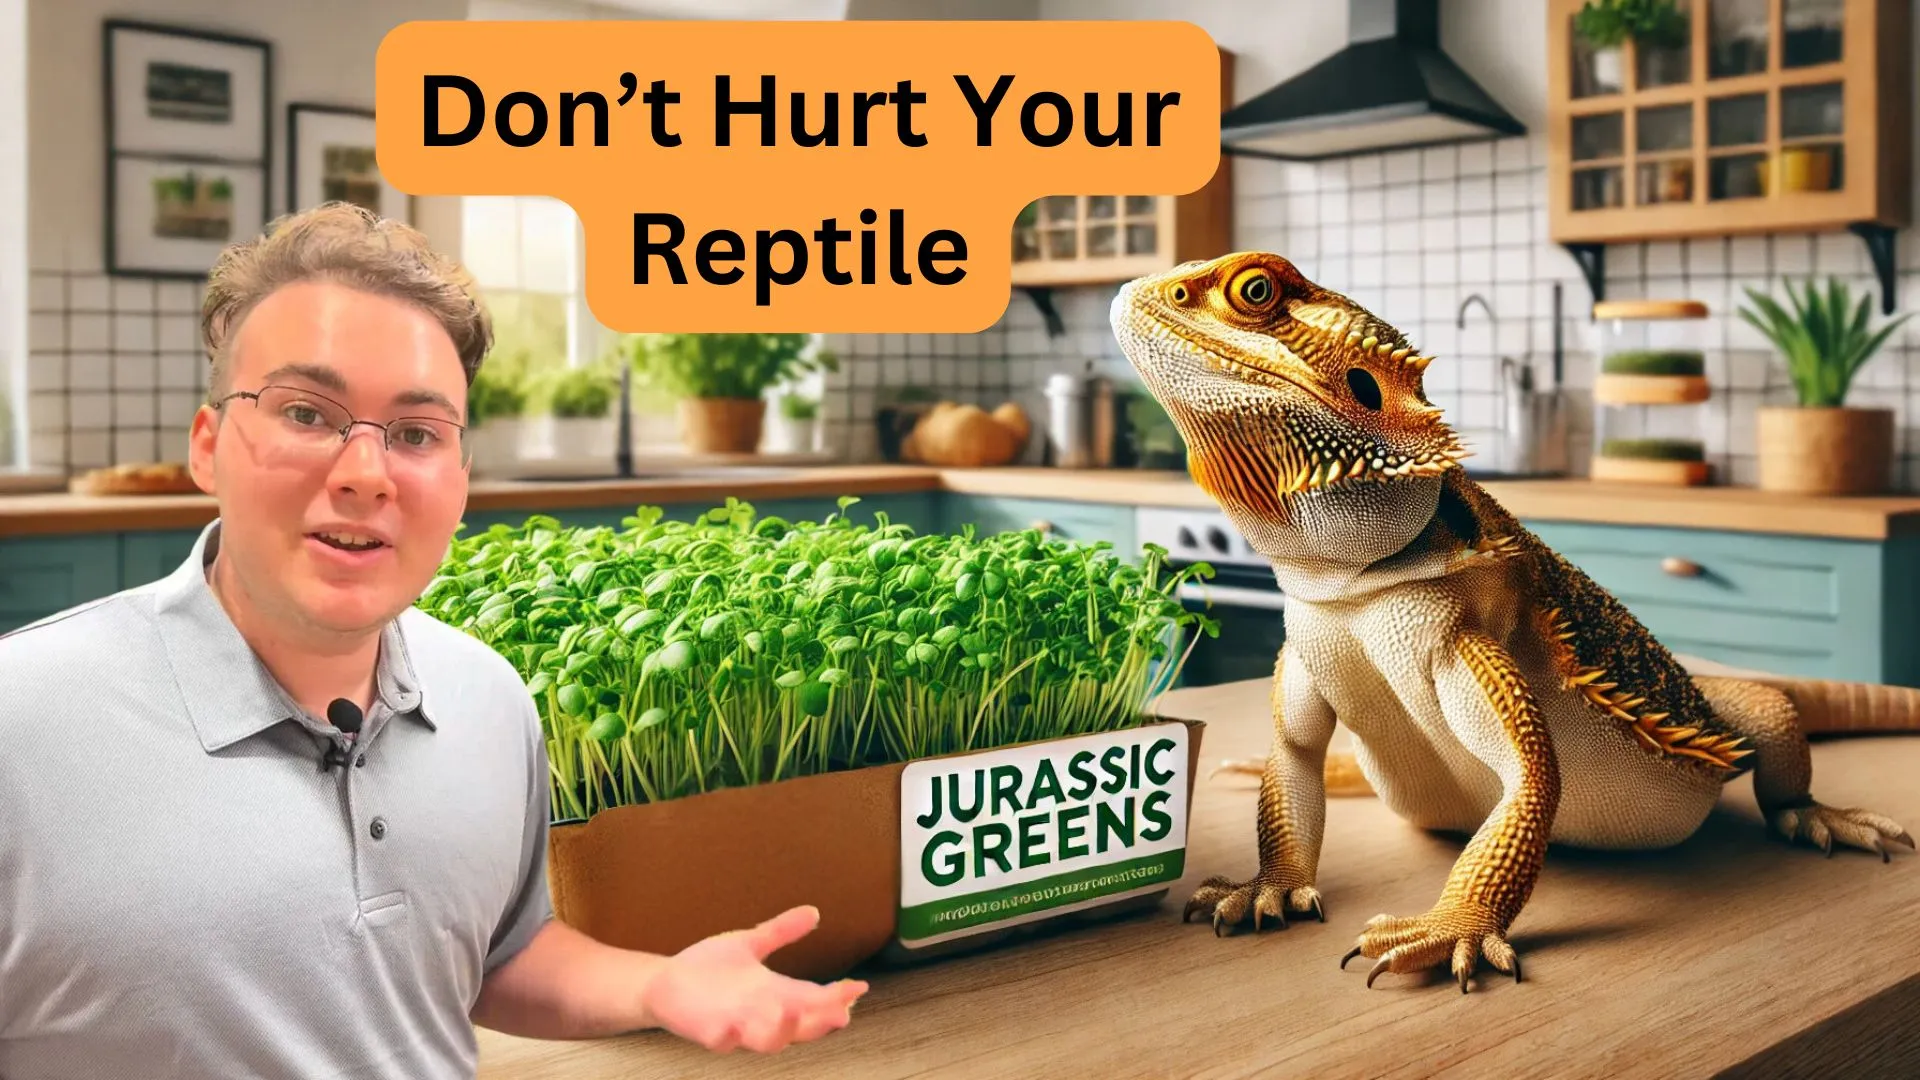
(Image our our reptile line, Jurassic greens... learn more here)
Step 3: Plant Your Seeds
You can measure your seeds with a seed calculator OR simply use a pre-measured seed packet (like the ones in Amelia Island Microgreens Kits).
How to Plant Your Seeds:
1️⃣ Evenly spread your seeds across the entire tray.
2️⃣ Avoid clumping—use your finger to gently spread them out if needed.
3️⃣ Choose seeds that stand out against your growing medium (e.g., radish seeds on coco coir).
💡 Pro Tip: If you’re a visual learner, scan the QR code on the seed packet for a video tutorial!
Step 4: Start the Germination Process
Now that your seeds are planted, it’s time to kickstart germination!
✅ Mist the seeds with pH-tested water (a spray bottle works best).
✅ Cover your tray with tinfoil to block out light.
✅ Place the tray in a cool, dark space for 3 days.
Every day, simply mist the seeds and keep them covered. That’s it!
Step 5: Watch Them Grow (Day-by-Day)
Day 1-3: Keep Misting & Keep Covered
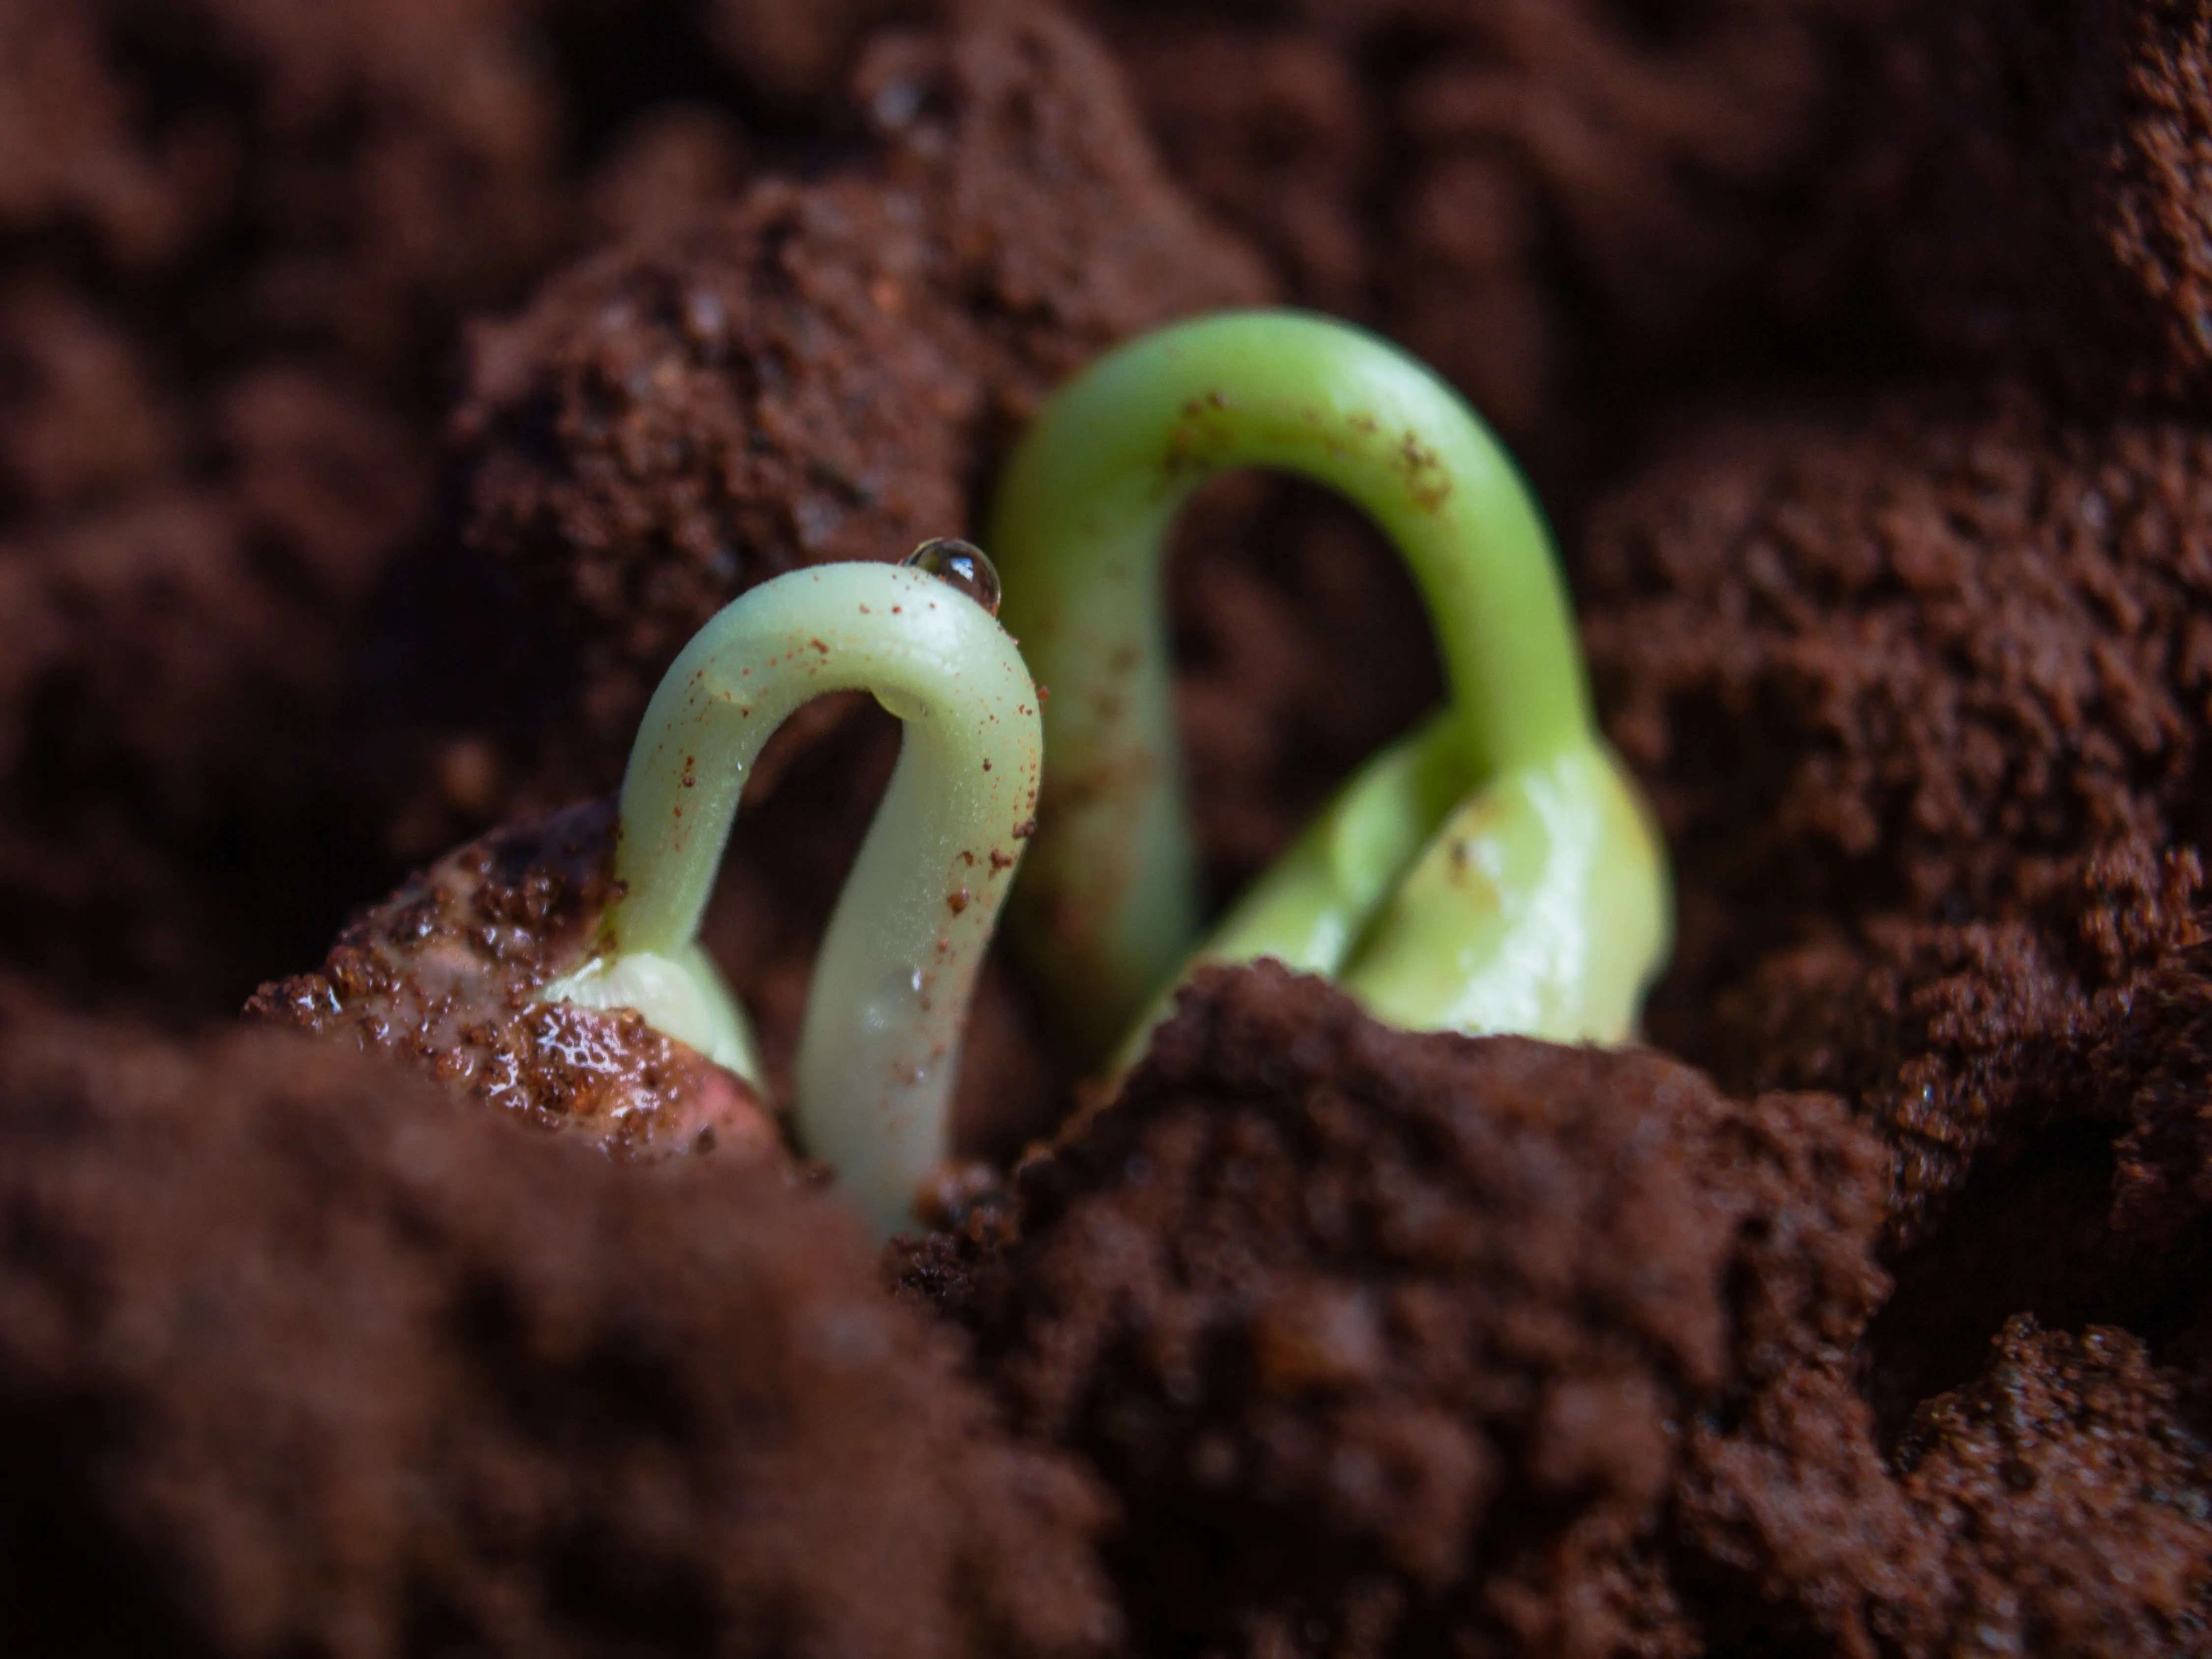
✔️ You’ll start to see tiny sprouts. Keep misting daily.
Day 4-6: Remove the Tinfoil & Start Bottom Watering
✔️ Remove the tinfoil and place the tray in ambient light (near a window).
✔️ Instead of misting, pour a small cup of water under the tray and let the roots absorb it.
✔️ Check after 15 minutes—if there’s excess water, pour it out.
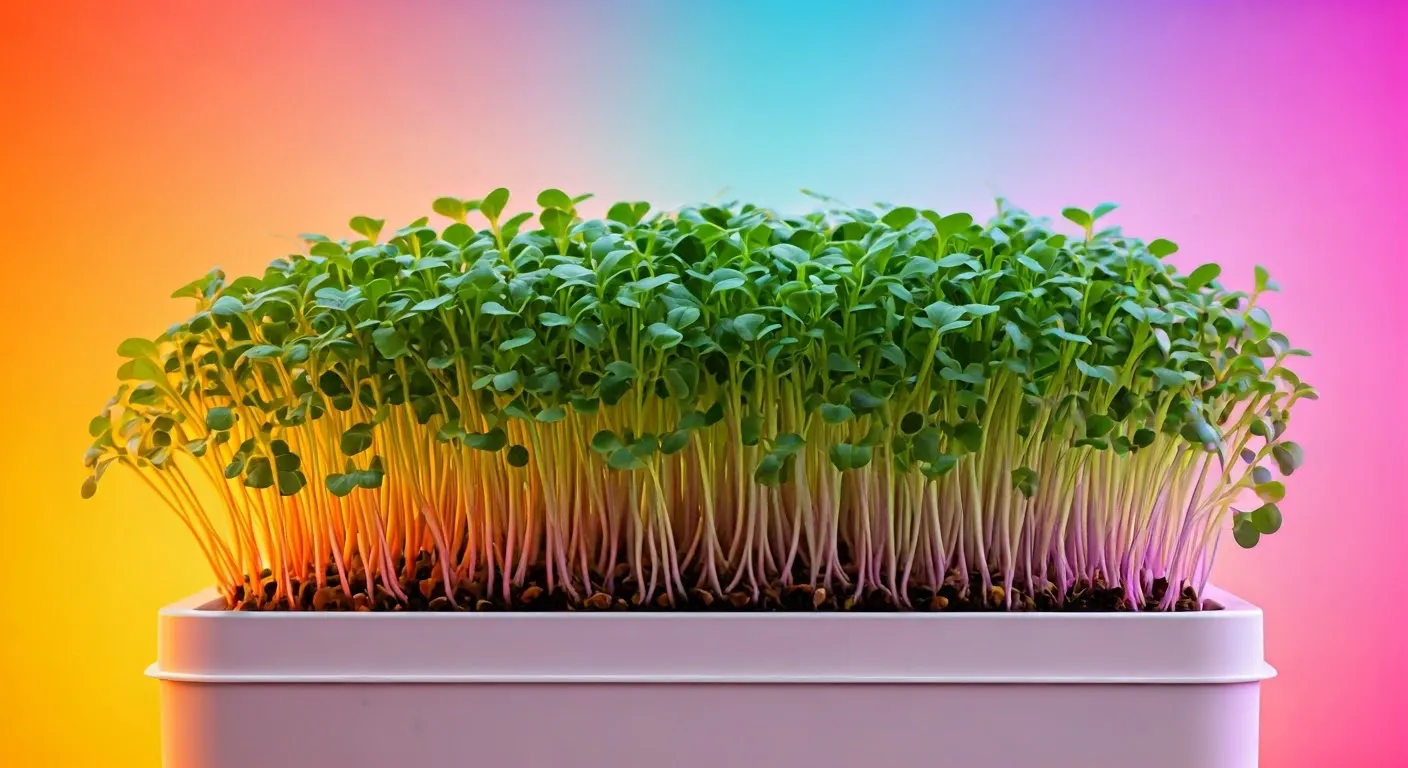
✔️ Microgreens will turn a vibrant green as they absorb light.
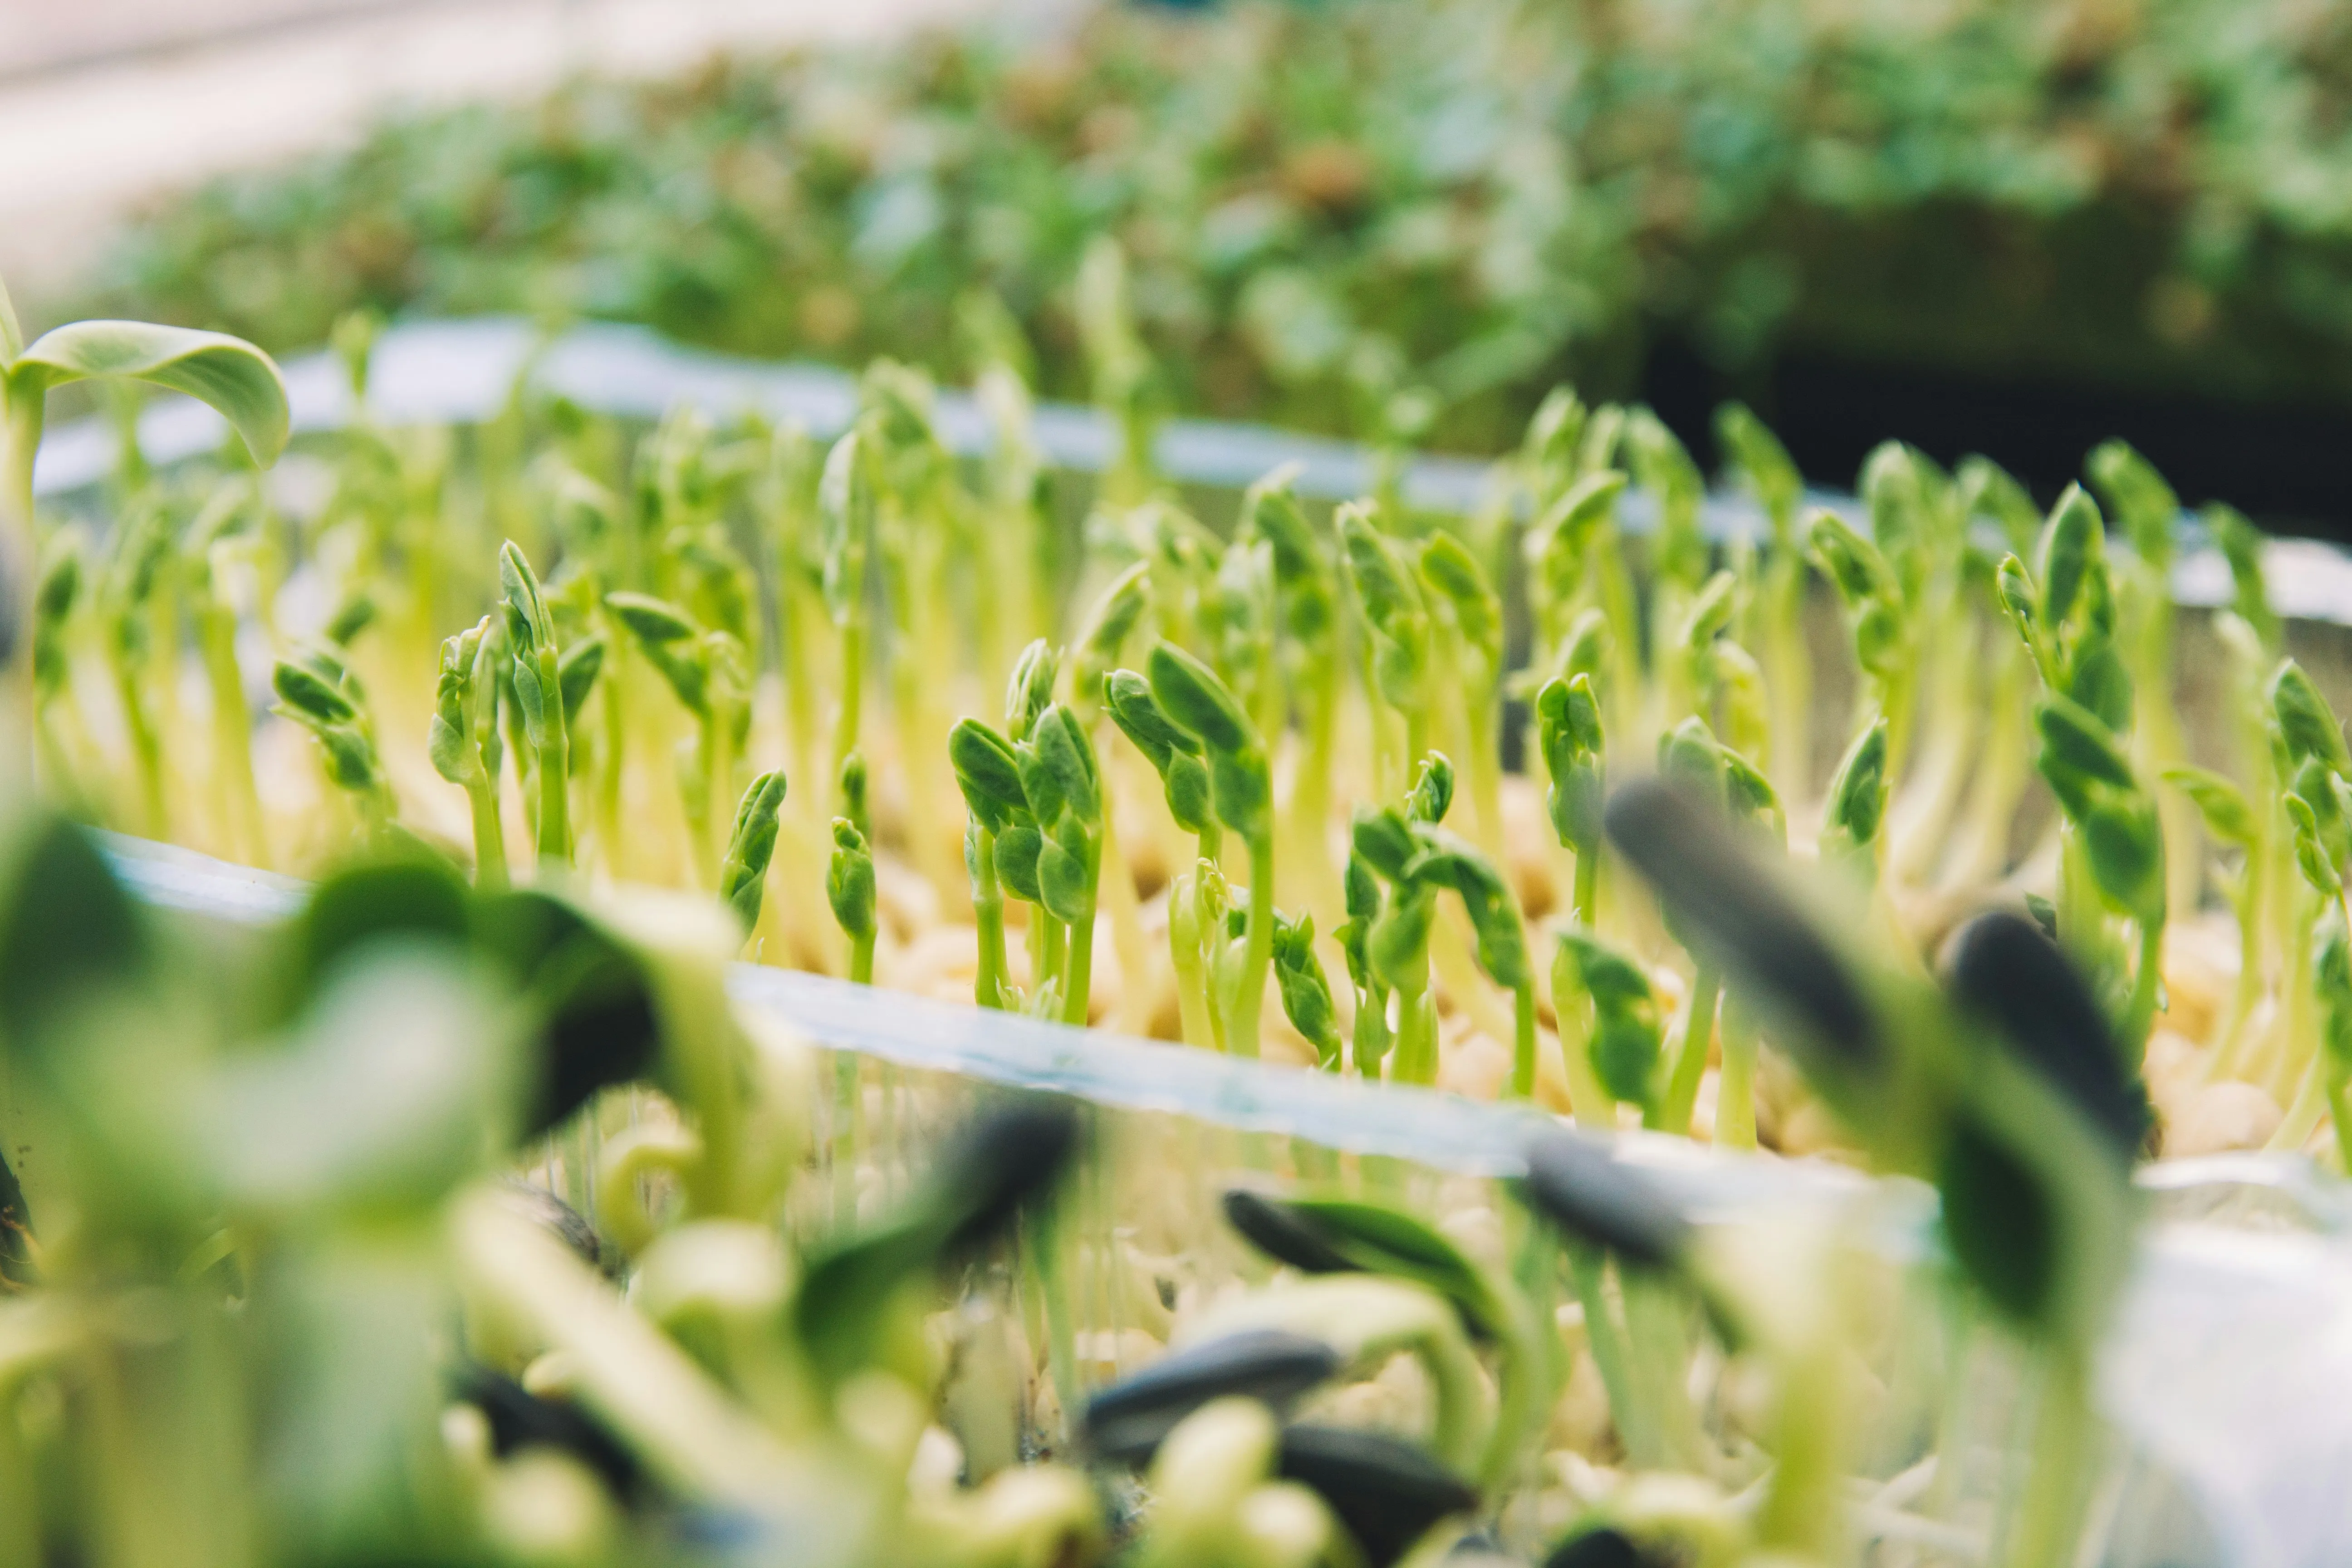
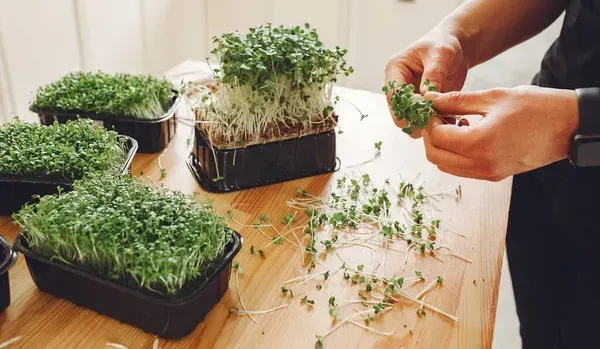
Step 6: Harvest & Enjoy! (Day 7)
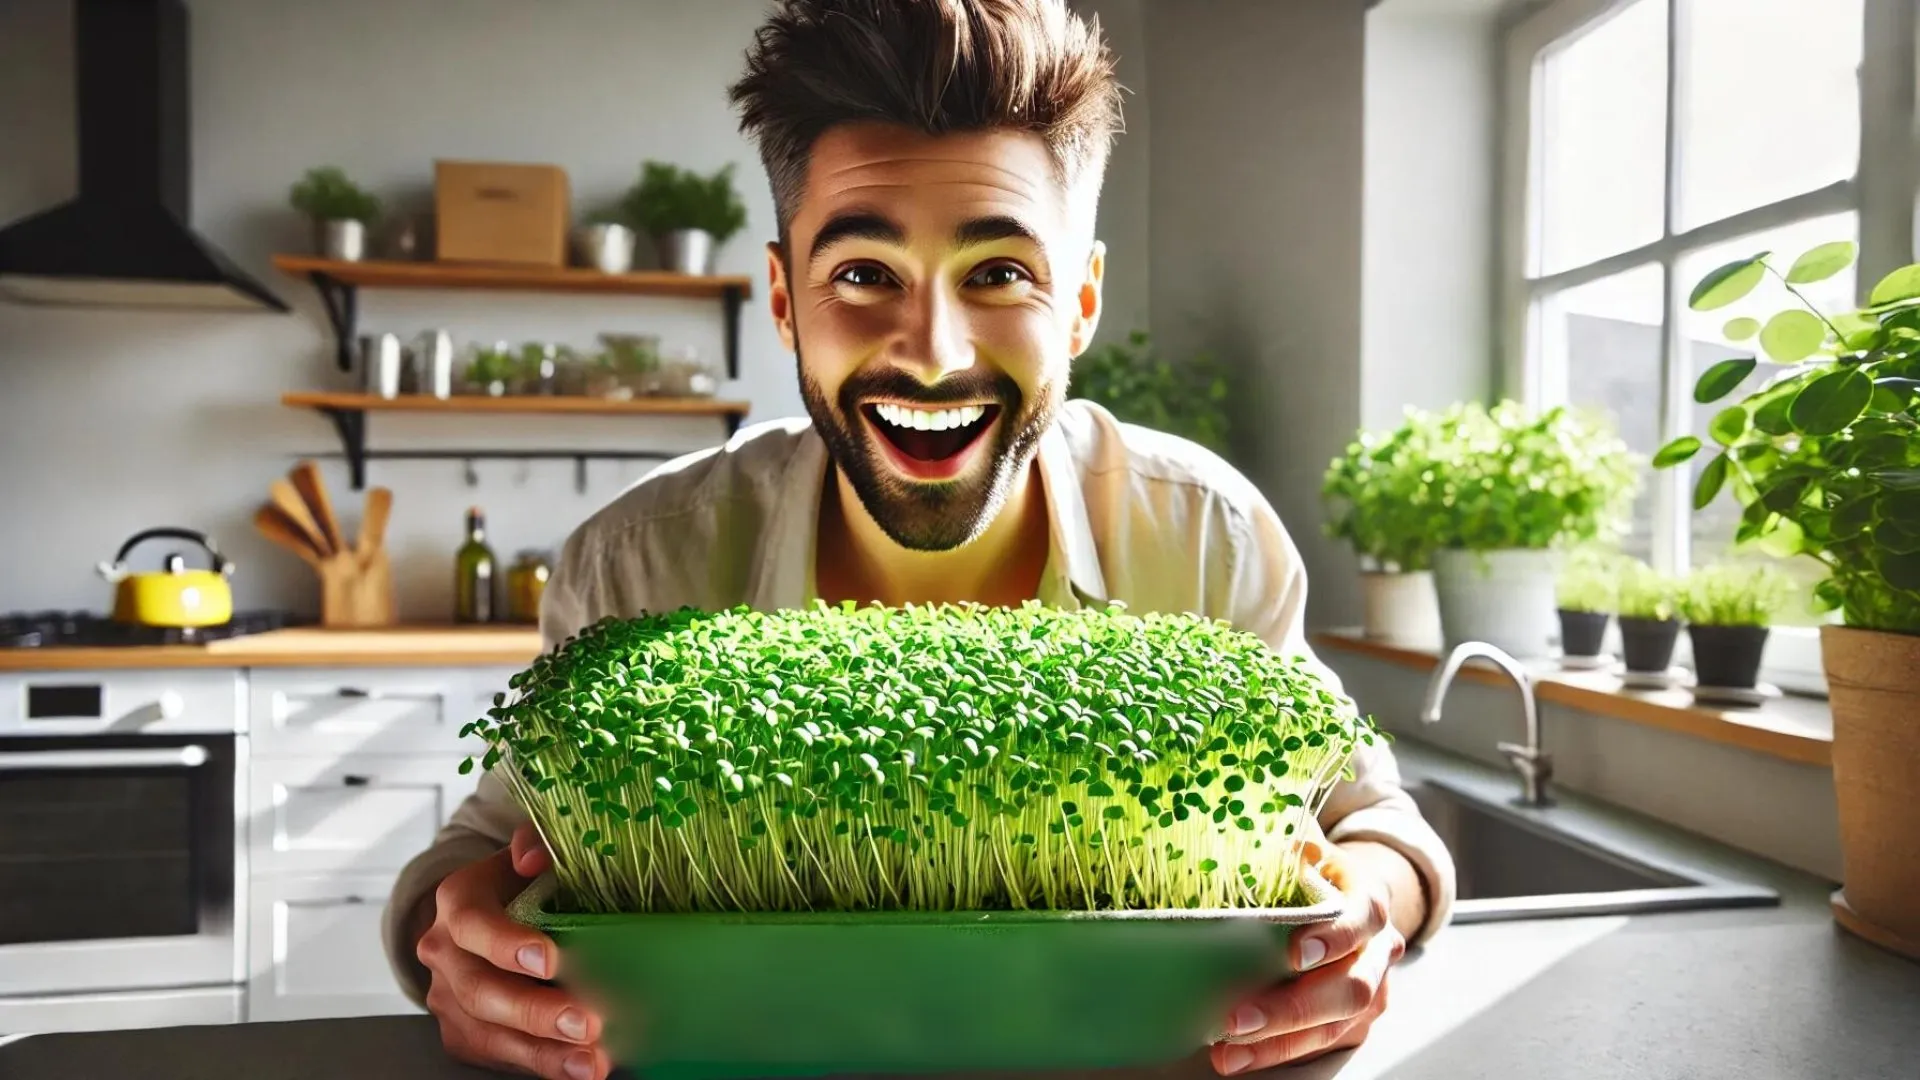
🌿 Your microgreens are ready to harvest! 🌿
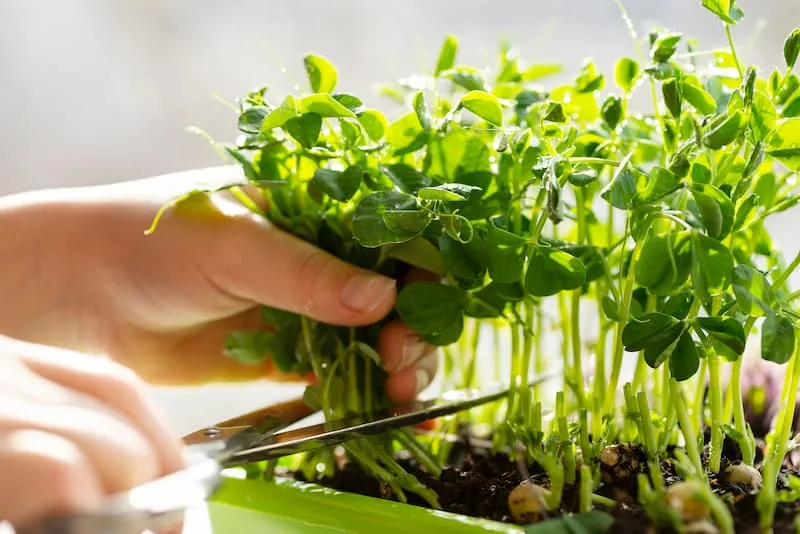
How to Harvest:
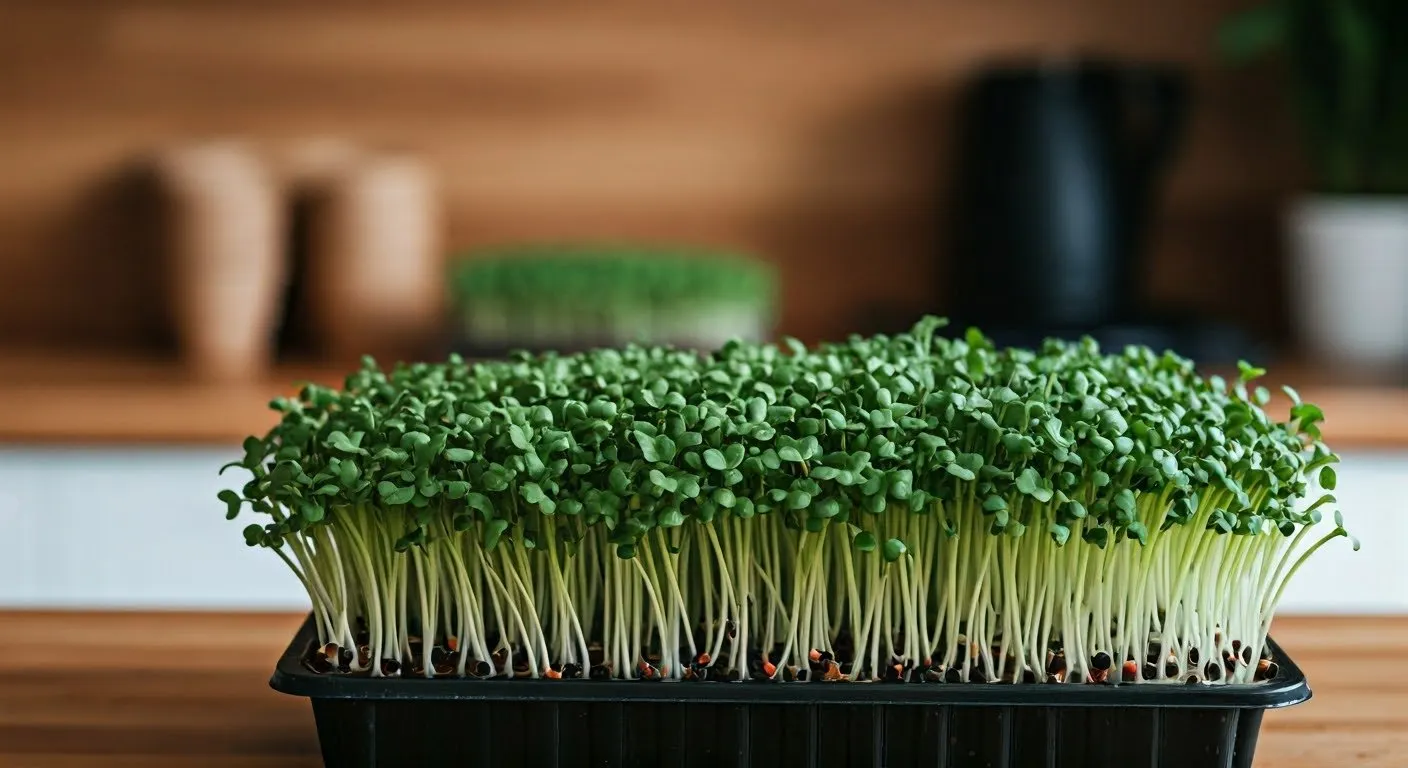
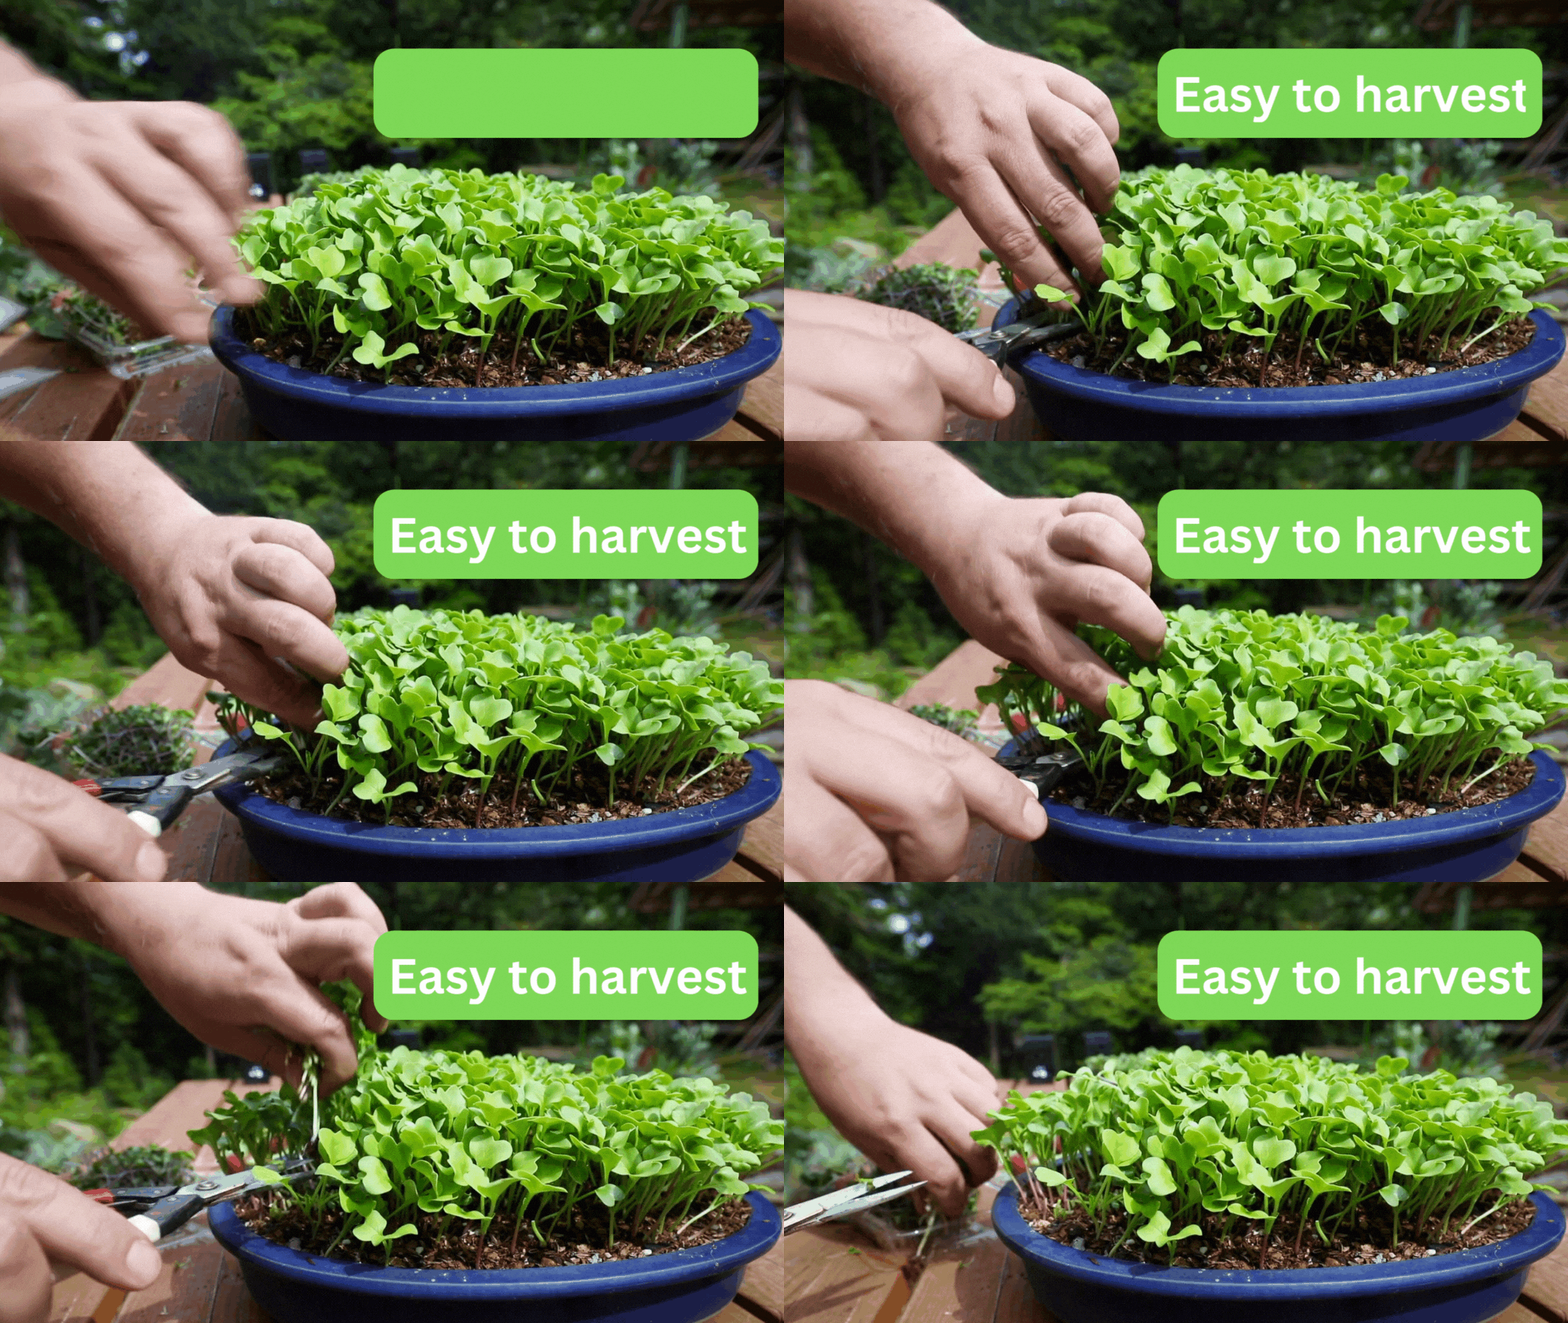
✅ Use sharp scissors to cut the microgreens just above the soil line.
✅ Avoid cutting into the soil (it won’t taste great!).
✅ Enjoy them fresh on your favorite dishes!
💡 Pro Tip: Leave unharvested microgreens by the window until you’re ready to eat them. They’ll stay fresh for 7-14 more days!
Delicious Ways to Use Microgreens
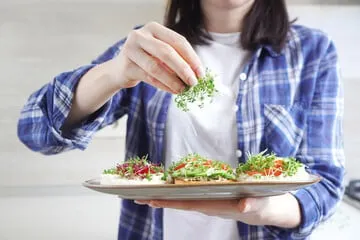
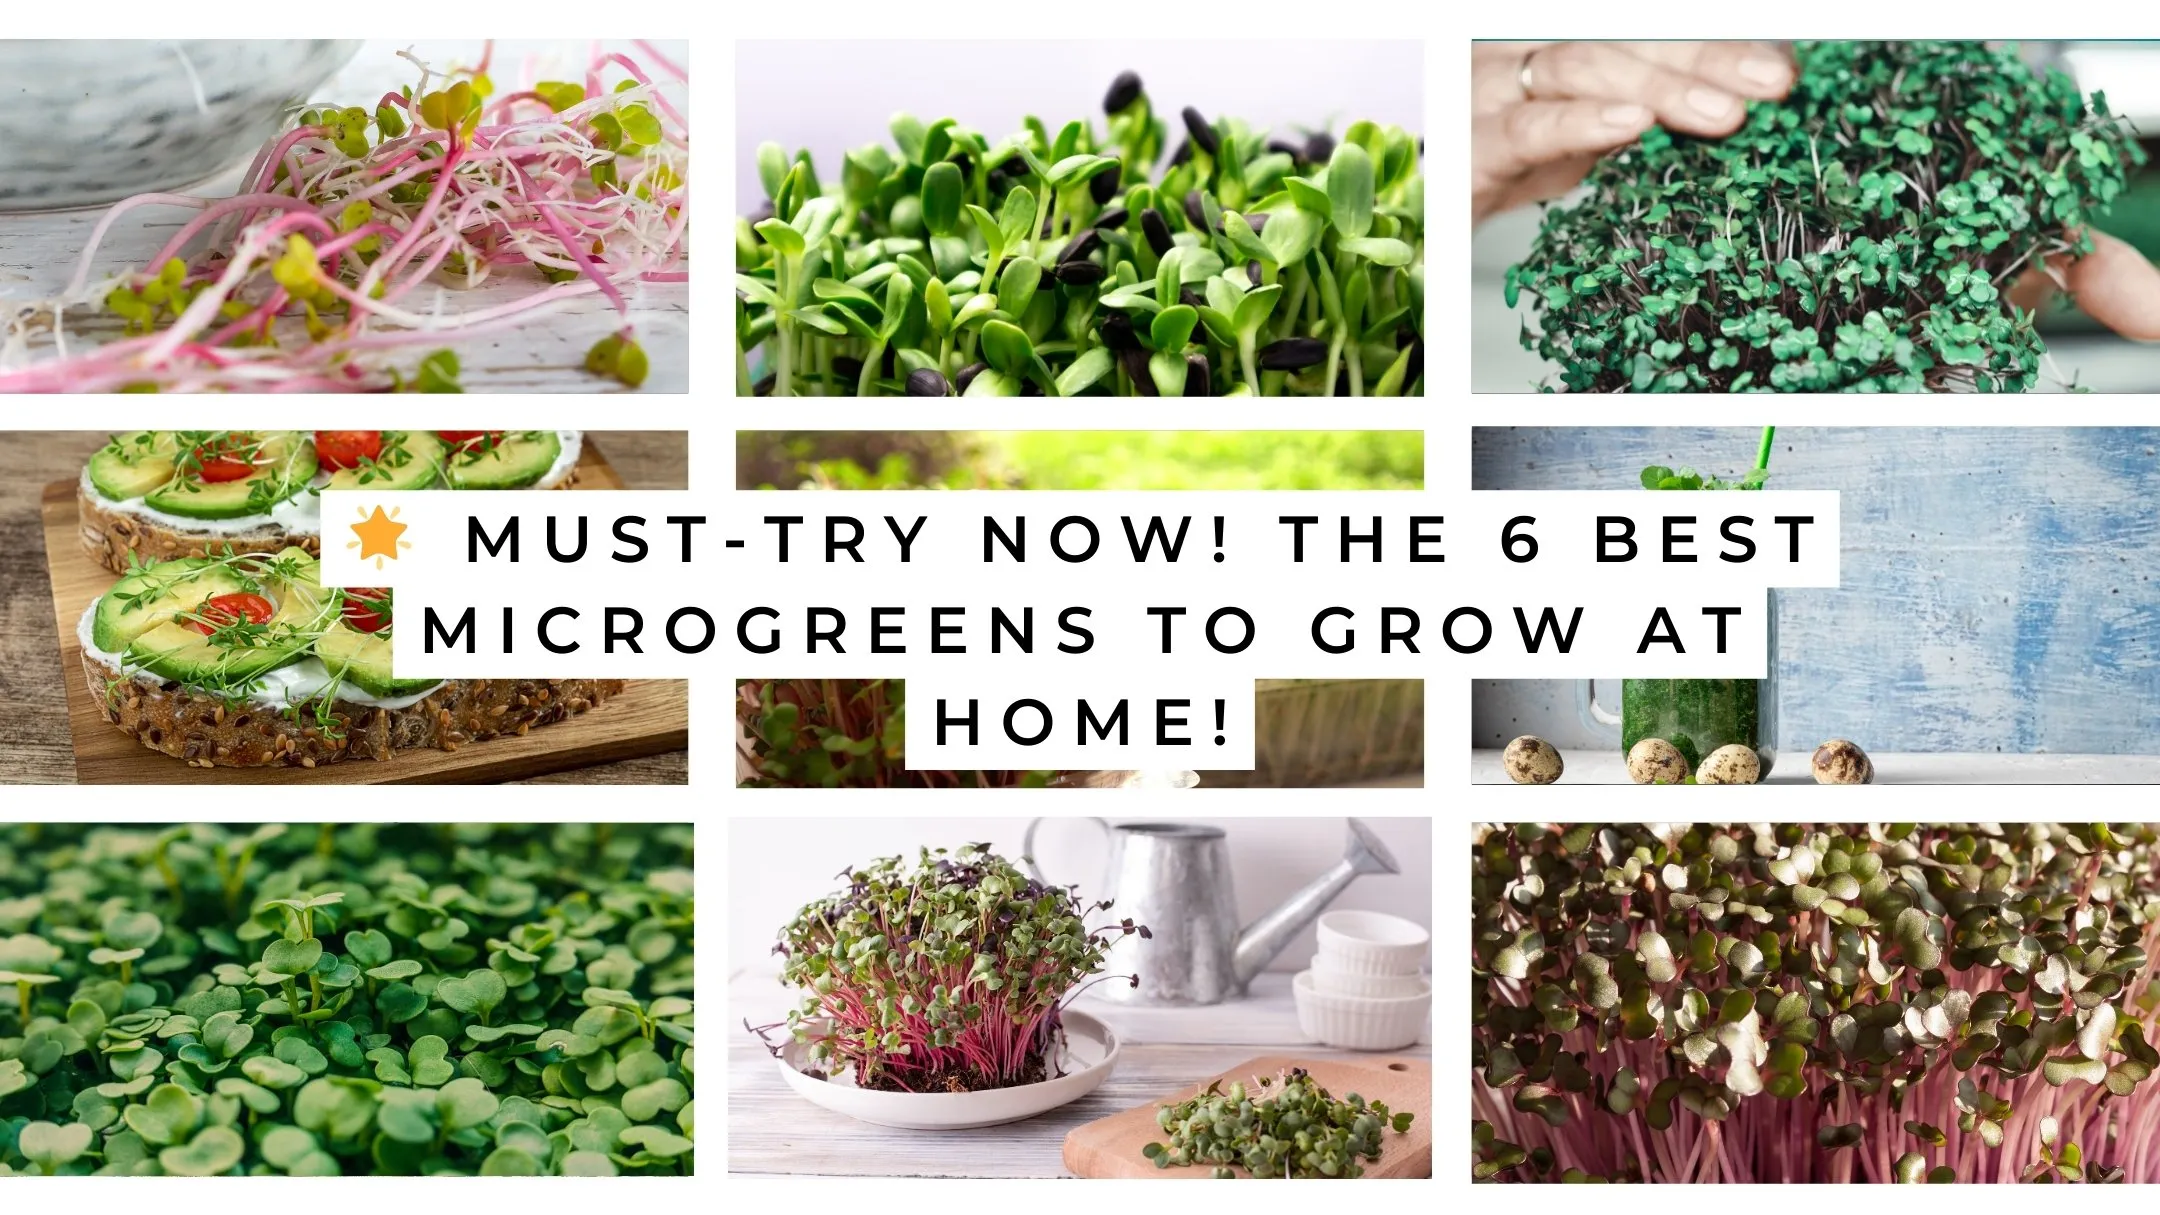
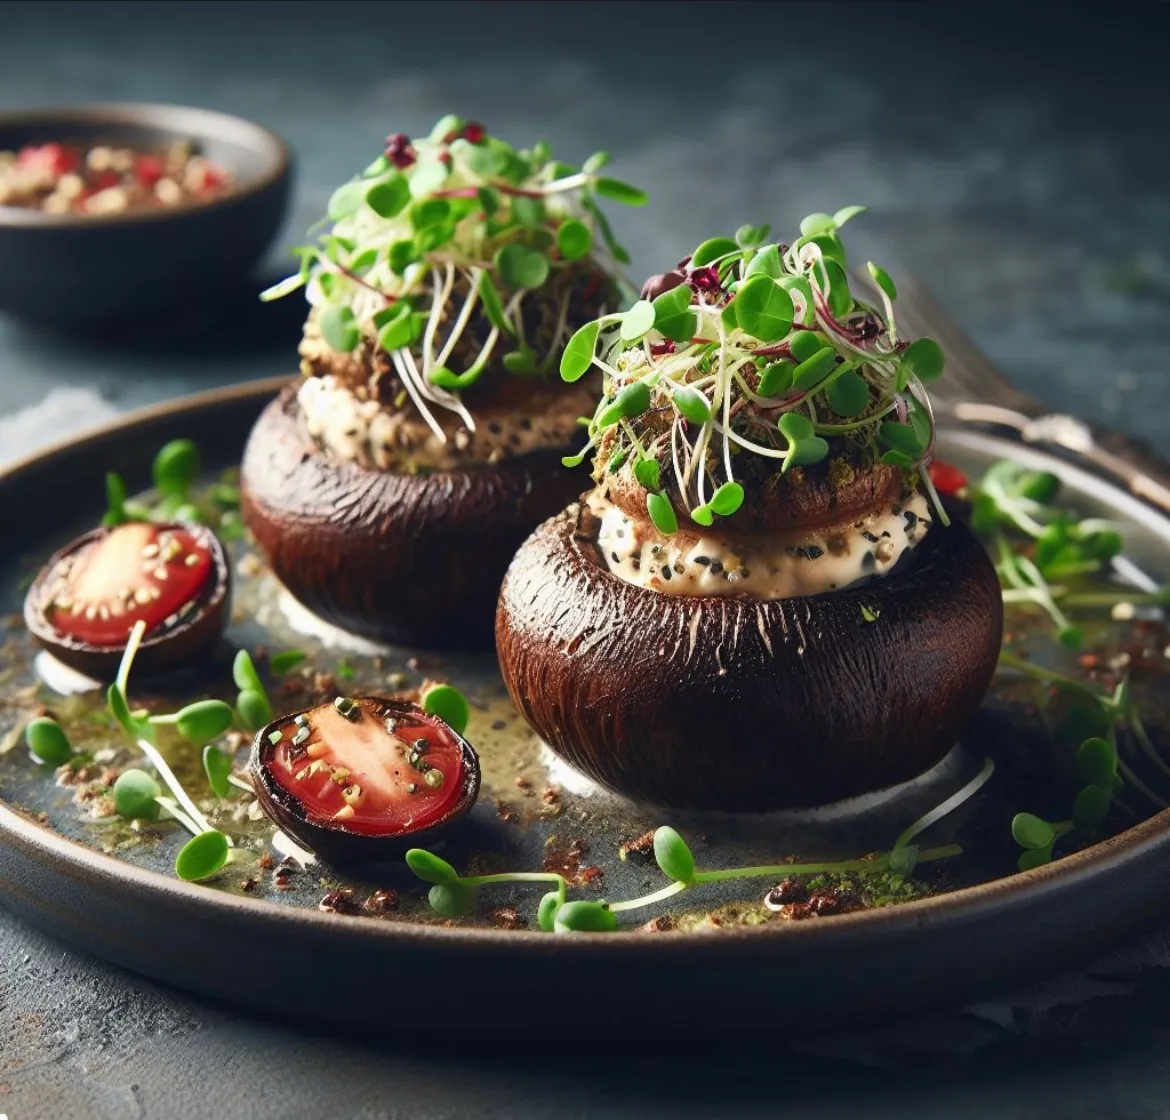
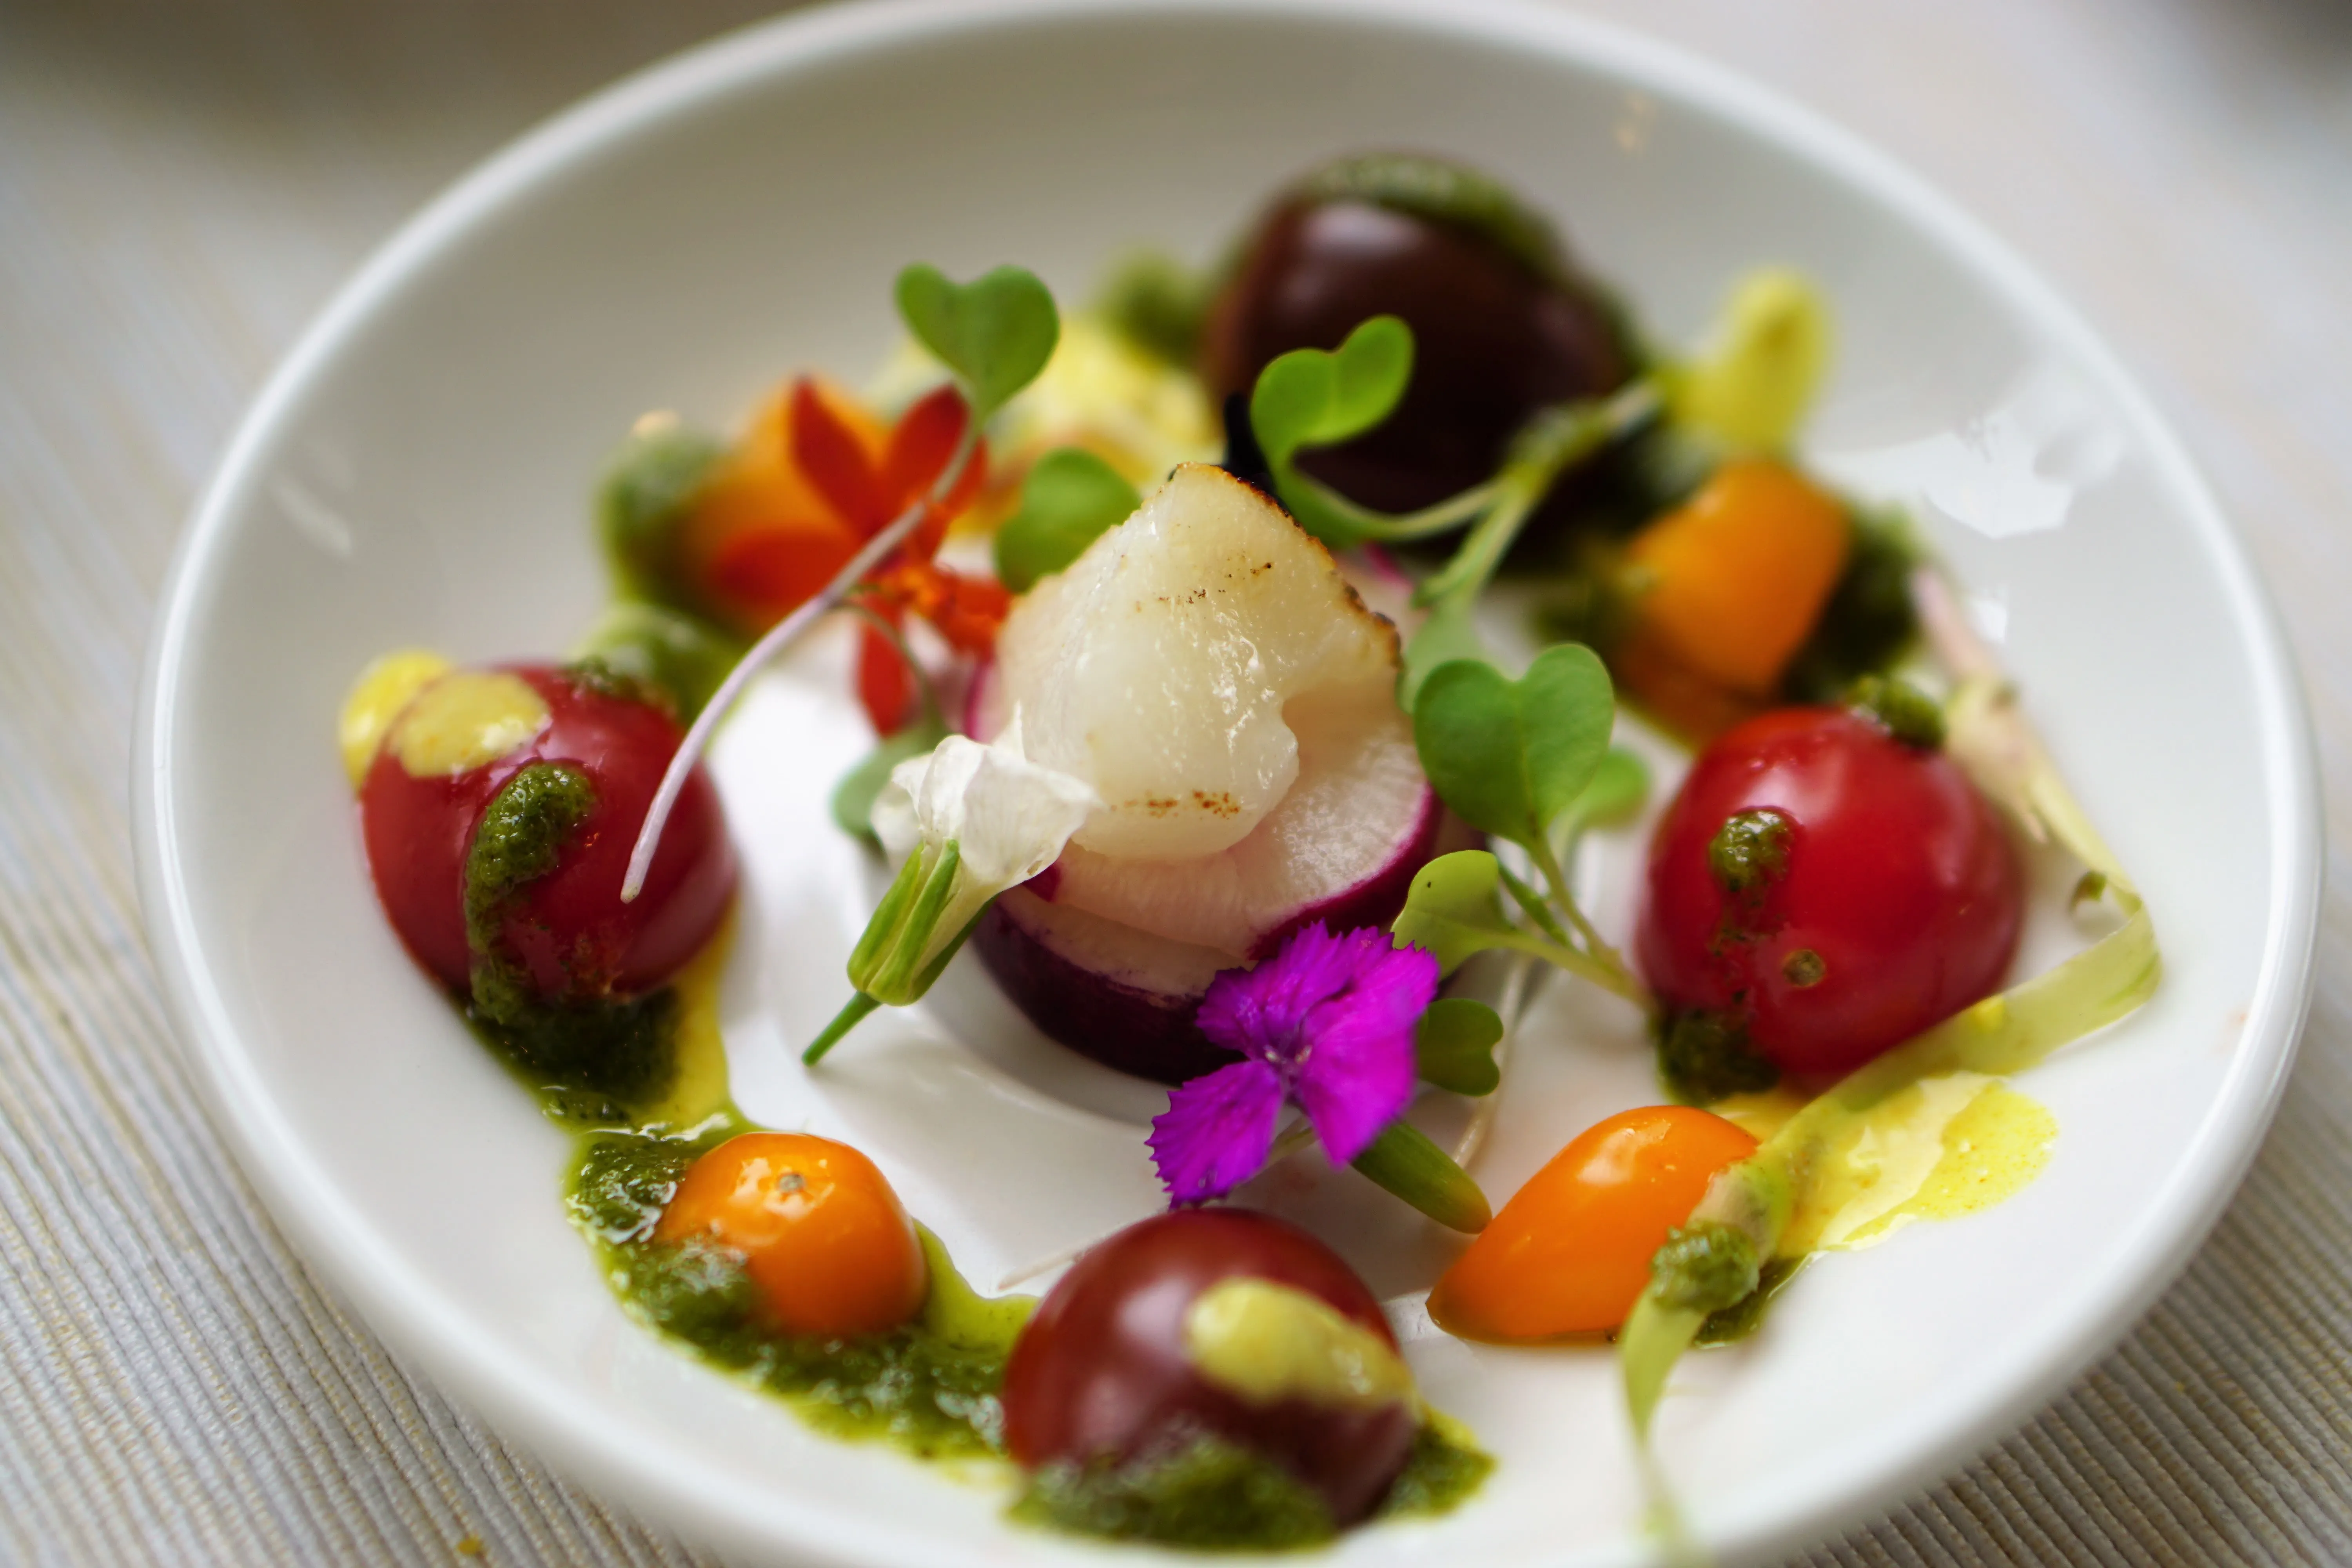
Now that you’ve grown your own microgreens, it’s time to eat them! Try adding them to:
🥗 Salads – for a fresh, nutrient boost
🍕 Pizza – because healthy toppings make everything better!
🥪 Sandwiches & Wraps – for extra crunch and flavor
🥤 Smoothies – for a hidden superfood kick

Ready to Grow More? 🌱
I hope this guide has shown you just how easy it is to grow microgreens!
If you want to master microgreen growing, I have a FREE 10-part masterclass where I share everything I’ve learned in 12 years of growing microgreens.
🎉 Sign up here → ameliaislandmicrogreens.com/101
🔥 BONUS: Check out my next guide on how to store and harvest microgreens like a pro!
👉 Watch it HERE


