Unlock the Secret to Health: The complete 10 part masterclass
Unlock the Secret to Health: The complete 10 part masterclass
Oct 12, 2024

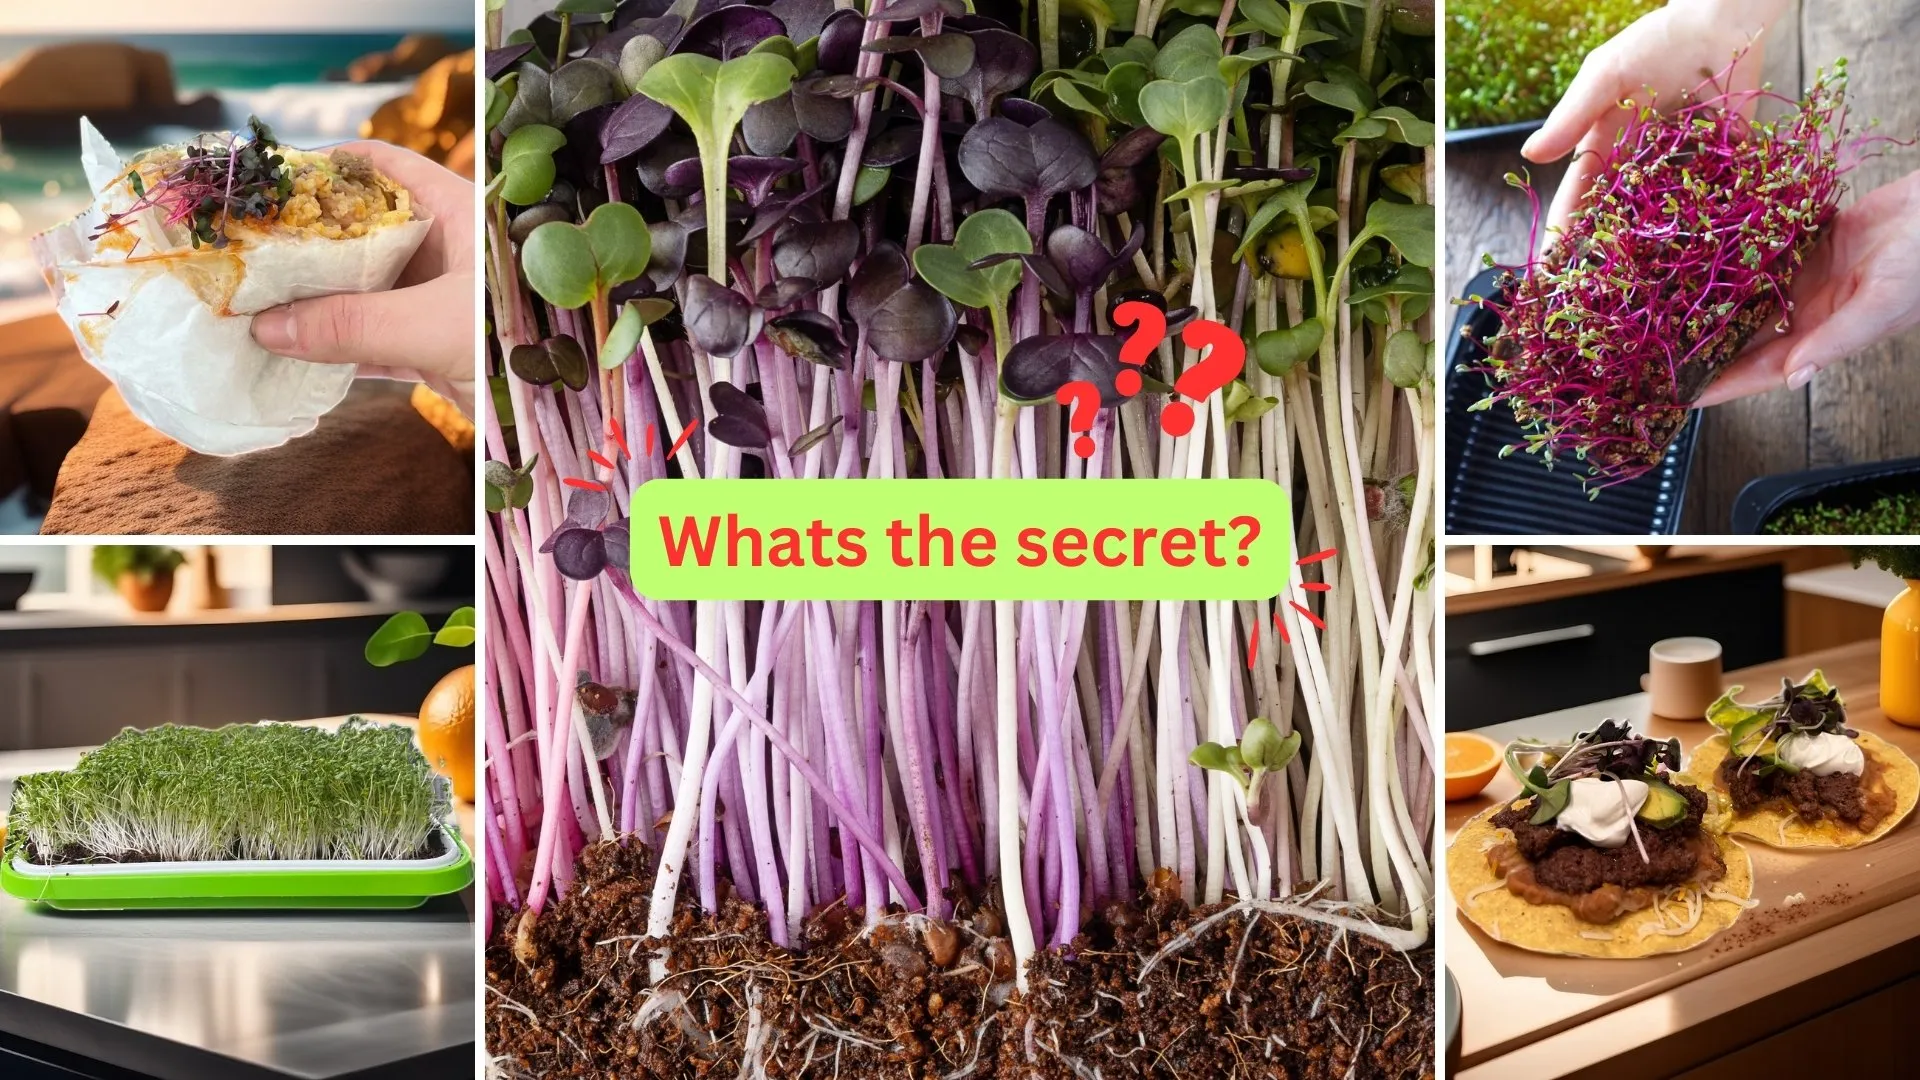
Welcome to the final chapter of our Microgreens at Home series! 🎉 Throughout this journey, we’ve explored the incredible benefits of these tiny greens and provided step-by-step guidance on how to grow them yourself. Whether you’re a seasoned gardener or a curious beginner, you now have the tools to transform your meals with these nutrient-packed plants.
In this blog, you’ll discover why microgreens are the ultimate home-grown superfood, how growing your own is easier (and faster) than you think, and practical ways to incorporate them into everyday meals. Plus, stick with us until the end for a secret tip that will level up your microgreen-growing game forever. If you’ve followed along in the series, this post brings everything together—giving you a final push to grow microgreens successfully year-round.
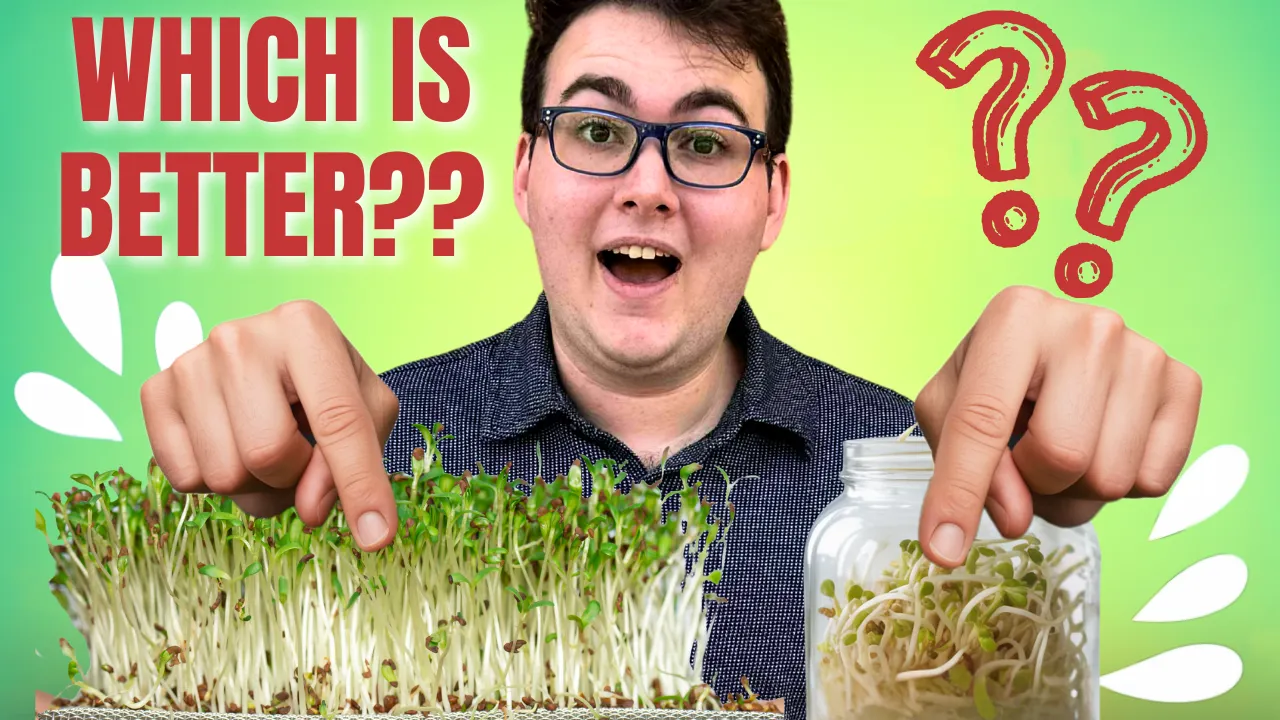
If you’re excited to finish this journey with a bang, watch the embedded video below, where we walk through everything you need to become a microgreen pro!
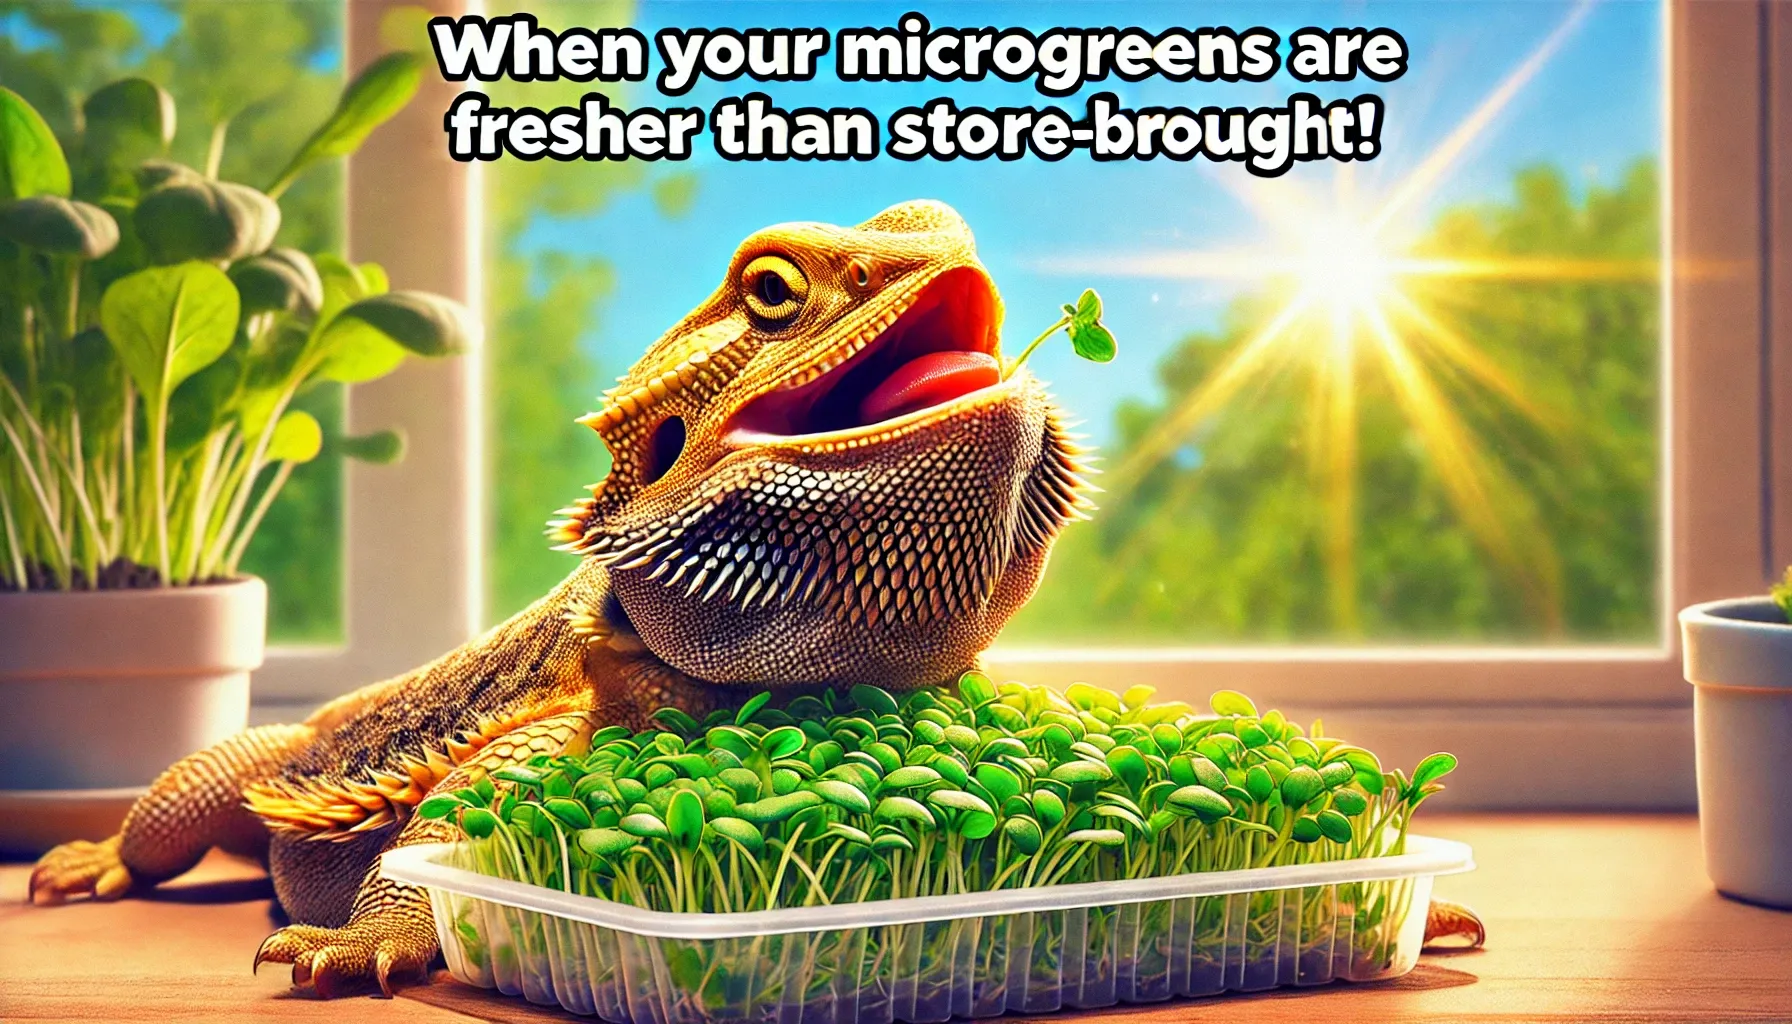
🎬 Learn how microgreens outperform store-bought veggies and get exclusive growing tips to master them at home!
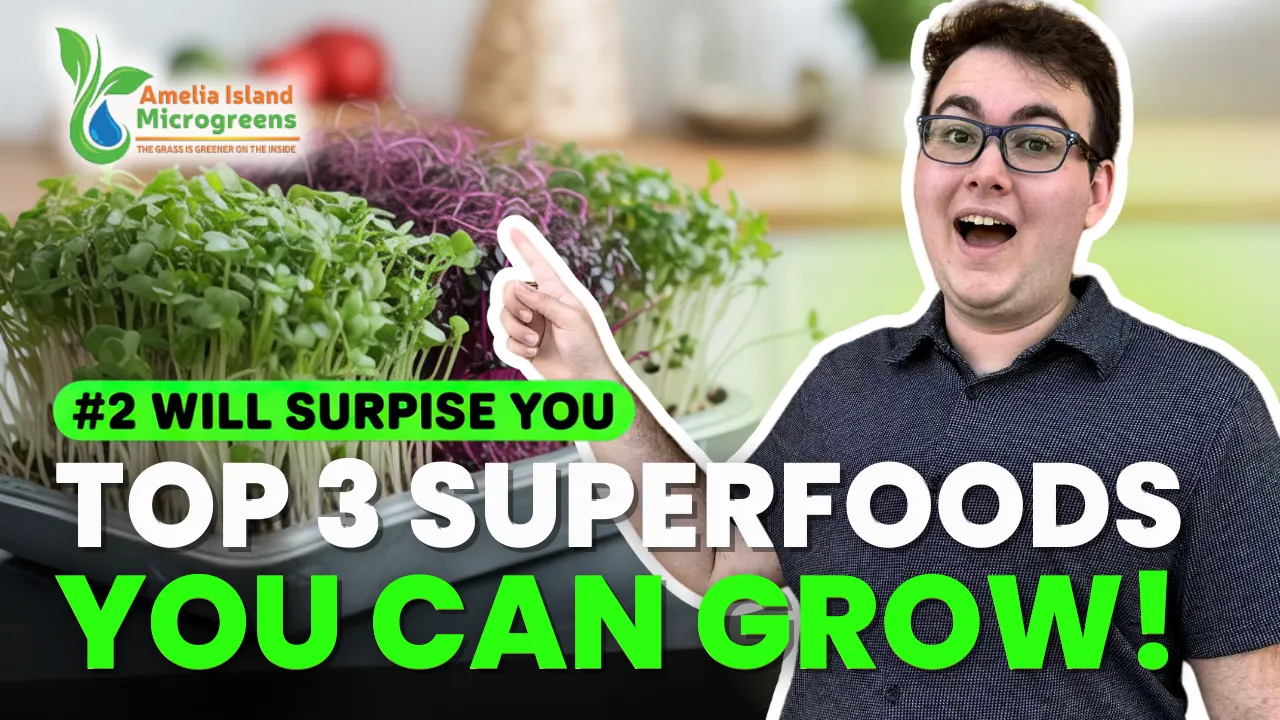
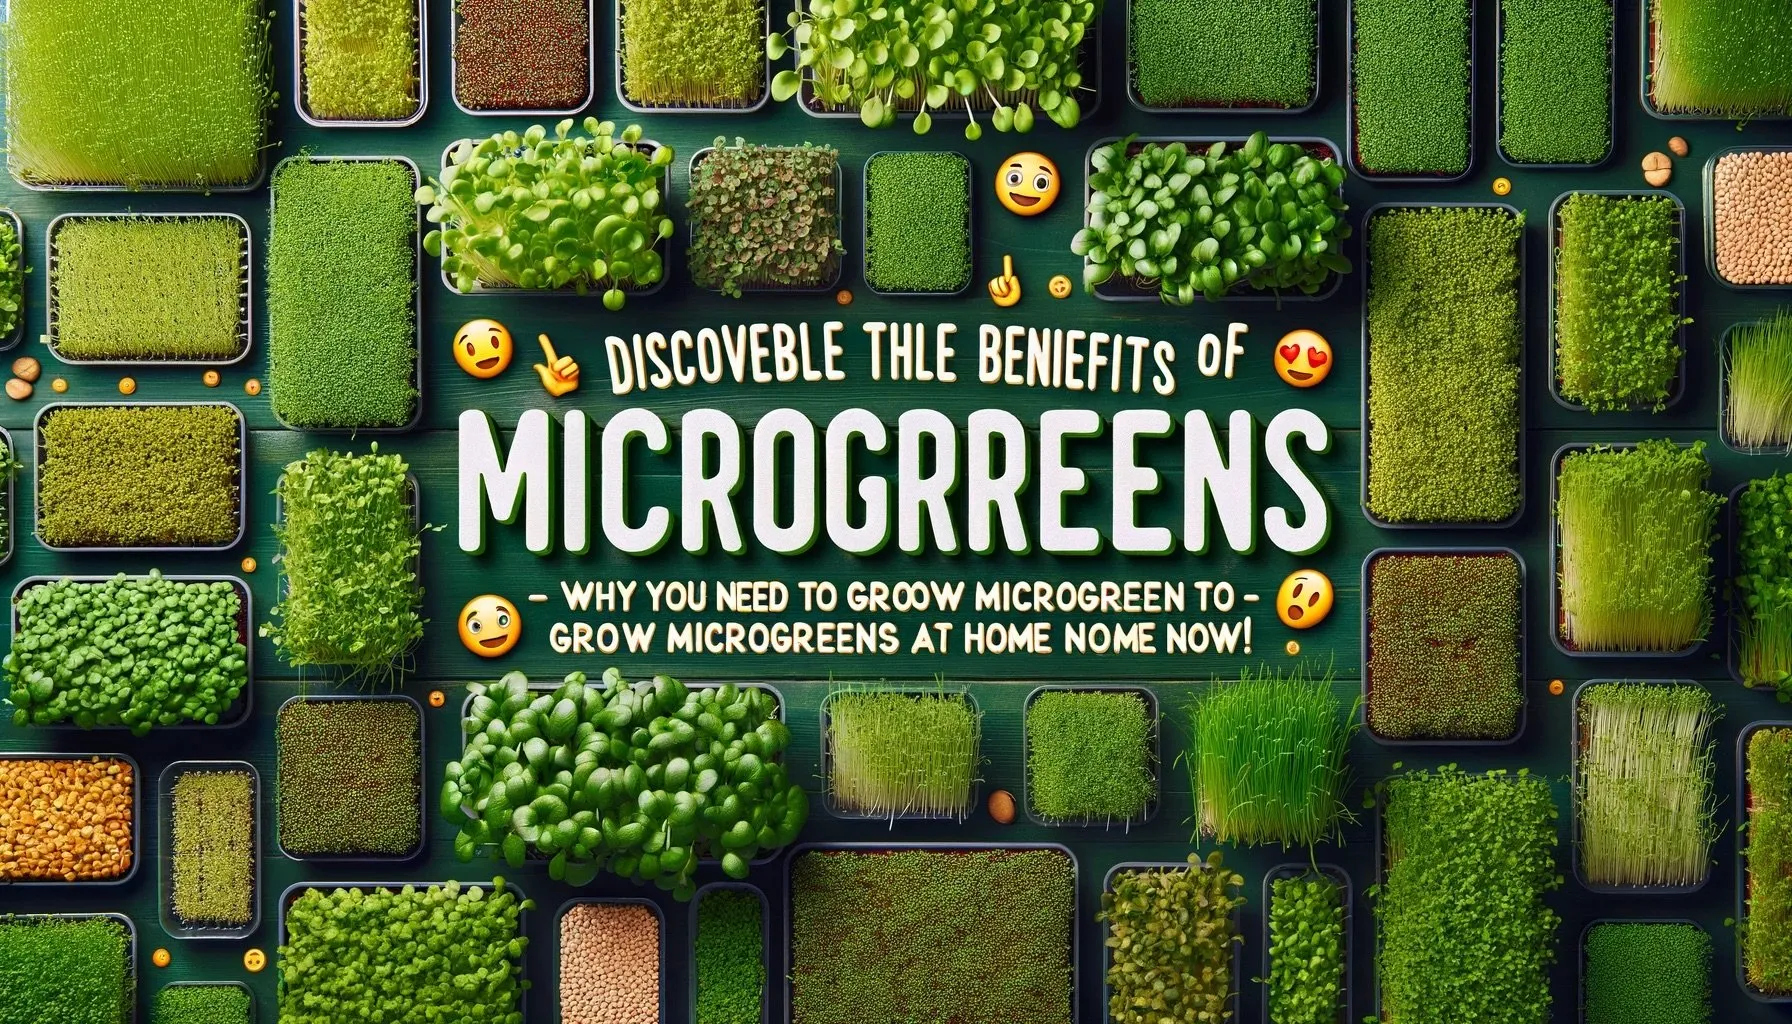
Microgreens at Home: The Healthiest, Easiest Greens to Grow
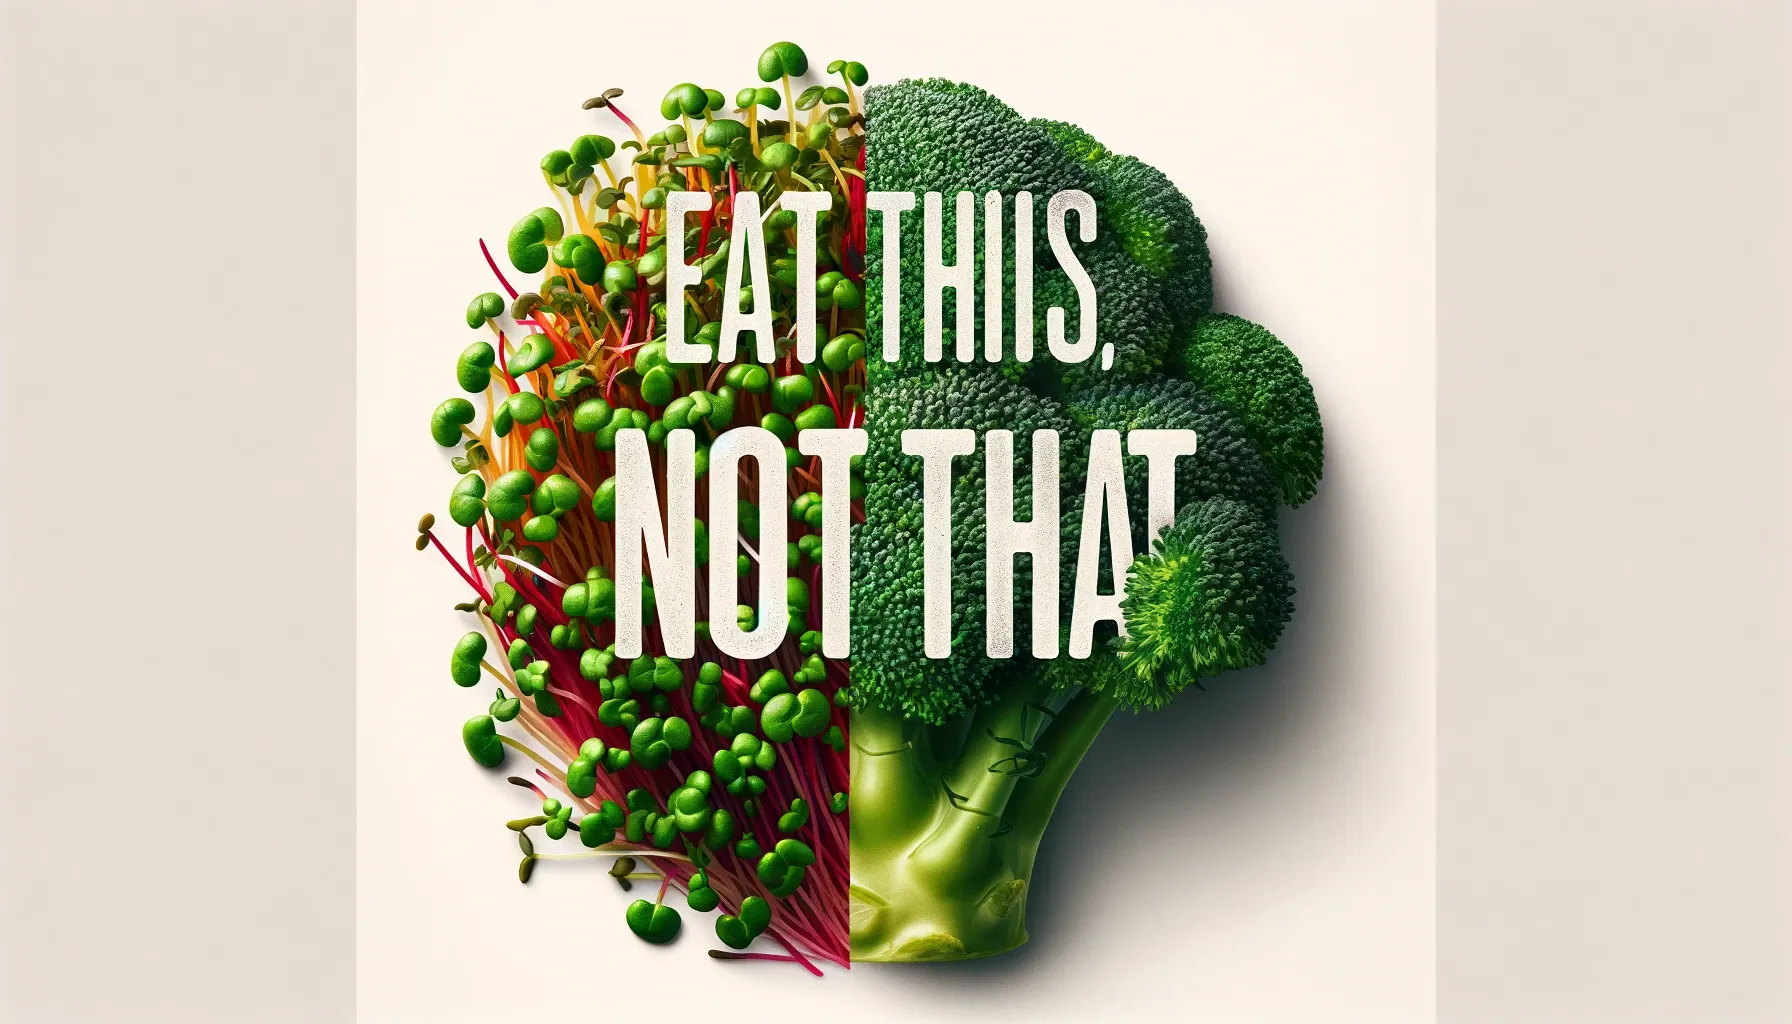
1. Why Microgreens Outshine Store-Bought Vegetables
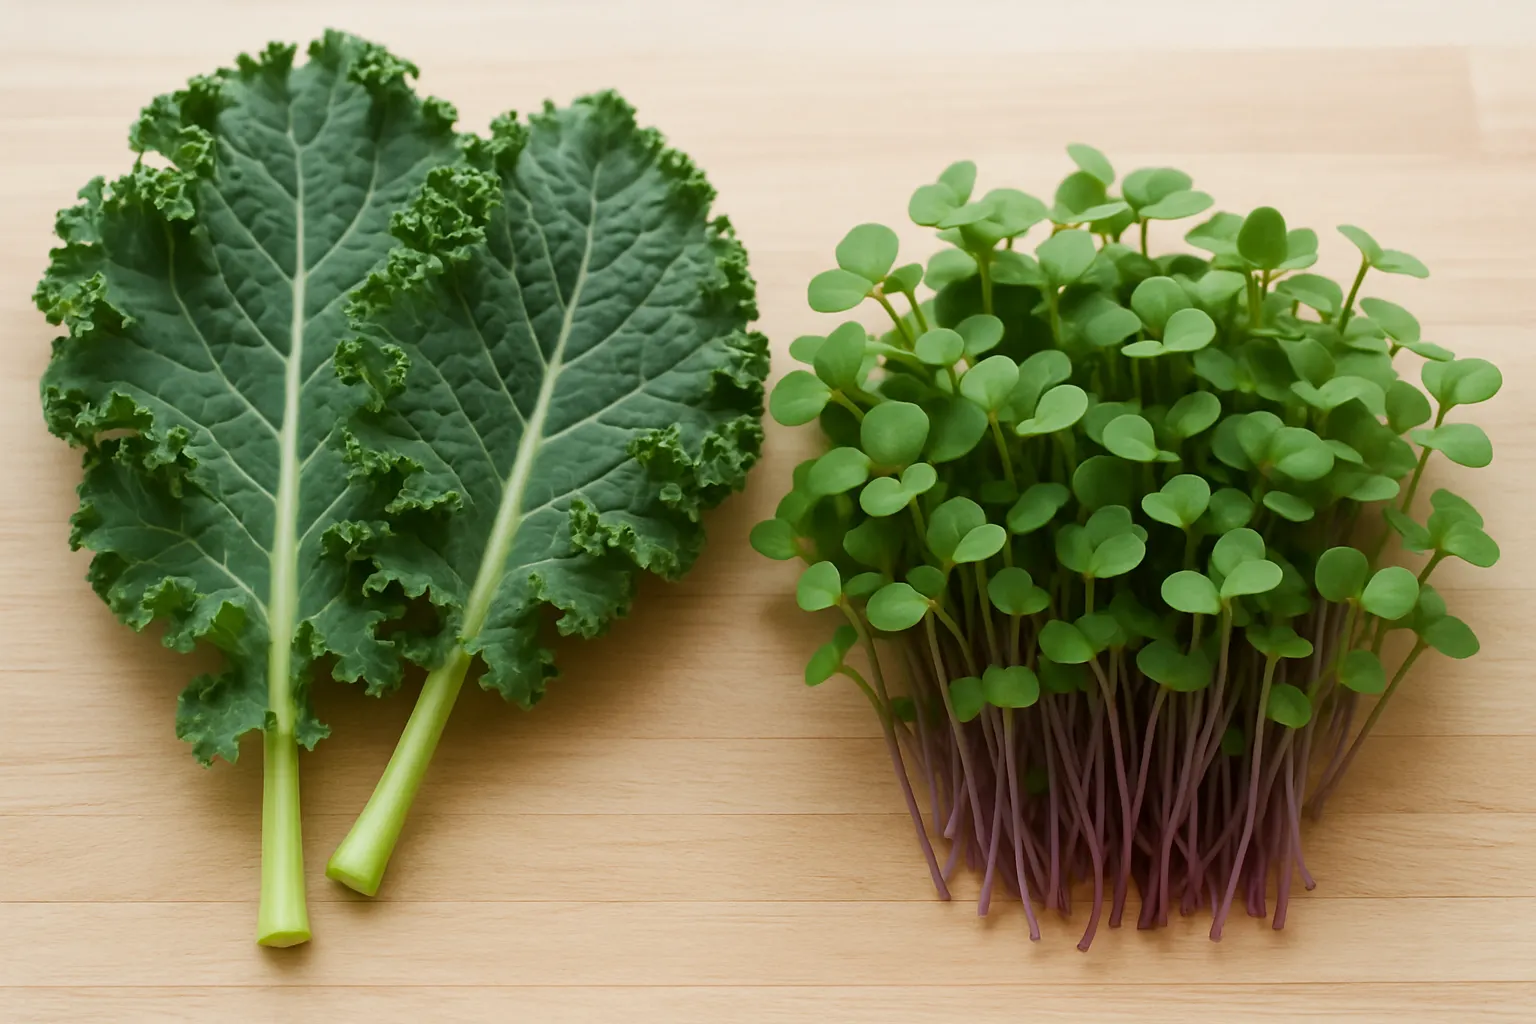
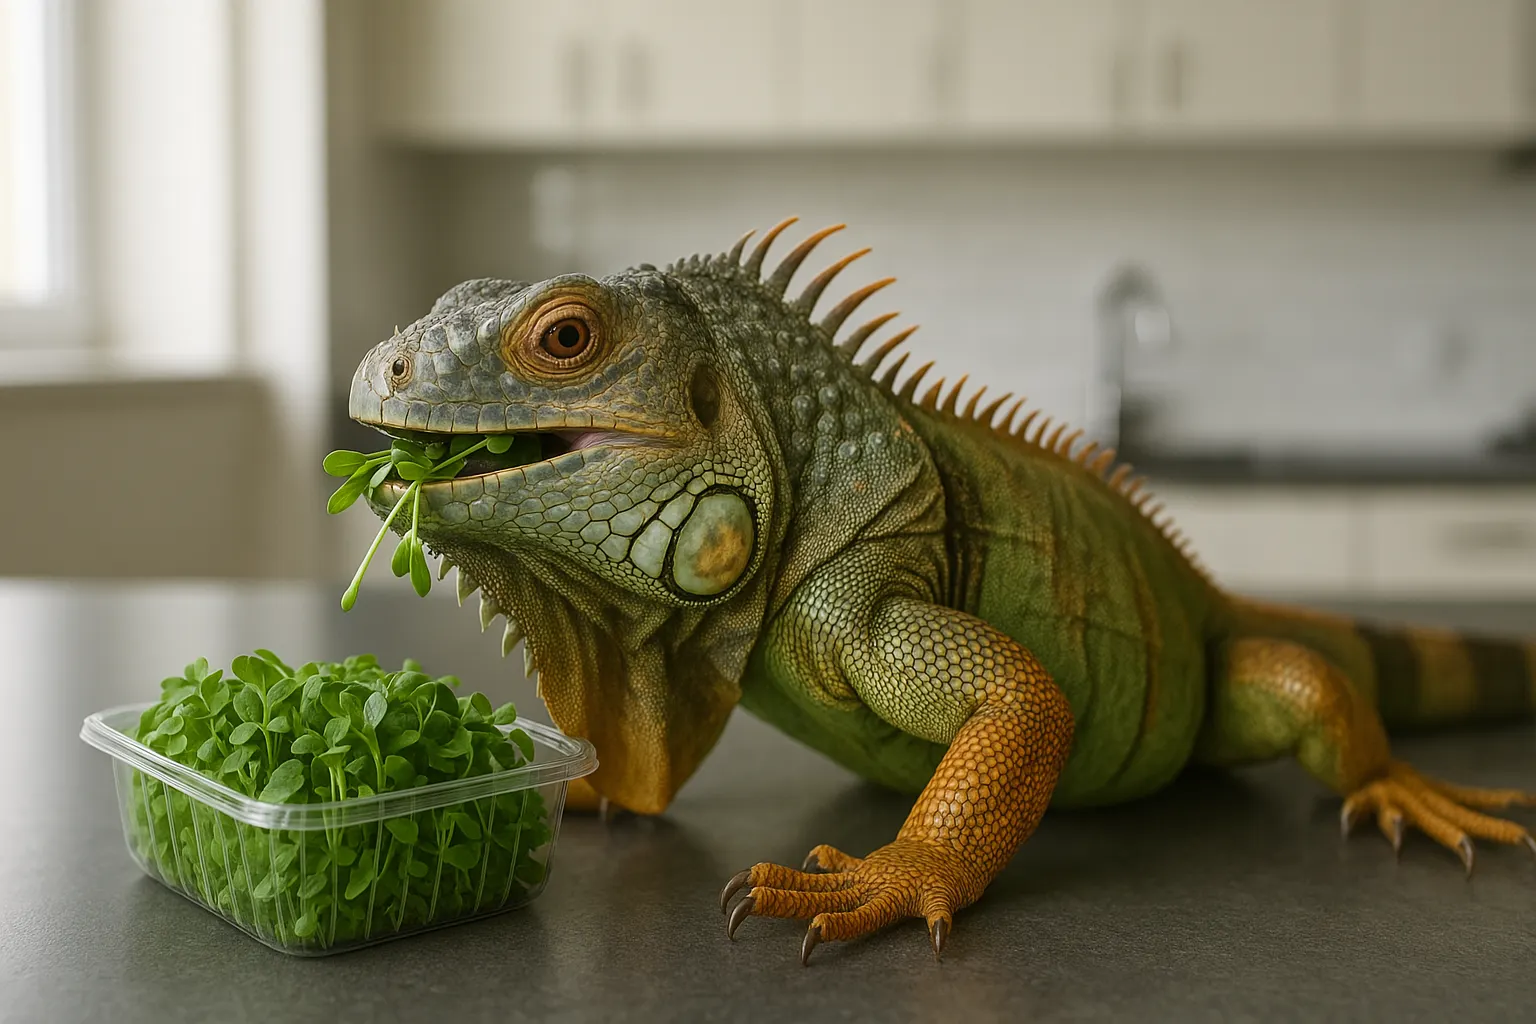
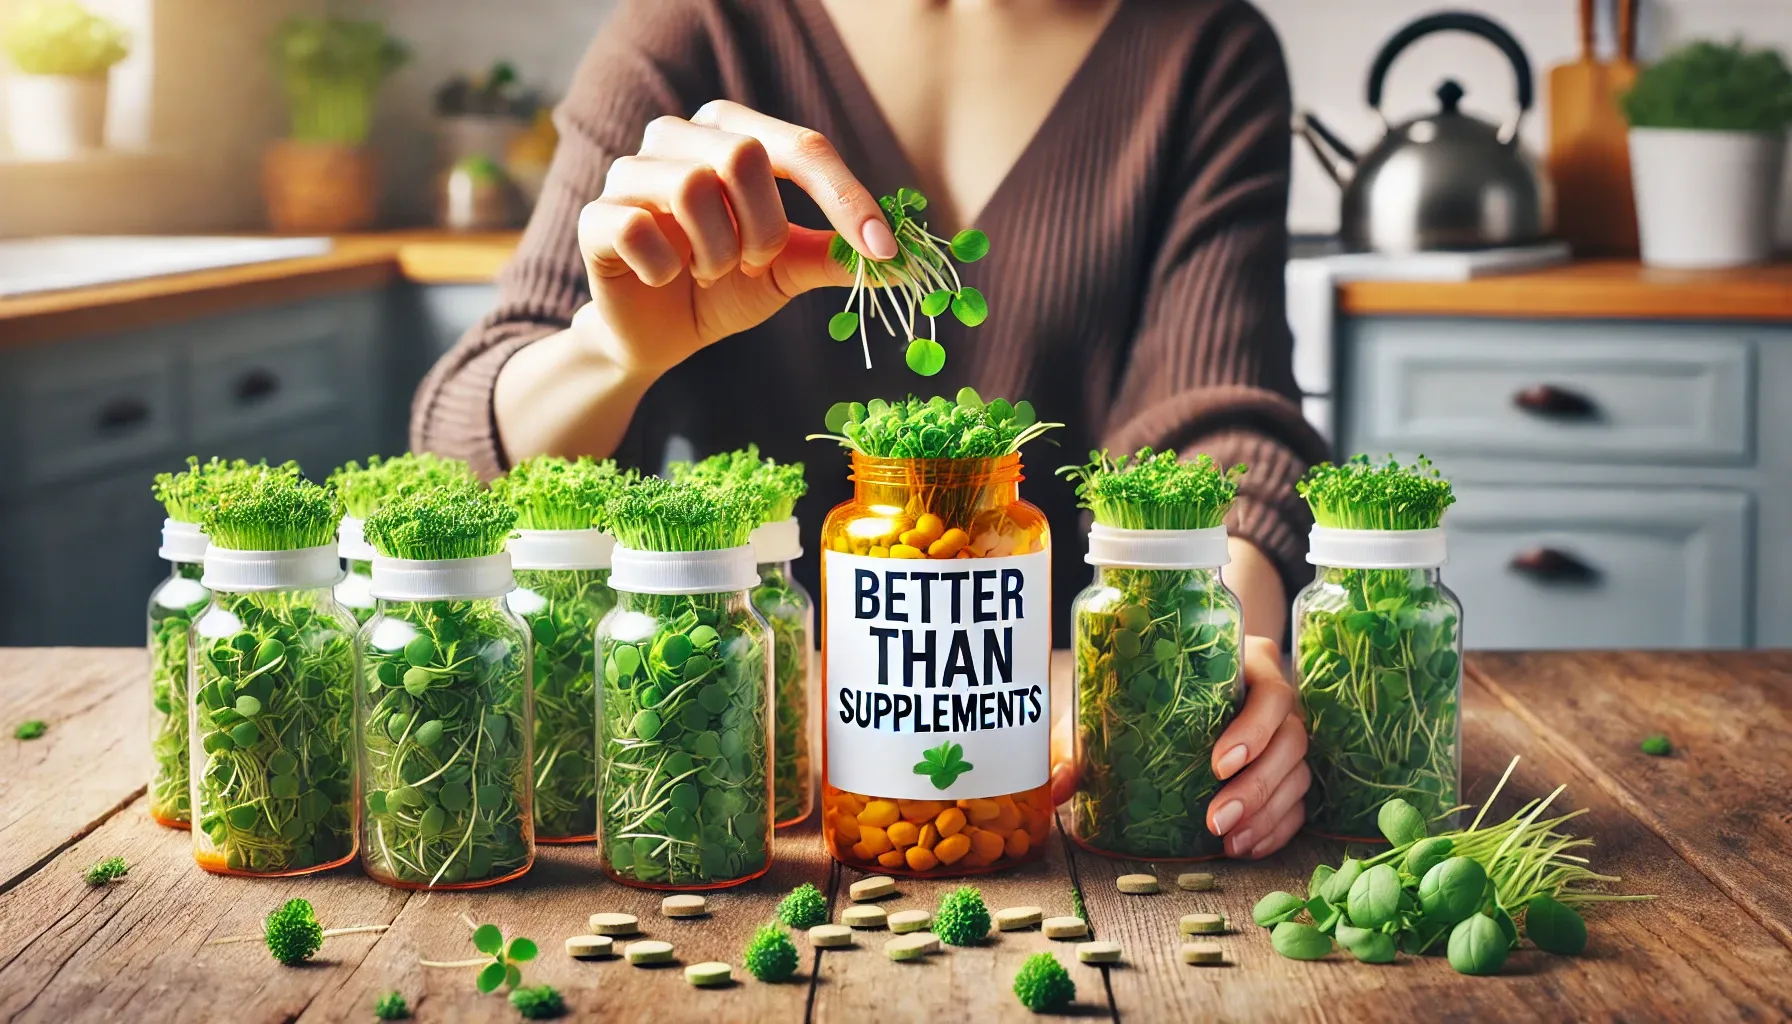
Did you know that microgreens contain up to 100 times more nutrients than mature plants? 🌱 In fact, just a handful of broccoli microgreens delivers more sulforaphane (a cancer-fighting compound) than an entire head of broccoli. When grown at home, microgreens retain their peak nutrient density—something that’s often lost in store-bought produce.
Growing them yourself ensures that your greens are fresh, pesticide-free, and loaded with essential vitamins and minerals. No more worrying about how long they’ve been sitting on grocery shelves or what chemicals might have been sprayed on them. Microgreens at home give you complete control over your food and health!

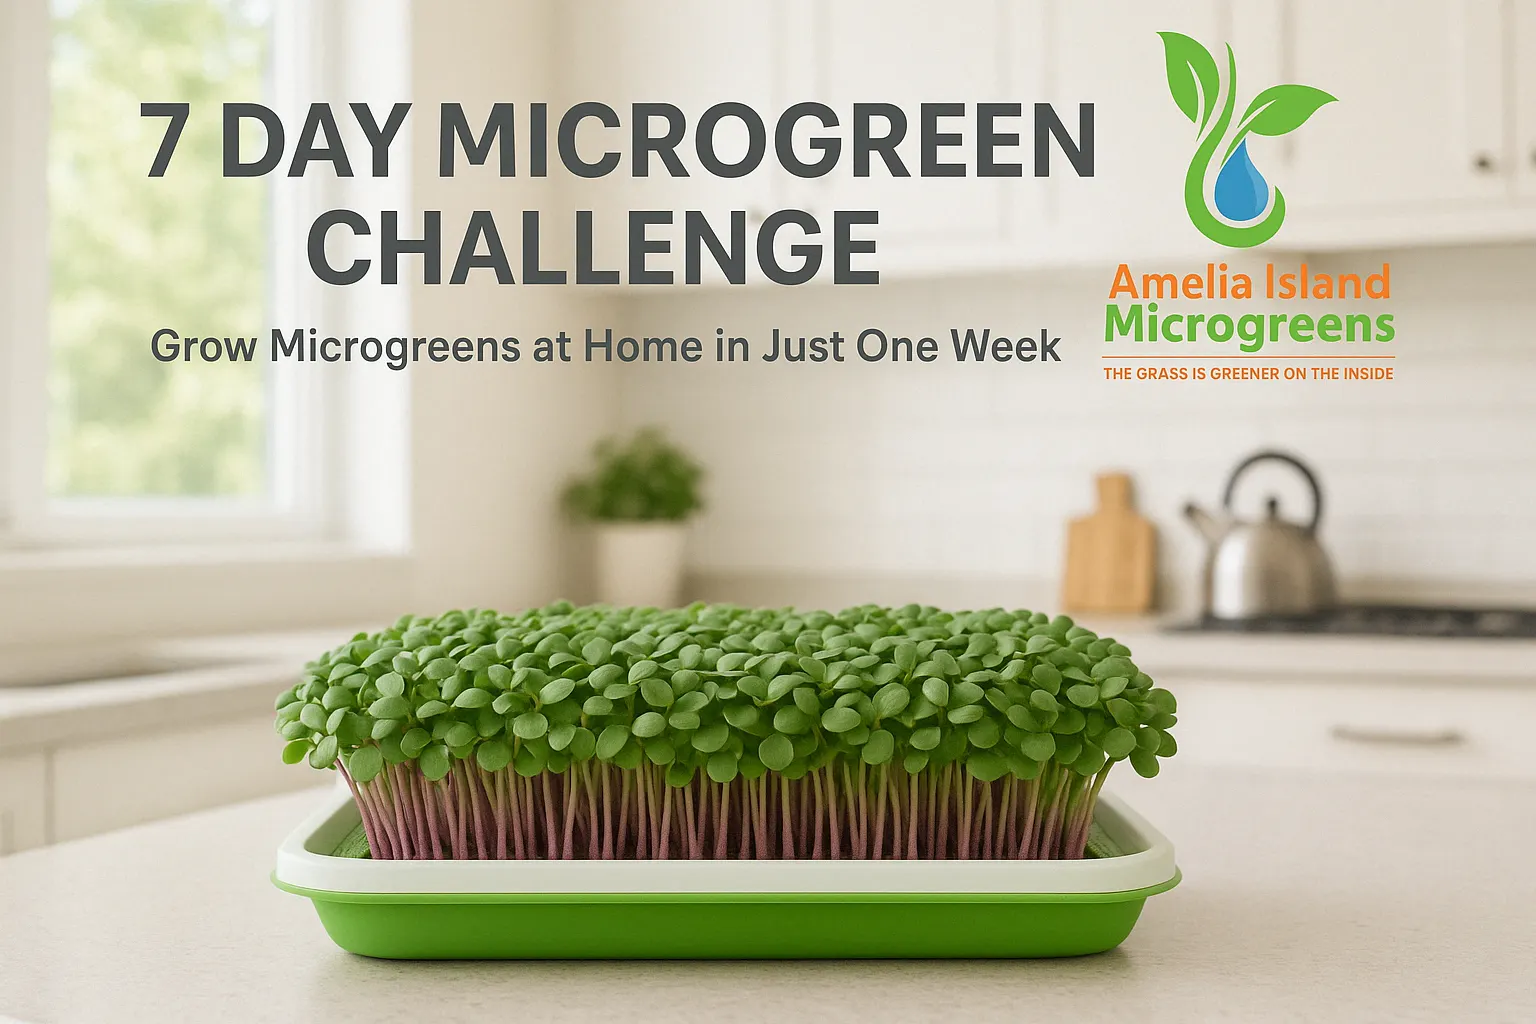
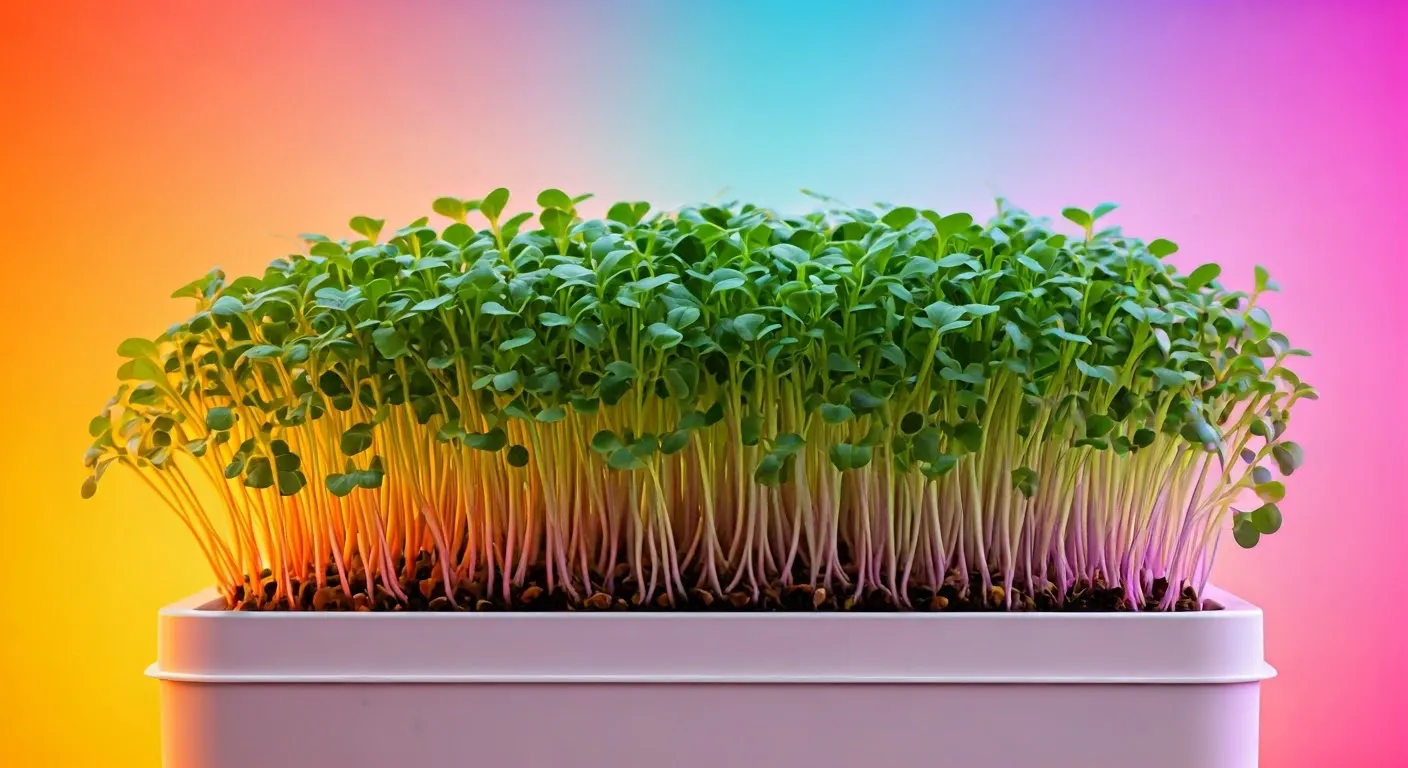
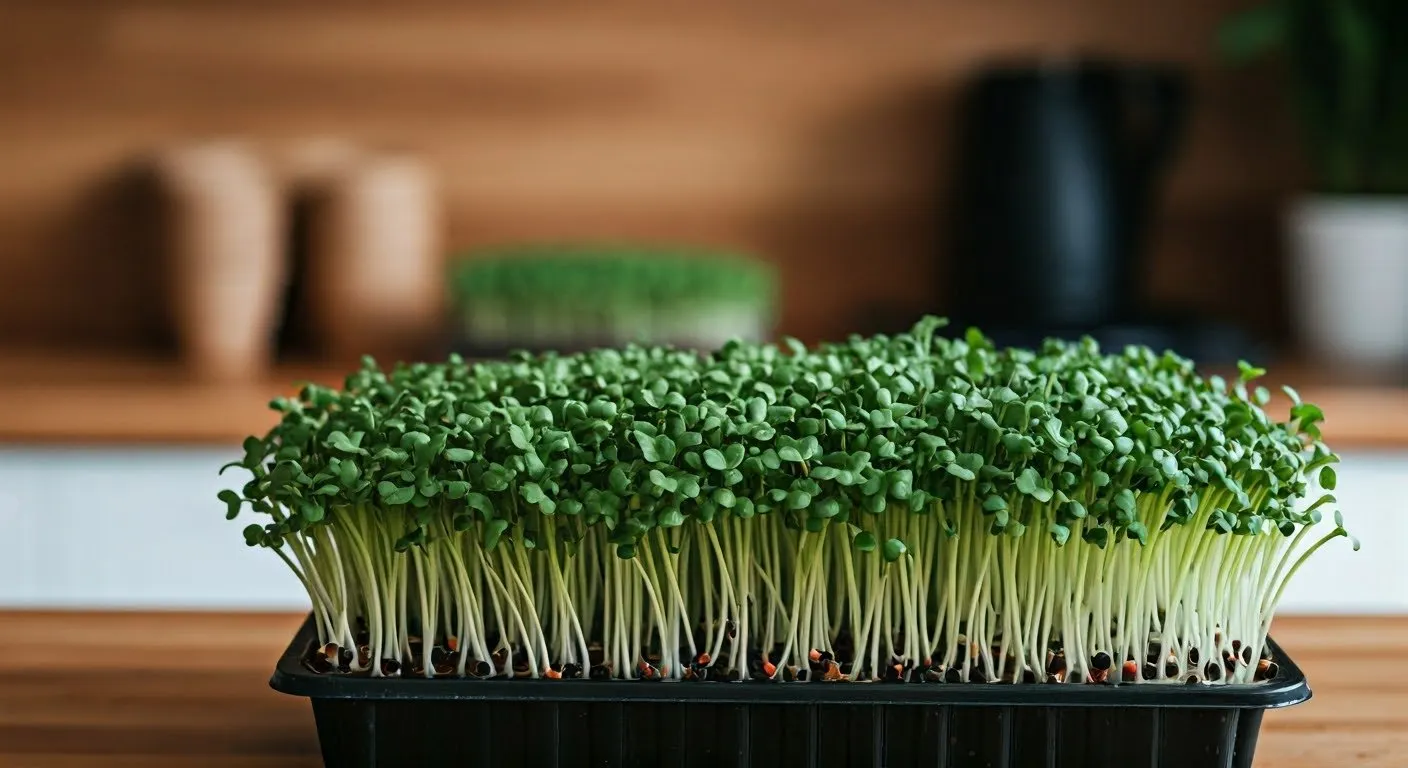
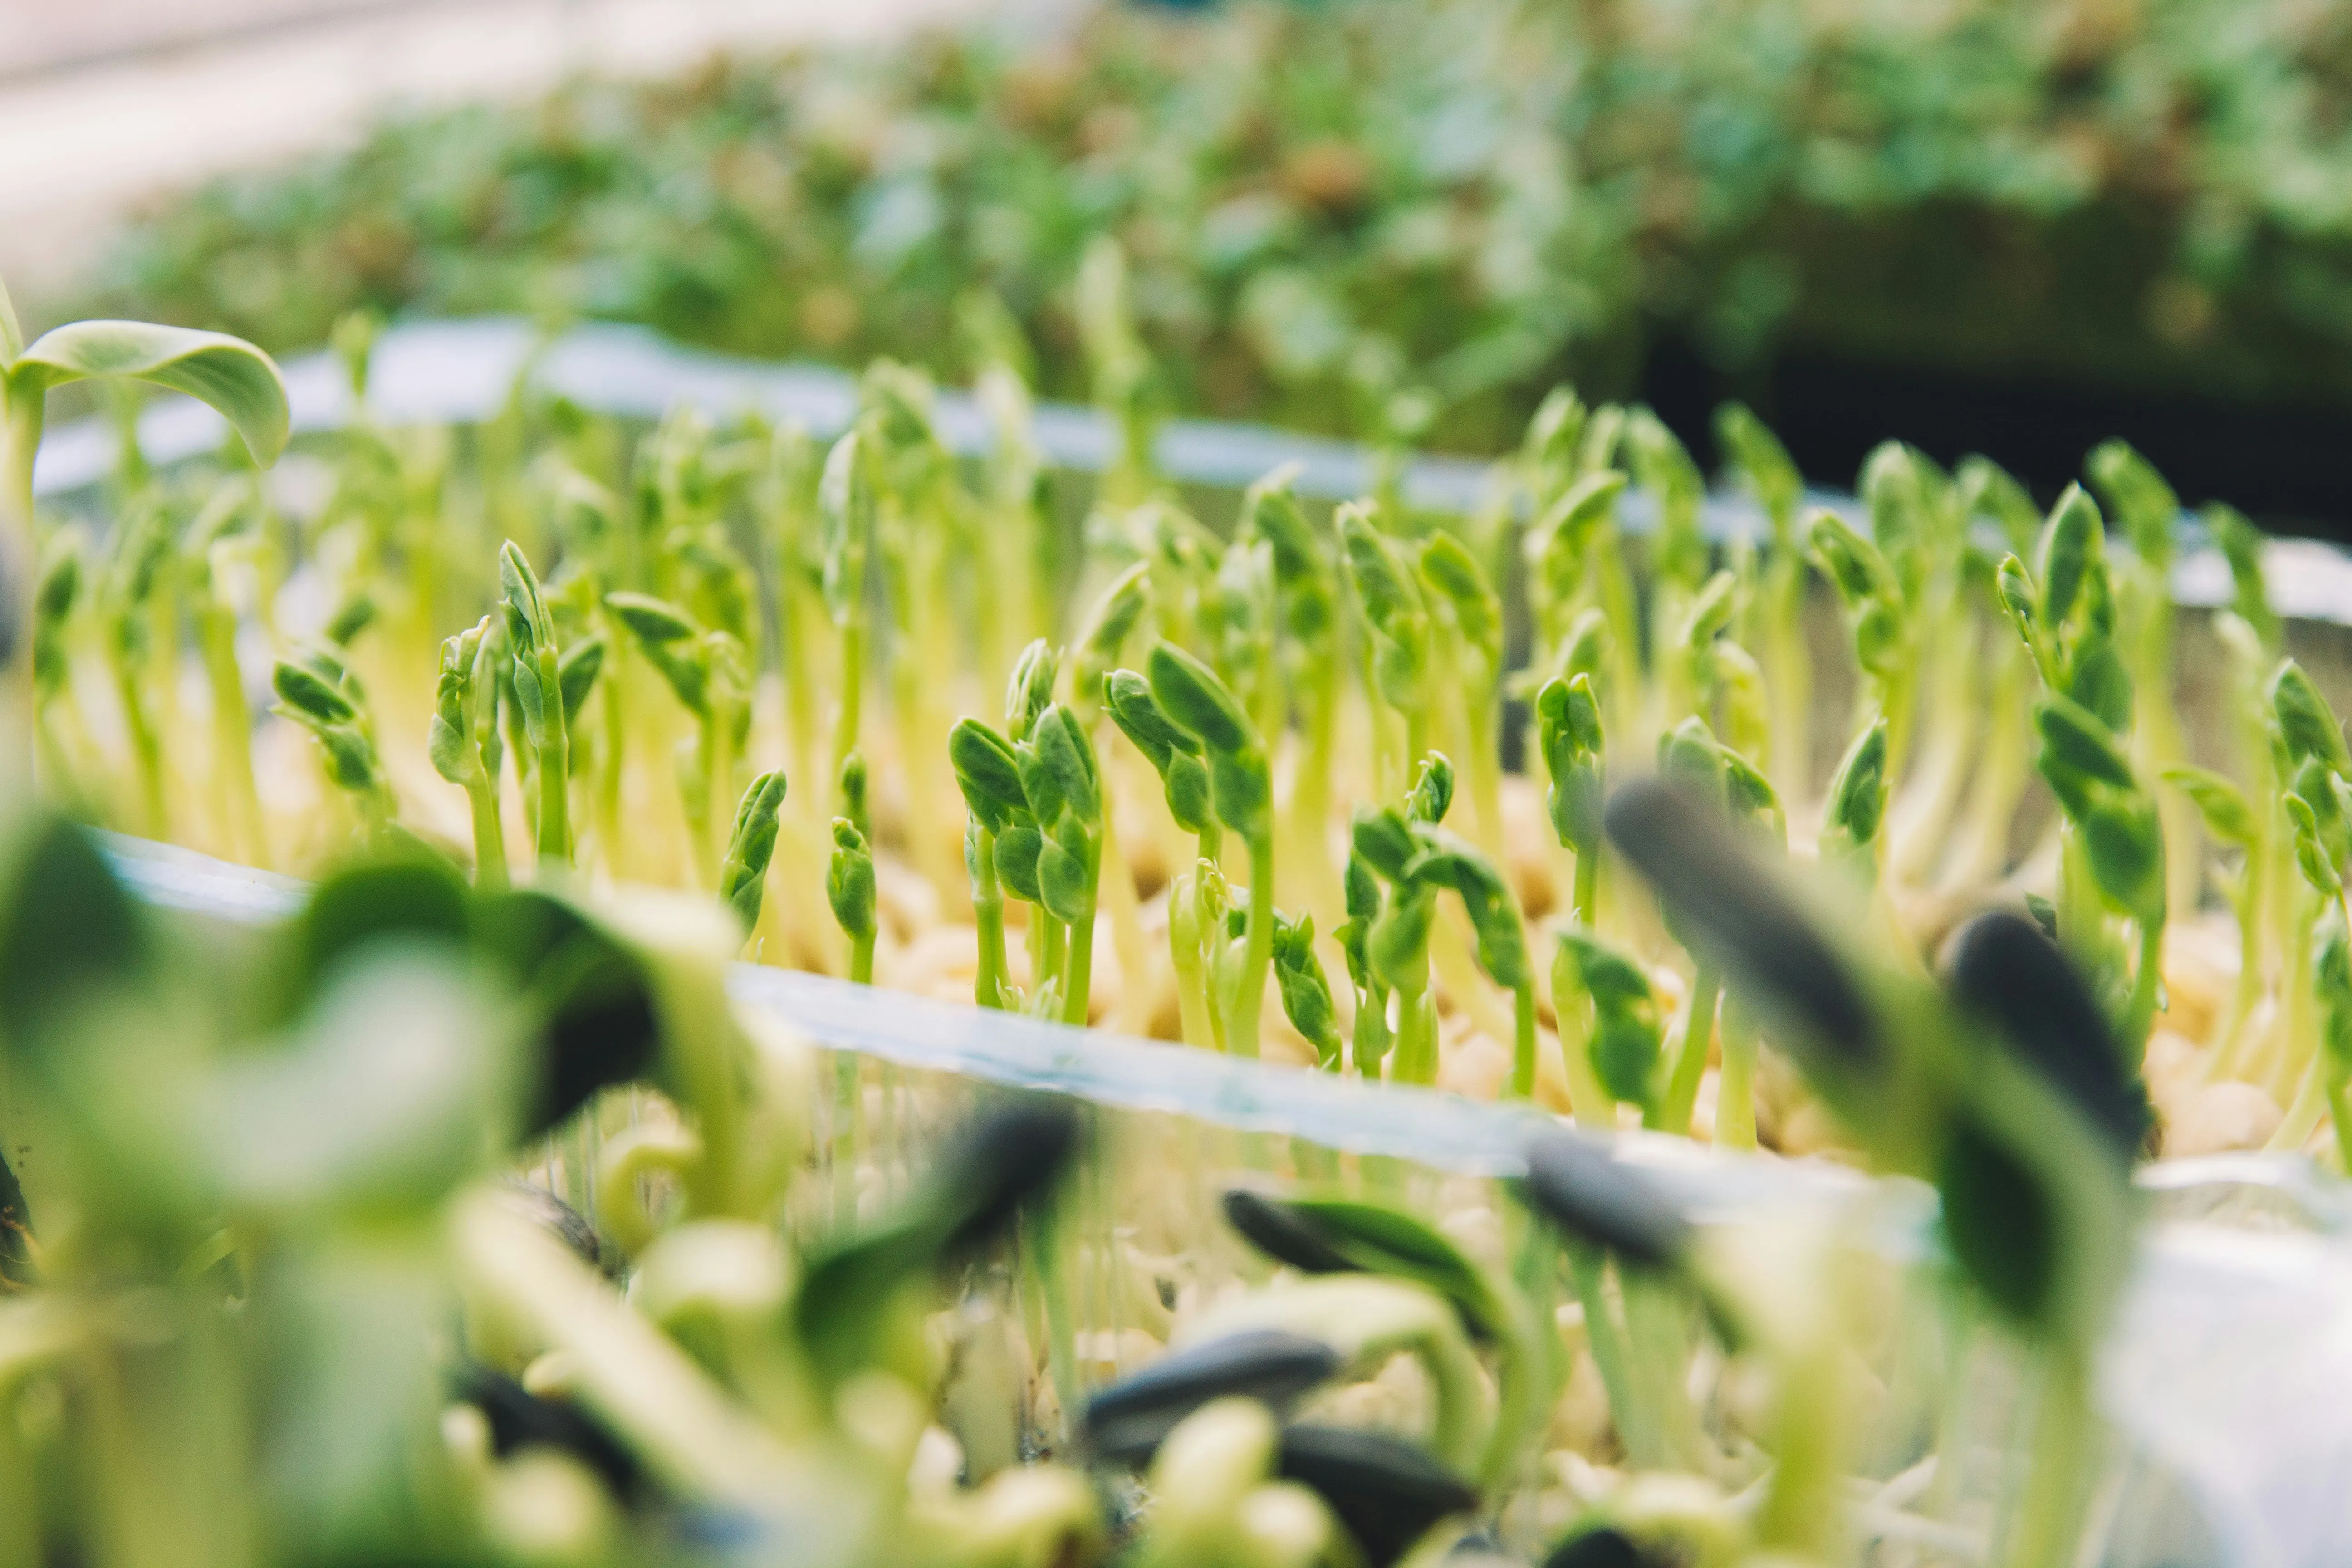
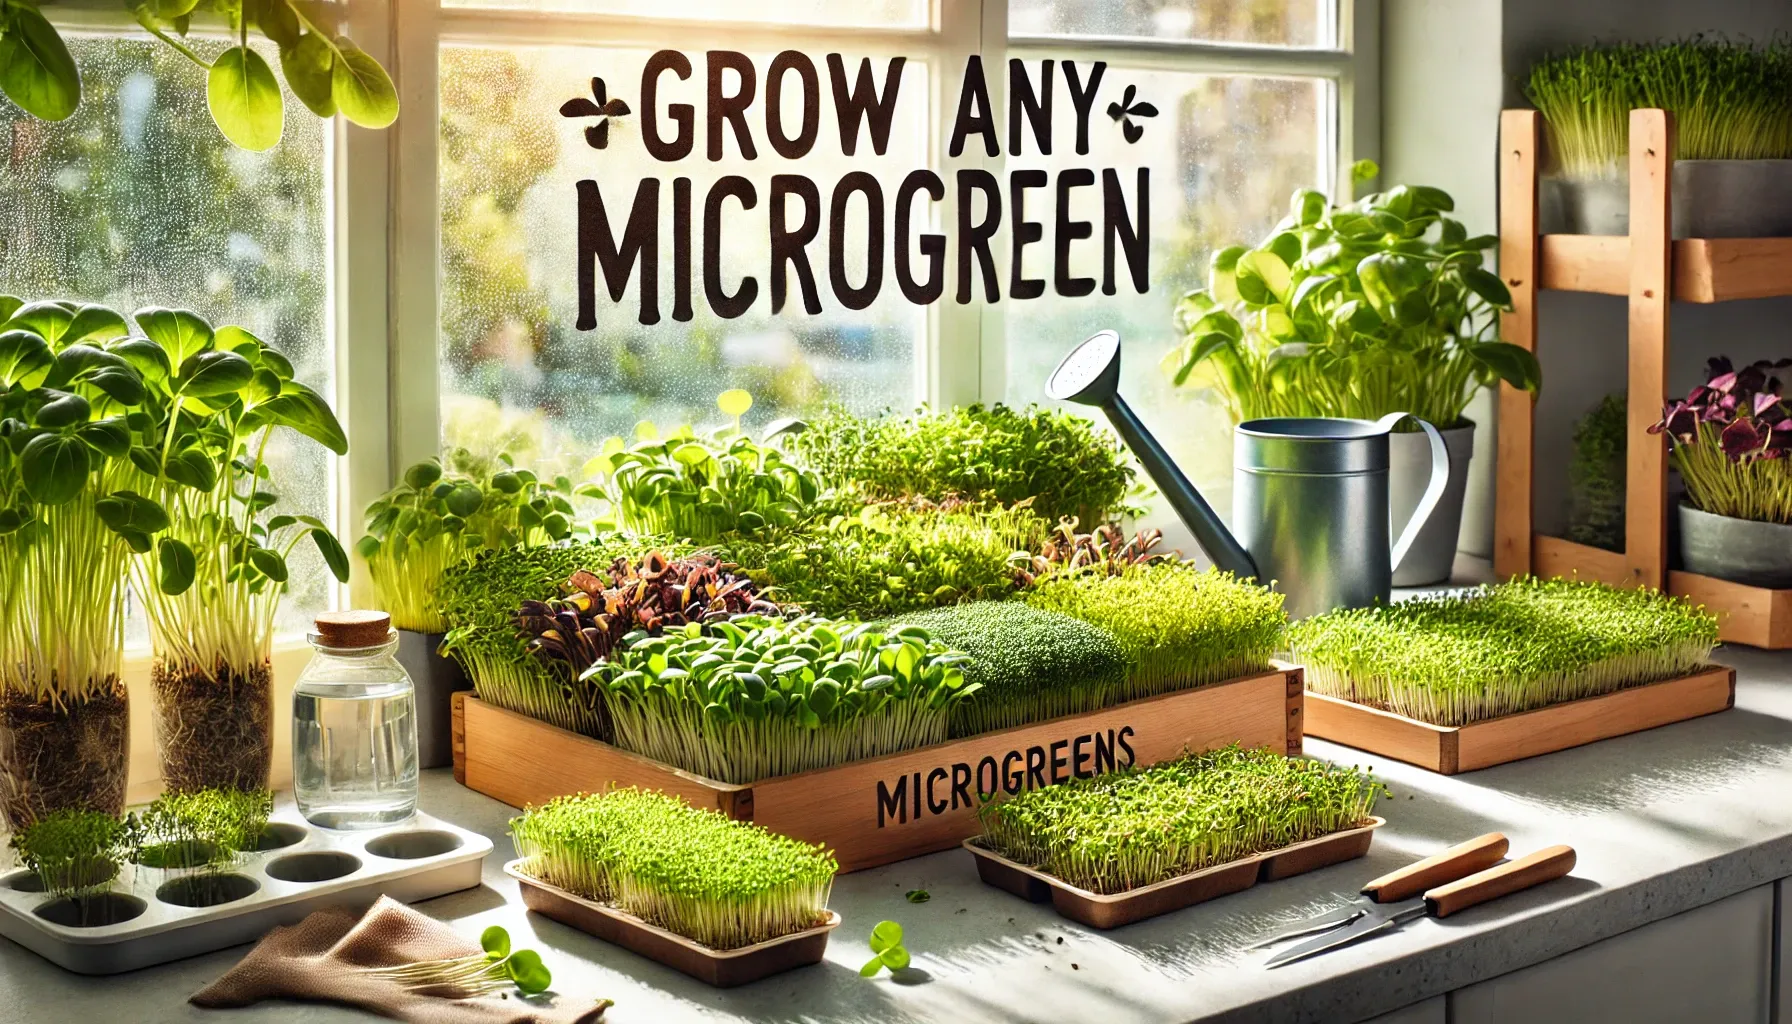
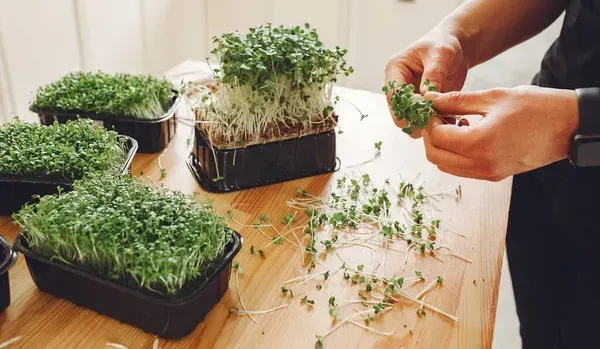
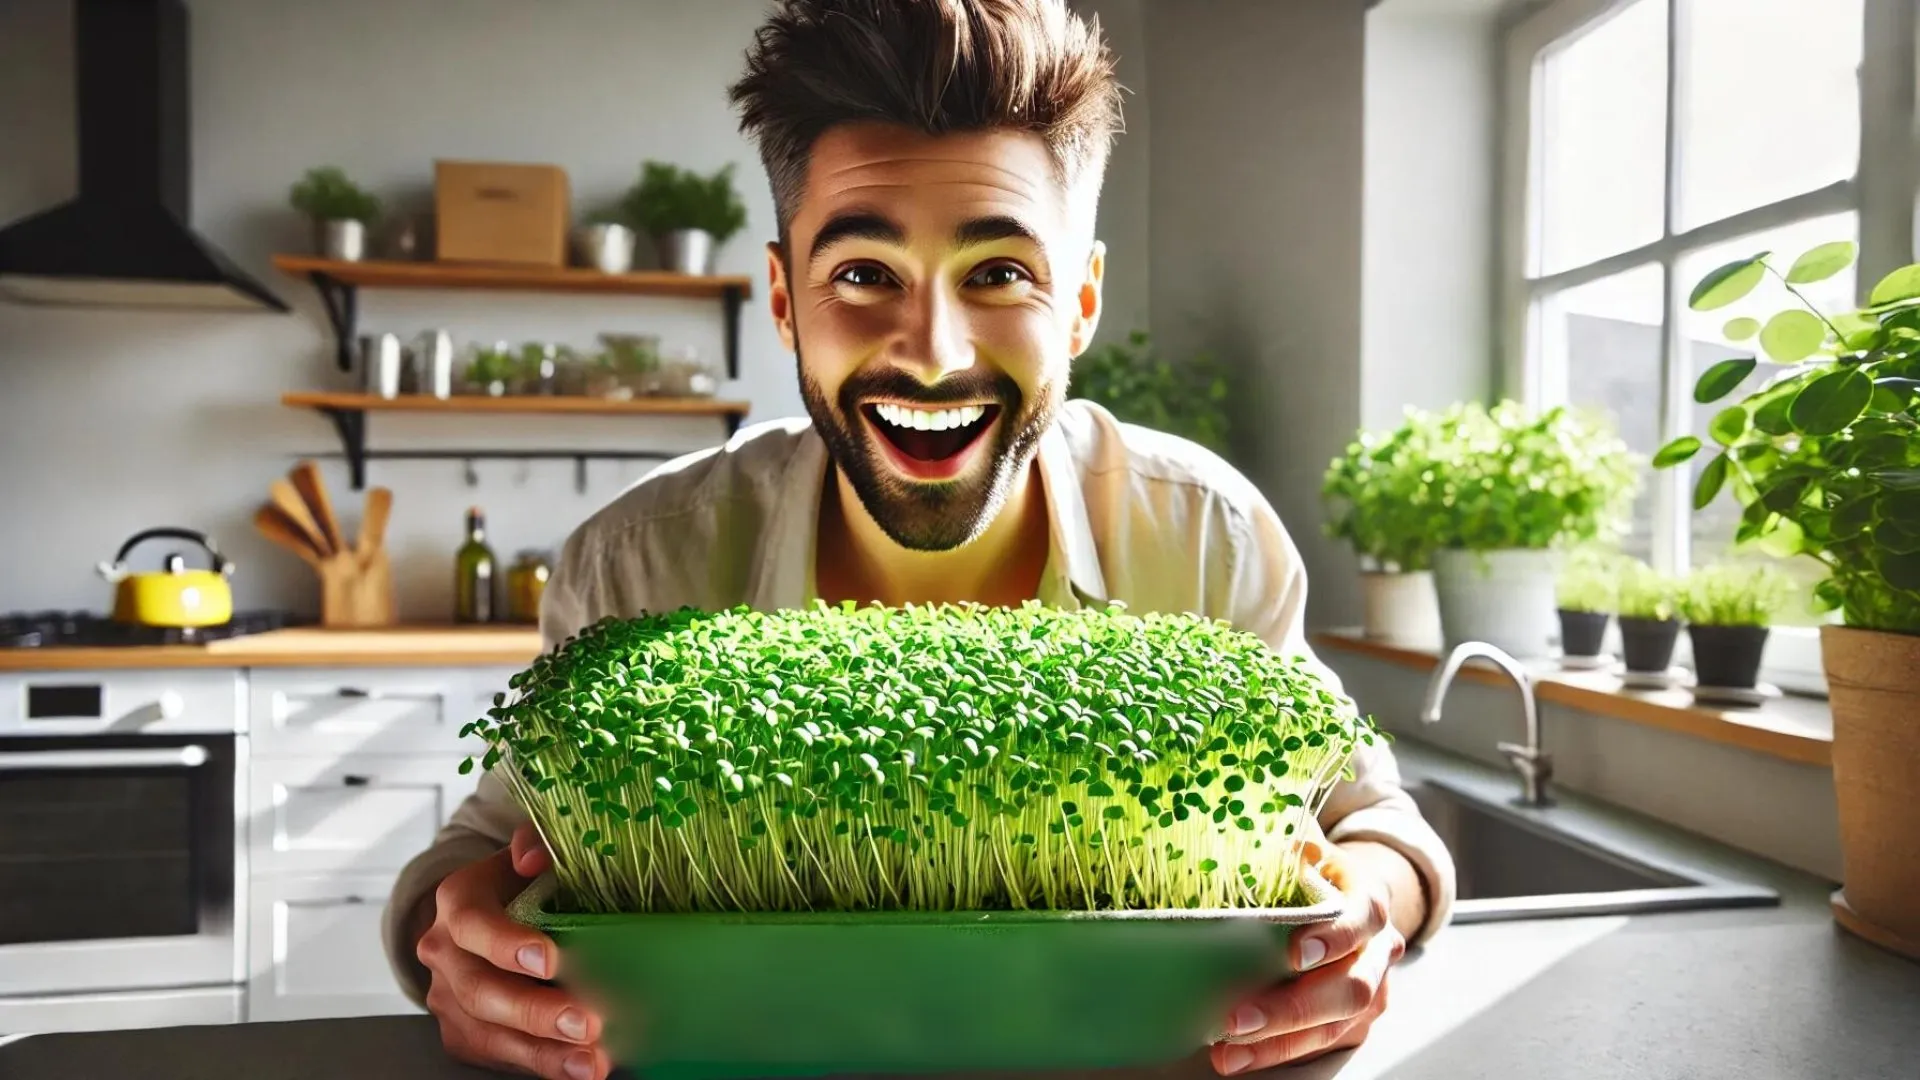
2. Grow Your Own Microgreens in Just 7 Days
The best part about microgreens? They’re fast! You can harvest your first crop in as little as 7-10 days. All you need is a two-tier tray, pathogen-free seeds, and a growing medium like coco coir or jute mat. No fancy equipment is required, and they grow beautifully indoors.
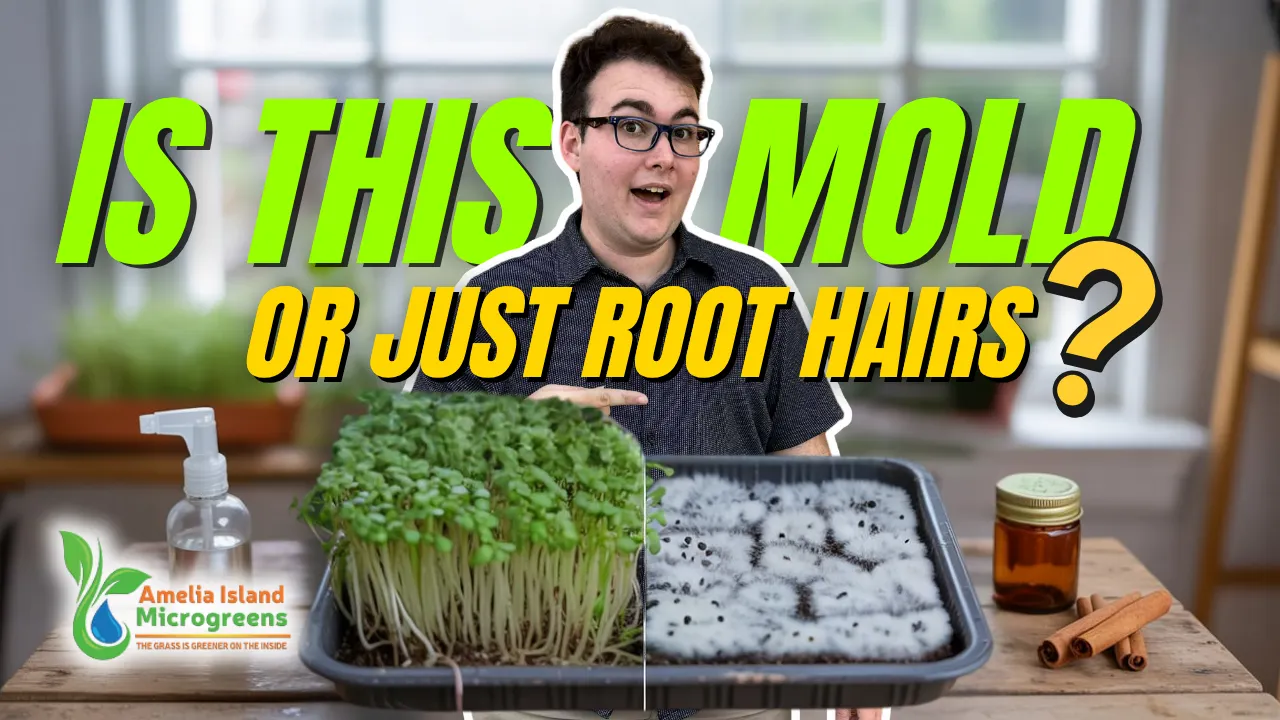
Pro Tip: Use a two-tier tray to avoid mold—water from the bottom tray and let the roots absorb moisture naturally. Growing microgreens indoors also means you can enjoy them year-round, even in winter!
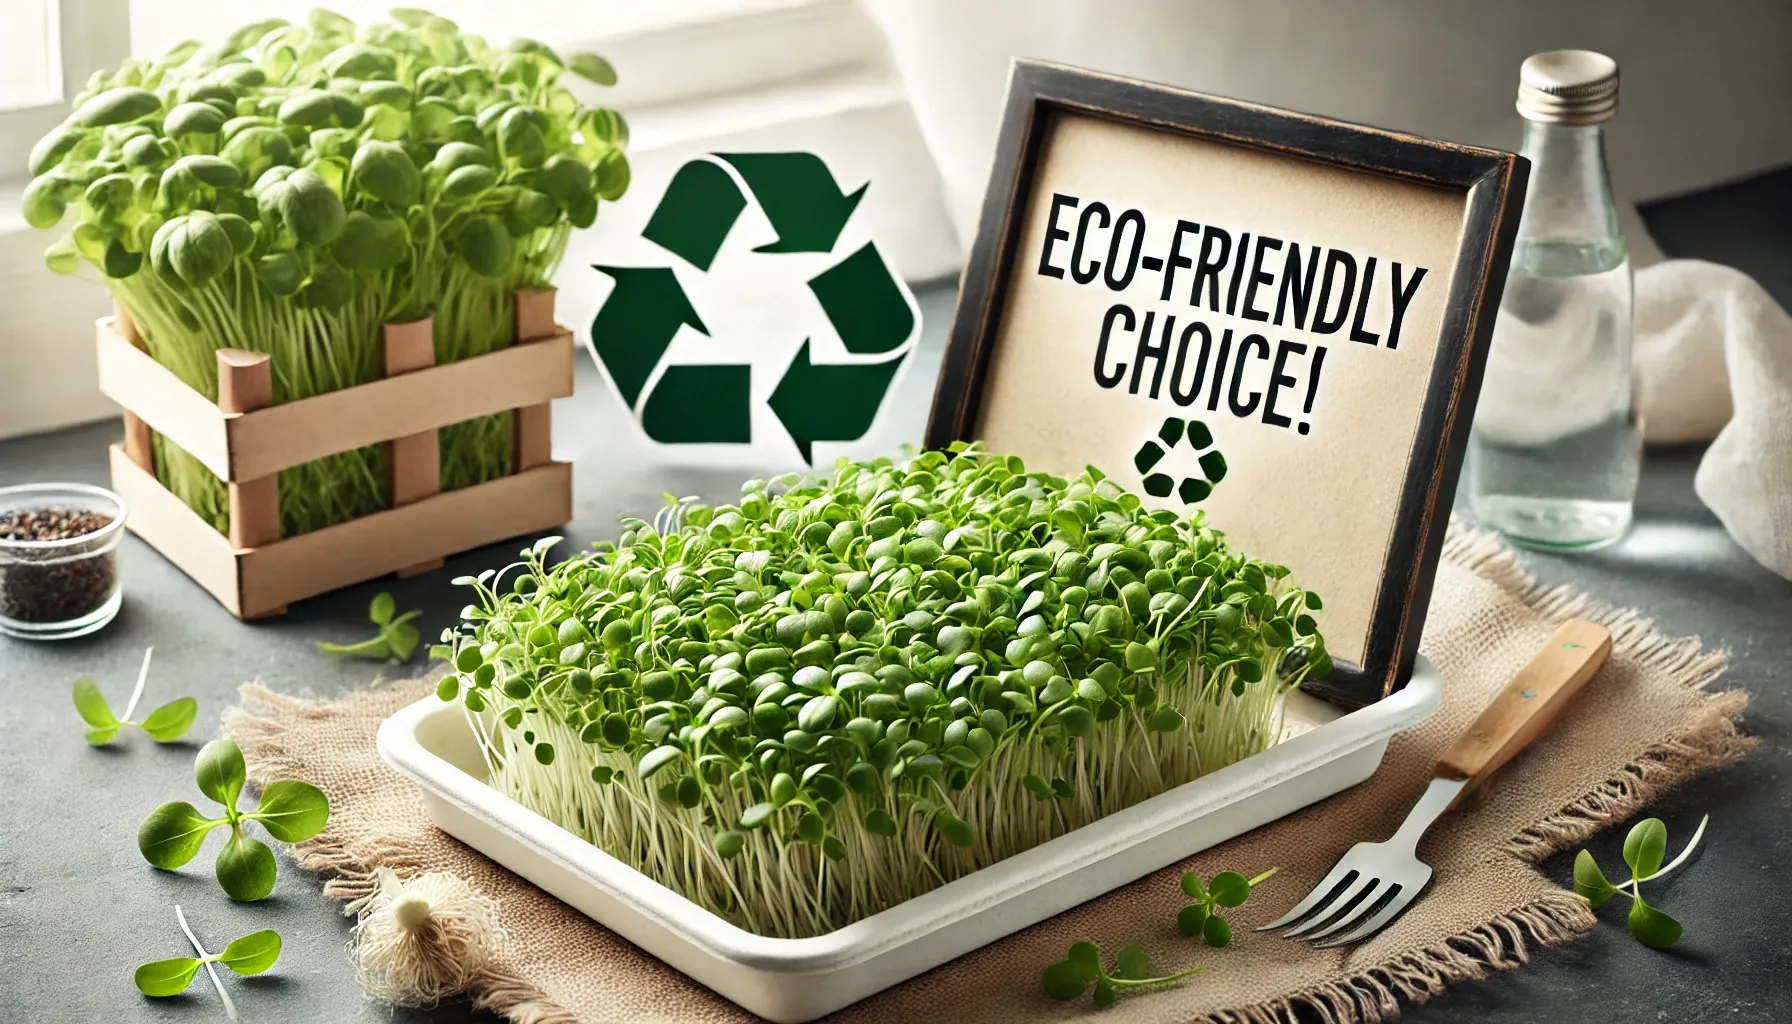
Bonus: Growing microgreens isn’t just eco-friendly; it’s also budget-friendly. No more expensive trips to buy pre-packaged microgreens that spoil quickly. With a rotation of home-grown trays, you’ll always have fresh greens at your fingertips.
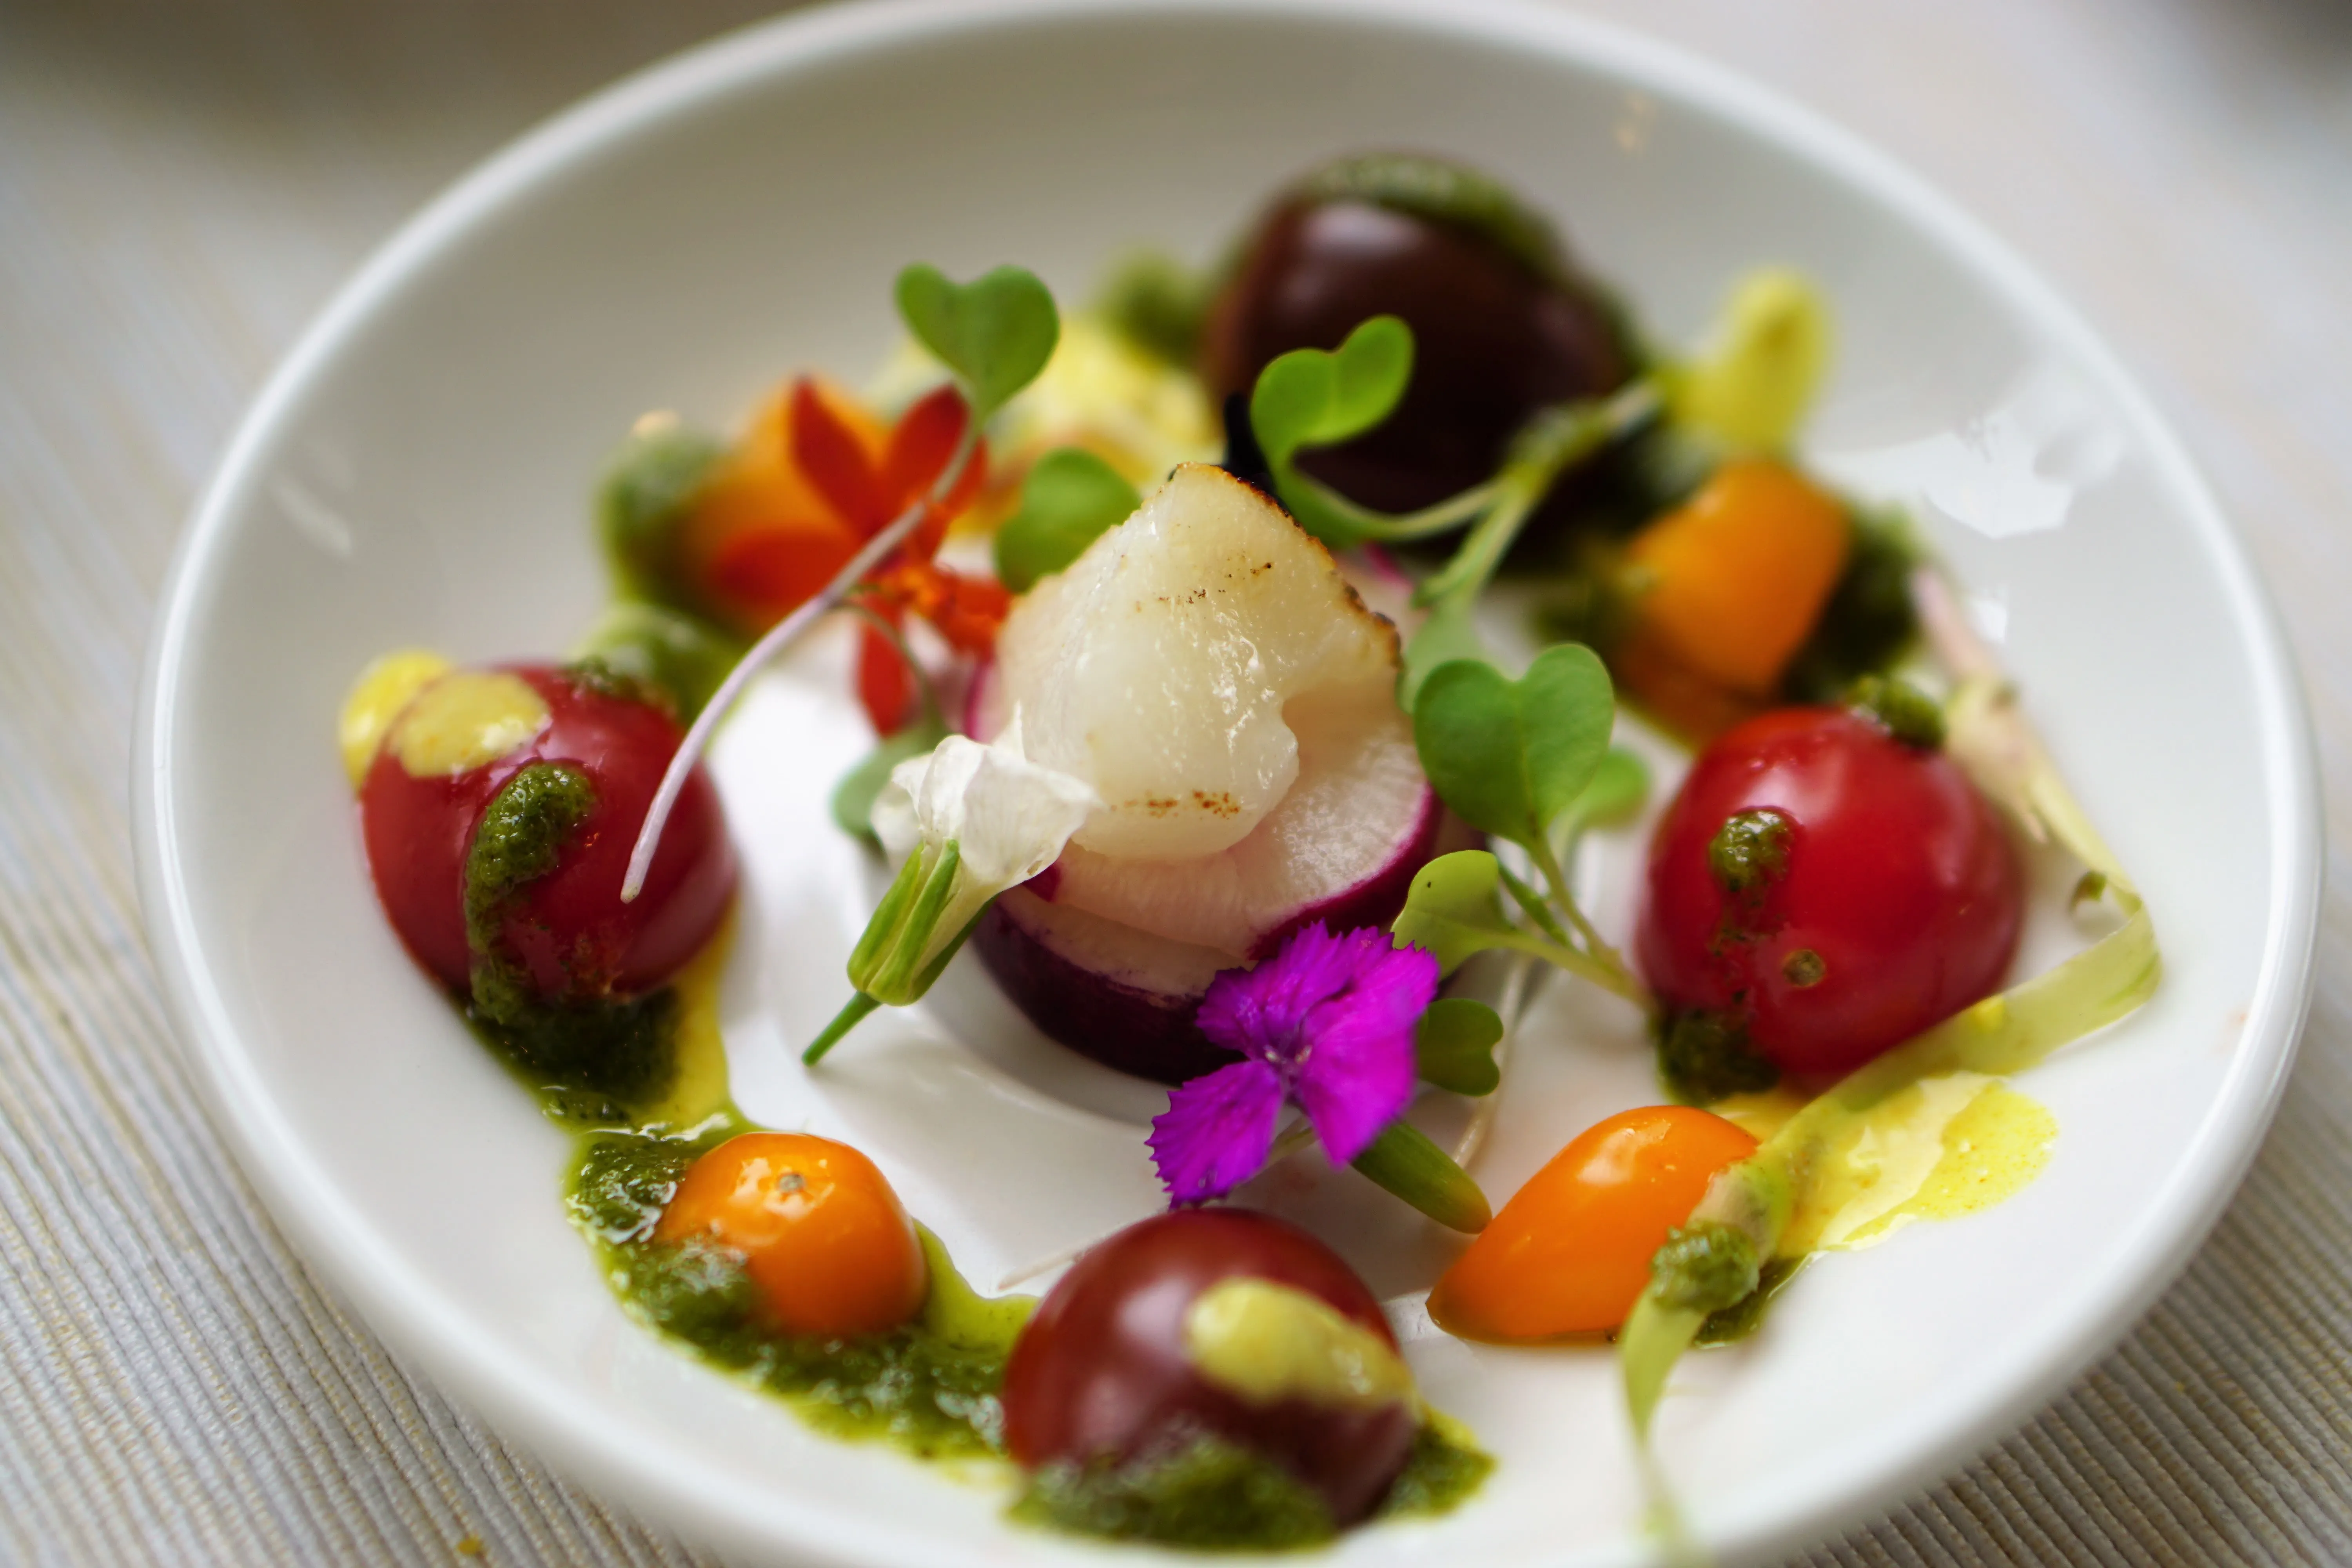
3. Microgreens: Flavor Powerhouses in Every Meal
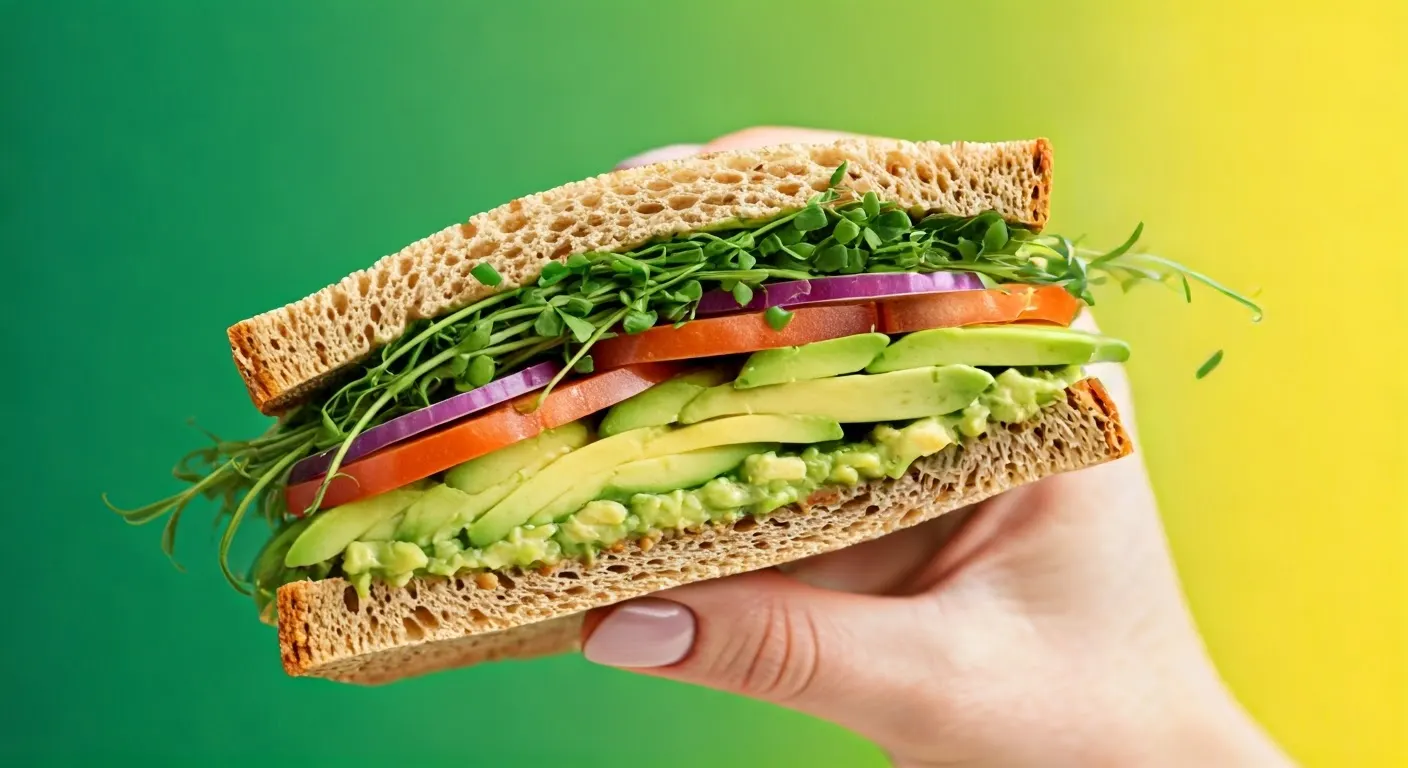
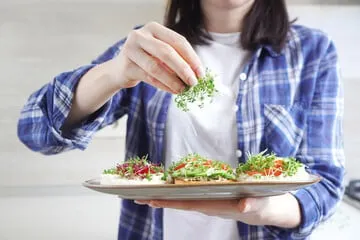
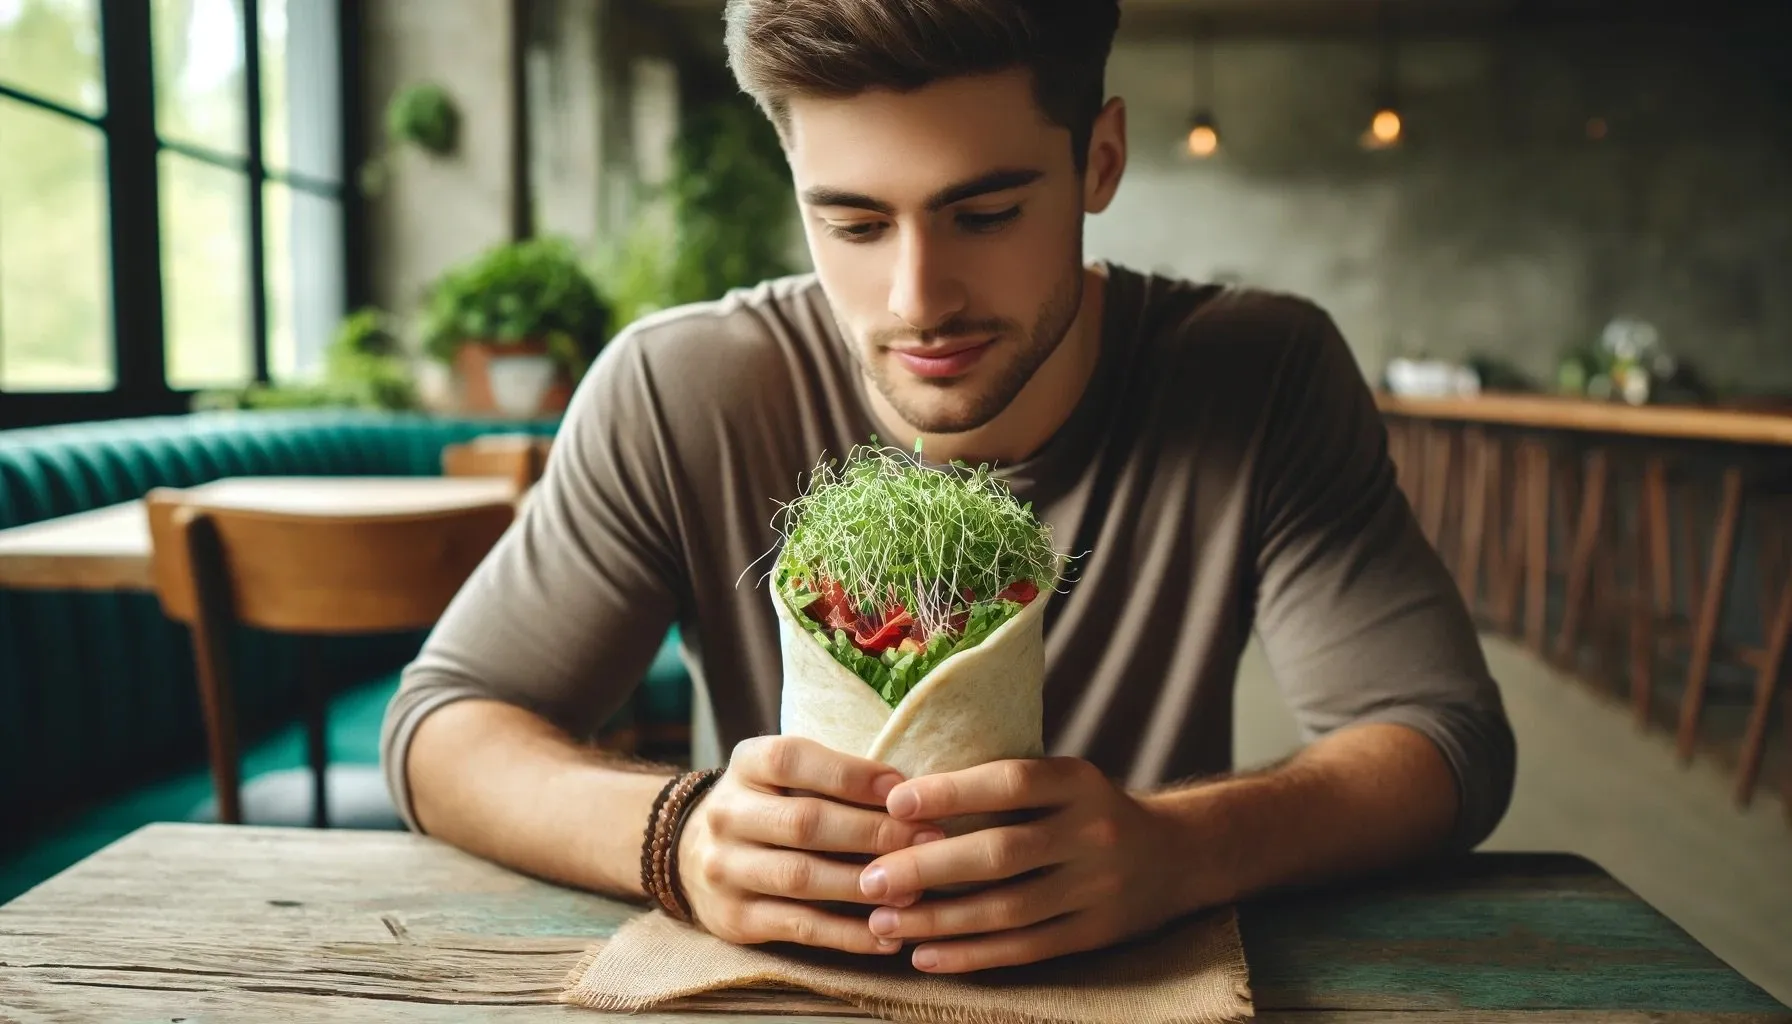
Not only are microgreens good for you—they’re delicious! Whether you like a spicy kick or a sweet crunch, there’s a microgreen for you. Add them to salads, smoothies, sandwiches, and even pizza. Sneaking greens into meals has never been easier—they blend seamlessly into dishes, and if you’re not a veggie lover, you can even hide them in smoothies.
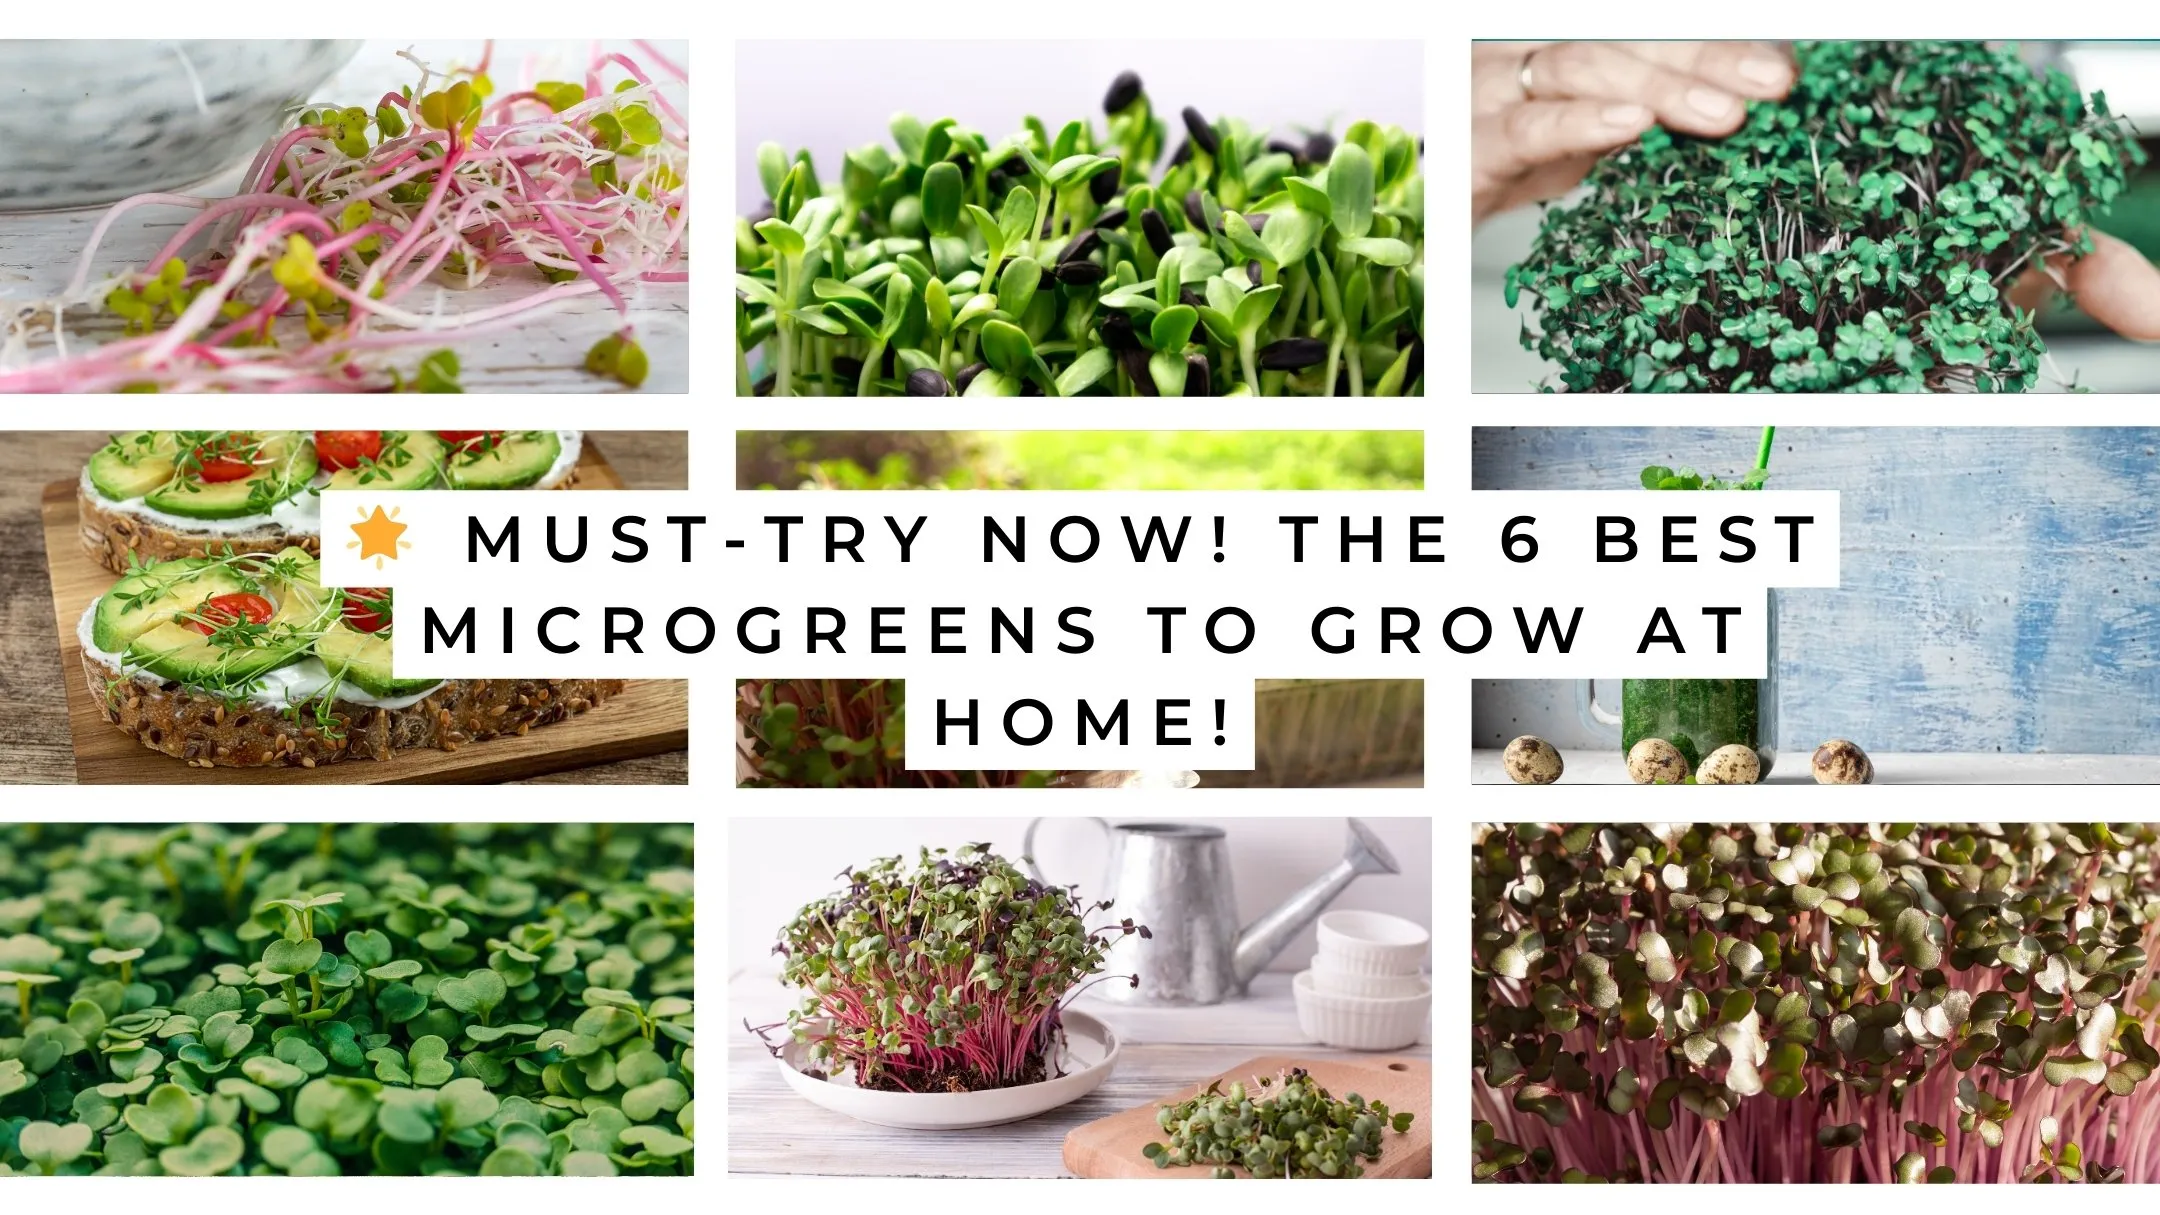
Here are some crowd-favorite microgreens:
- Broccoli Microgreens: Anti-cancer properties and packed with sulforaphane
- Mustard Greens: A wasabi-like kick perfect for tacos or eggs
- Pea Shoots: Sweet, crunchy, and delicious in salads
- Radish Microgreens: A burst of flavor with high vitamin C content

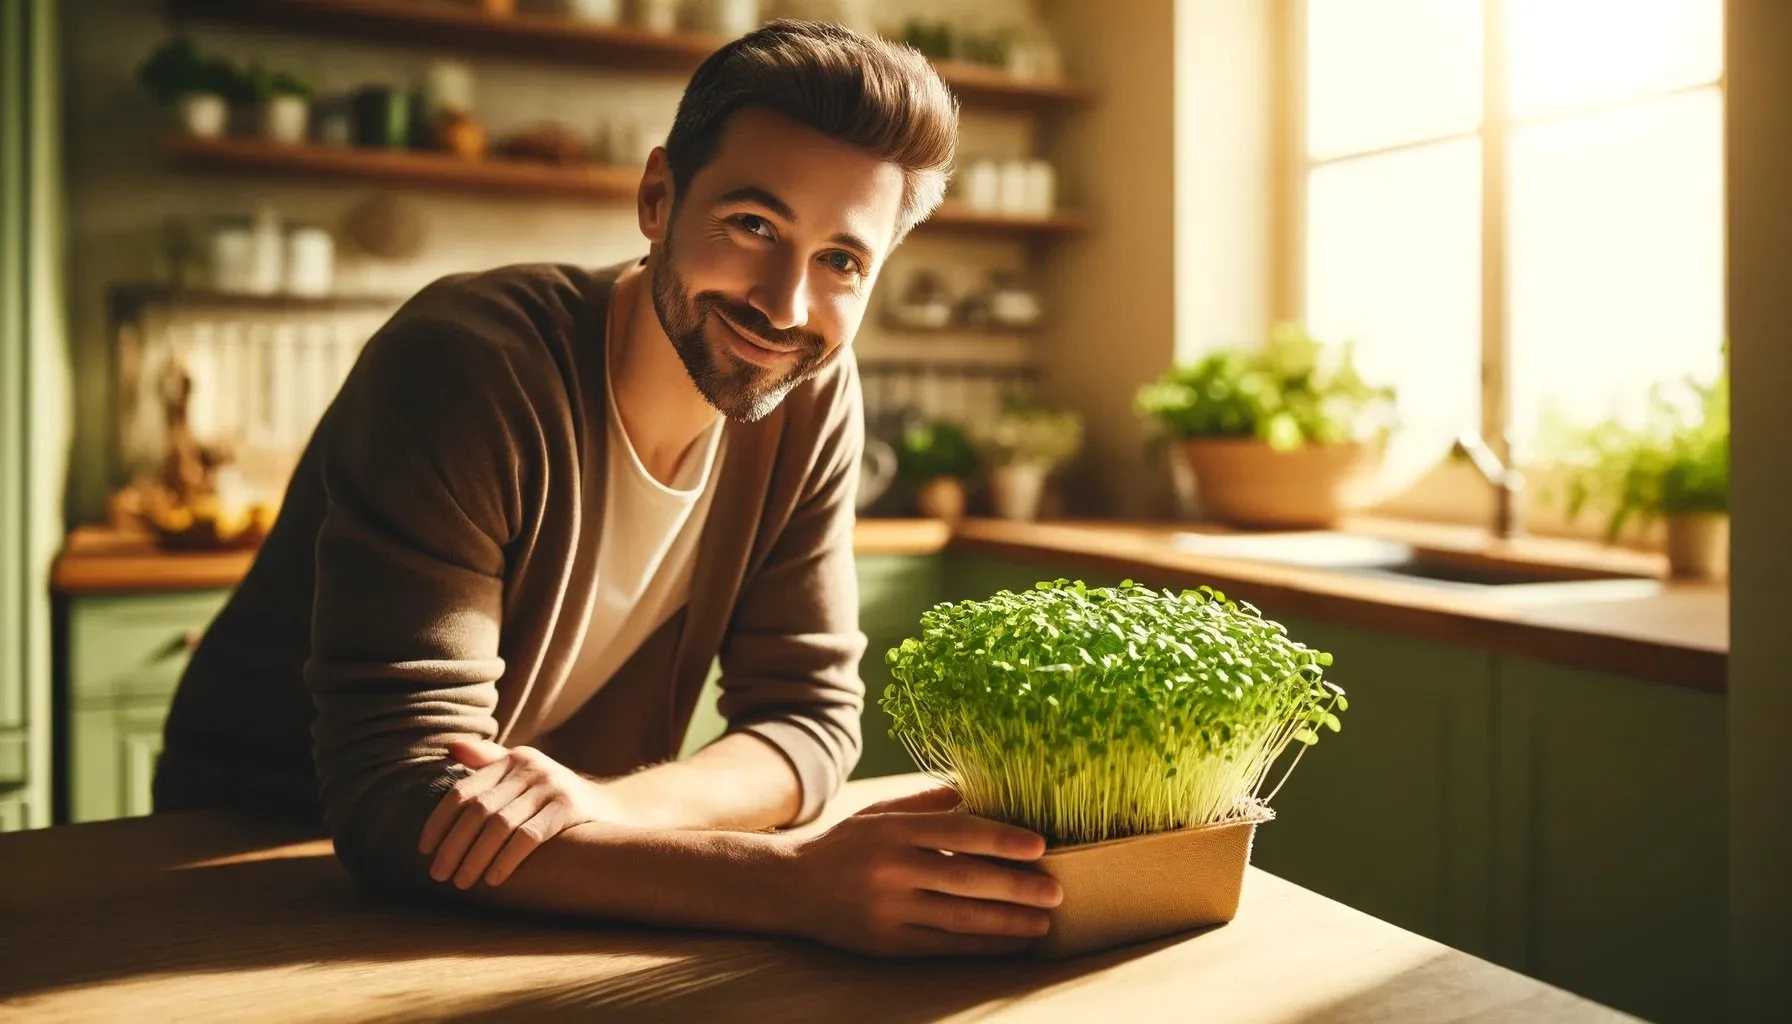
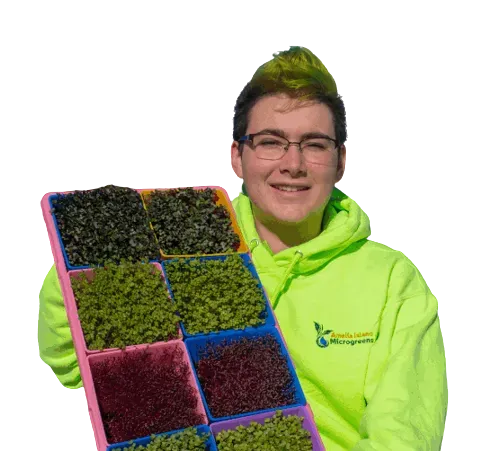
Ready to Grow? We’ve Got Everything You Need! 🌱
If you’ve been inspired by everything you’ve learned so far, you might be thinking, "Okay, I want to grow microgreens at home… but where do I start?" Don’t worry—we’ve got you covered!
Our microgreen kits are designed to make growing simple and fun for everyone, whether you’re just starting or want to take your skills to the next level. Each kit comes with everything you need, from high-quality seeds to the perfect growing trays and eco-friendly growing mediums. We’ve even included step-by-step instructions to guide you through the process.
What’s great is that you can experiment with your favorite microgreens right away—try broccoli for a nutrition boost, mustard greens for a bit of spice, or sweet pea shoots for a crunchy snack. And the best part? You'll never run out of fresh greens since you can grow them on rotation, all year long.

There’s no pressure to buy—just know that if you’re ready to give it a try, our kits are here to help you succeed. Plus, each purchase supports our mission to empower people to take control of their health and food supply. 🌍❤️
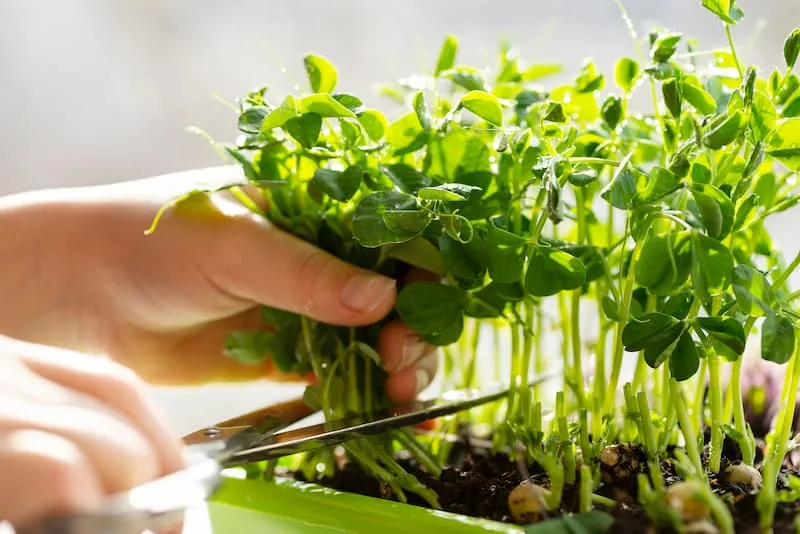
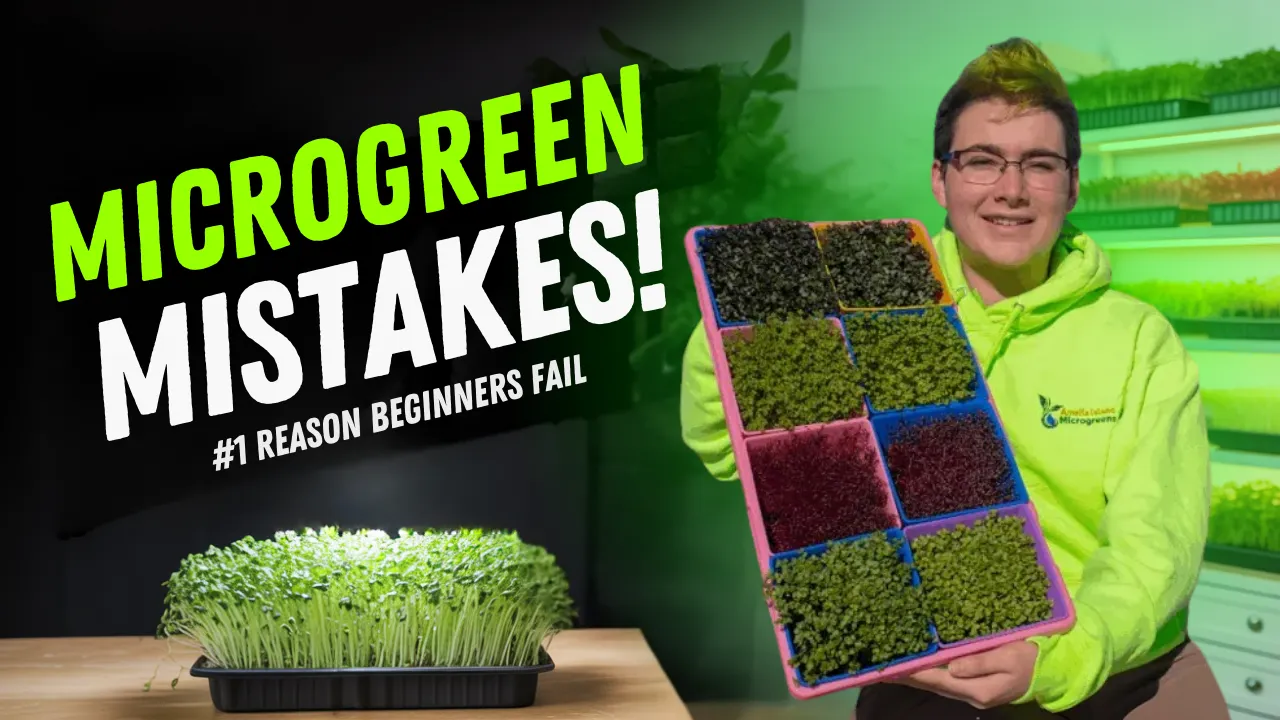
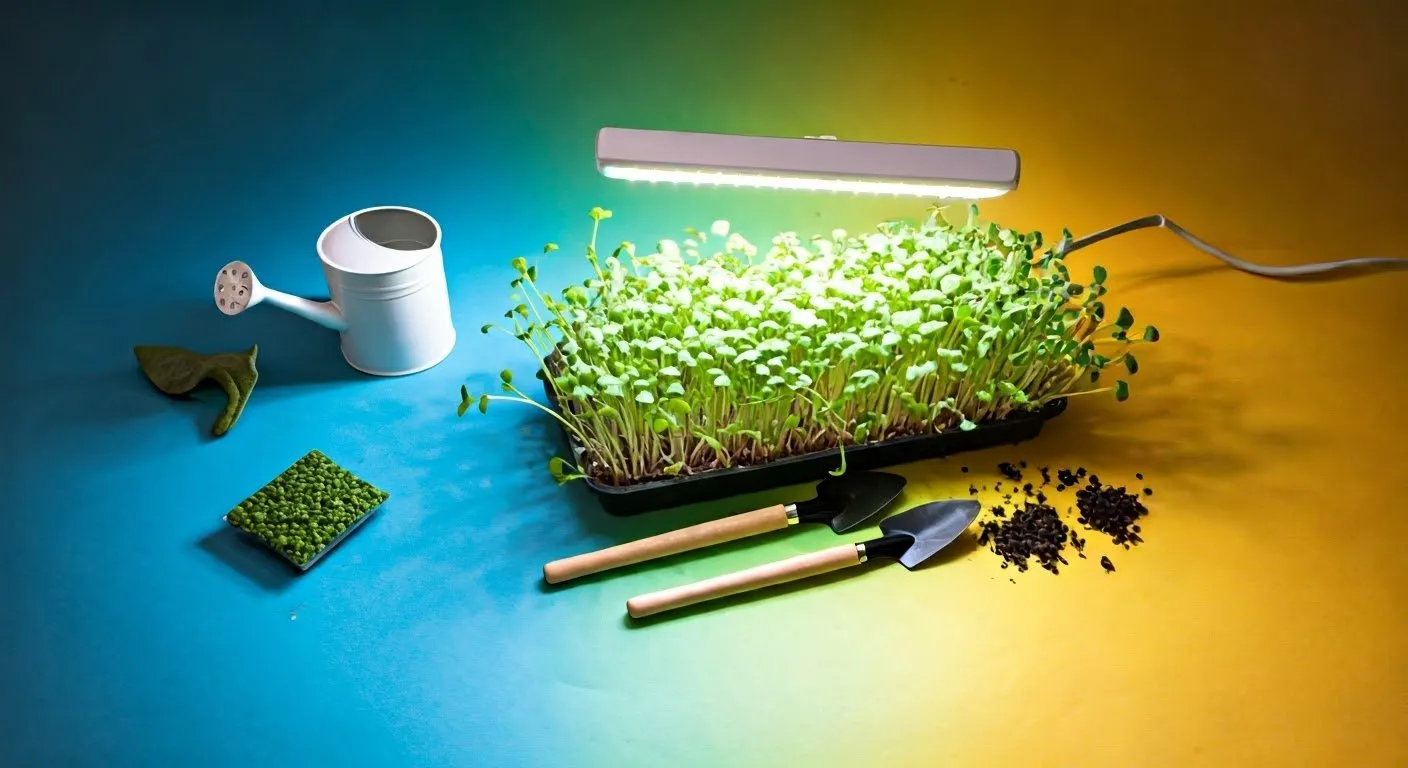
Microgreens at Home: Pro Tips for Growing Success
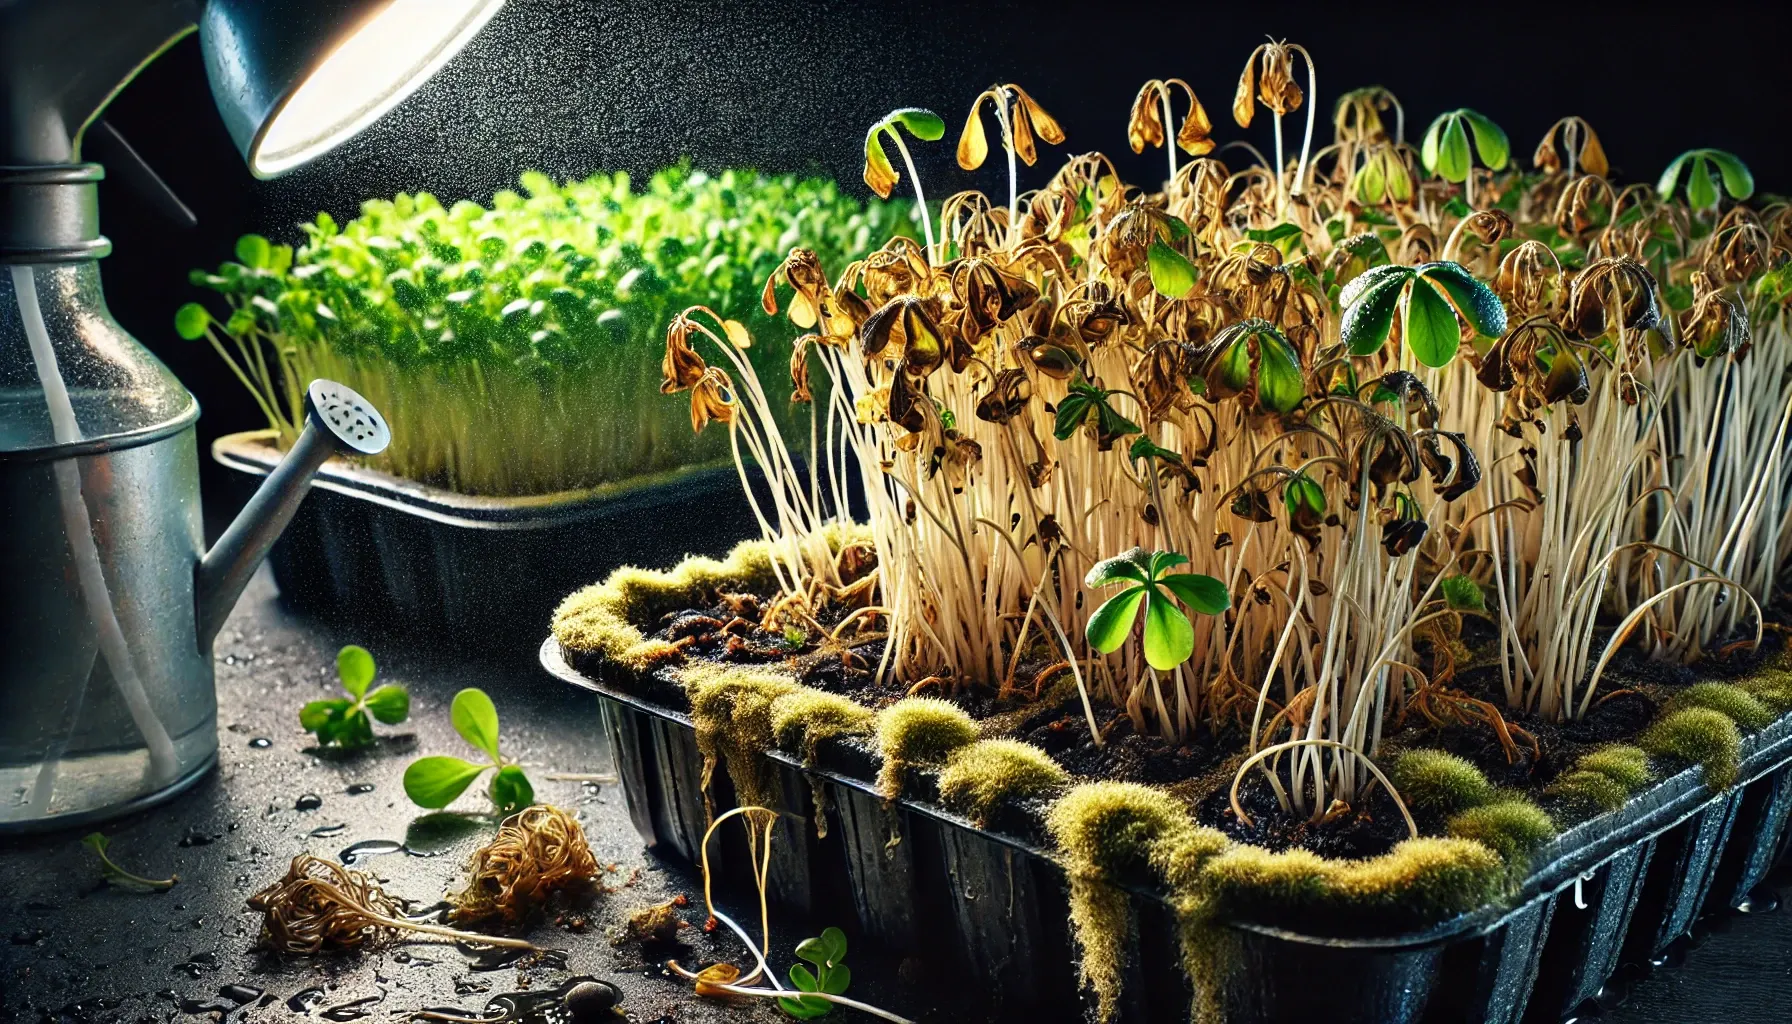
- Choose Your Growing Medium Wisely: We recommend coco coir because it’s sterile, easy to use, and retains moisture perfectly. This reduces the chances of mold, especially in humid environments.
- Use a Two-Tier Tray System: Top-watering microgreens can lead to mold, so water from the bottom tray instead.
- Experiment with Lighting: Place your microgreens near a window with ambient light or use LED grow lights. Avoid direct sunlight, as it can dry out the greens.
- Rotate Your Trays for Even Growth: If your greens start leaning toward the light source, just rotate the tray to encourage even growth.
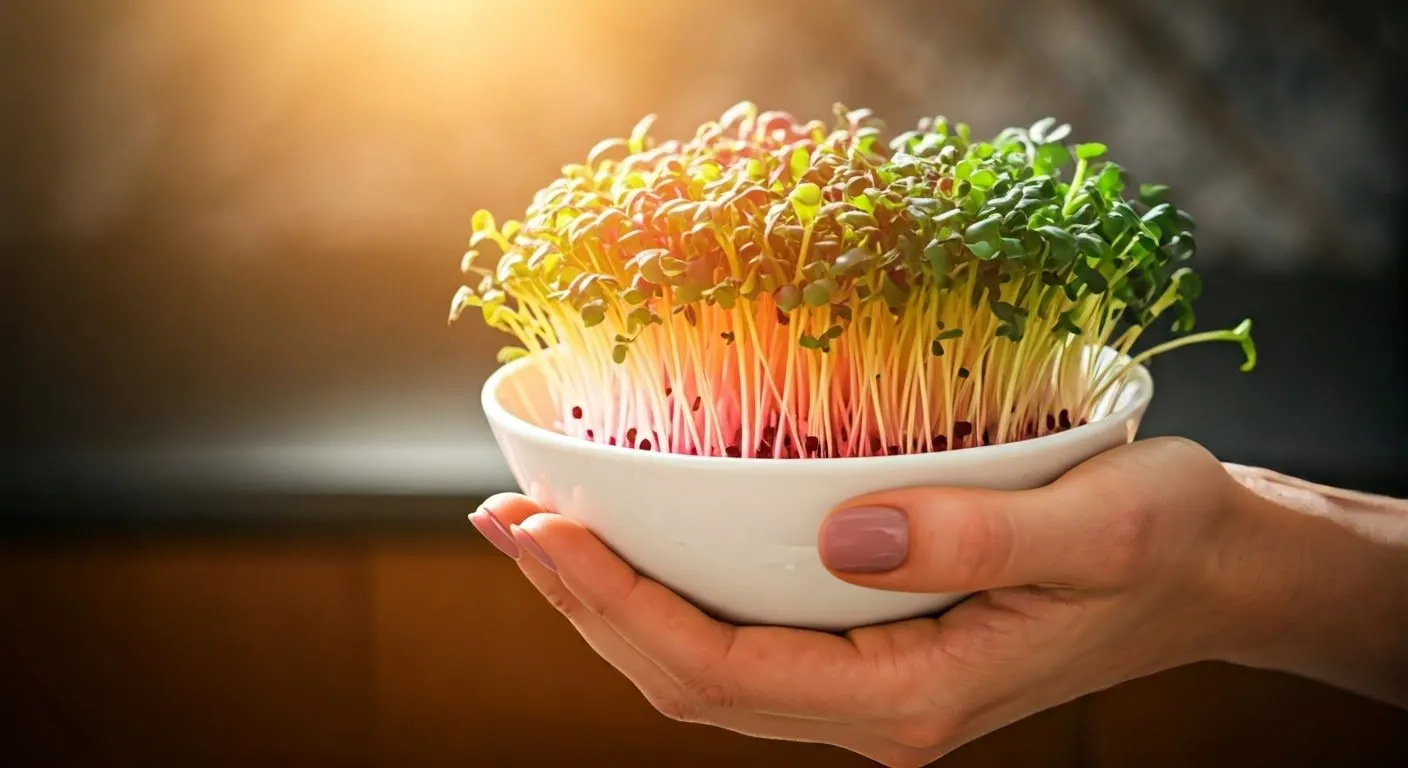
Secret Tip: How to Boost Nutrient Density with Sunlight
Here’s a game-changing tip: Expose your microgreens to sunlight for a few hours right before harvesting. This not only enhances their flavor but also increases their vitamin D content, making your microgreens even more nutritious.
And don’t forget—experimenting with different growing mediums (like coco coir and jute mats) can help you find what works best for your setup. Just don’t mix the two in the same tray!

Your Microgreens at Home Journey Begins Today
Congratulations on making it to the end of the Microgreens at Home series! 🎉 You now have all the tools and knowledge you need to grow, harvest, and enjoy microgreens in every meal. The beauty of microgreens is that anyone can grow them—no matter the season, space, or experience.
If you haven’t started yet, what are you waiting for? Head to our 10-part video series at AmeliaIslandMicrogreens.com/101 and watch the videos to master every step. With each crop, you’ll build confidence and take another step toward a healthier, more sustainable lifestyle.
Now that you know how to grow your mi

Join the Conversation: What’s Your Favorite Microgreen?
What has been your biggest takeaway from the Microgreens at Home series? Do you have a favorite variety or recipe? Or maybe you’ve already grown your first batch and have tips of your own? Share your experiences in the comments below—I love reading your stories and answering your questions. Let’s build a community of microgreen lovers who support and inspire each other.