How to Plant your Ready, Set, Grow! Microgreens Kit
How to Plant your Ready, Set, Grow! Microgreens Kit
Sep 01, 2022
by Christine Hiebel
Congratulations! You have taken that step to creating more food security and eating much higher quality greens. Now what?
Let's get you started, we are here to empower you, make this a fun and rewarding experience! Know, that even if you do not have a green thumb, EVERYONE has a microGreen thumb!
Visual learners- There is a video we have created. There are also pictures in the instructions which came with your microgreens kit. You can access the video by clicking here.
Audio learners- you can listen to the instructions on the video and hit pause as you complete each step.
There are basically four stages in the process-
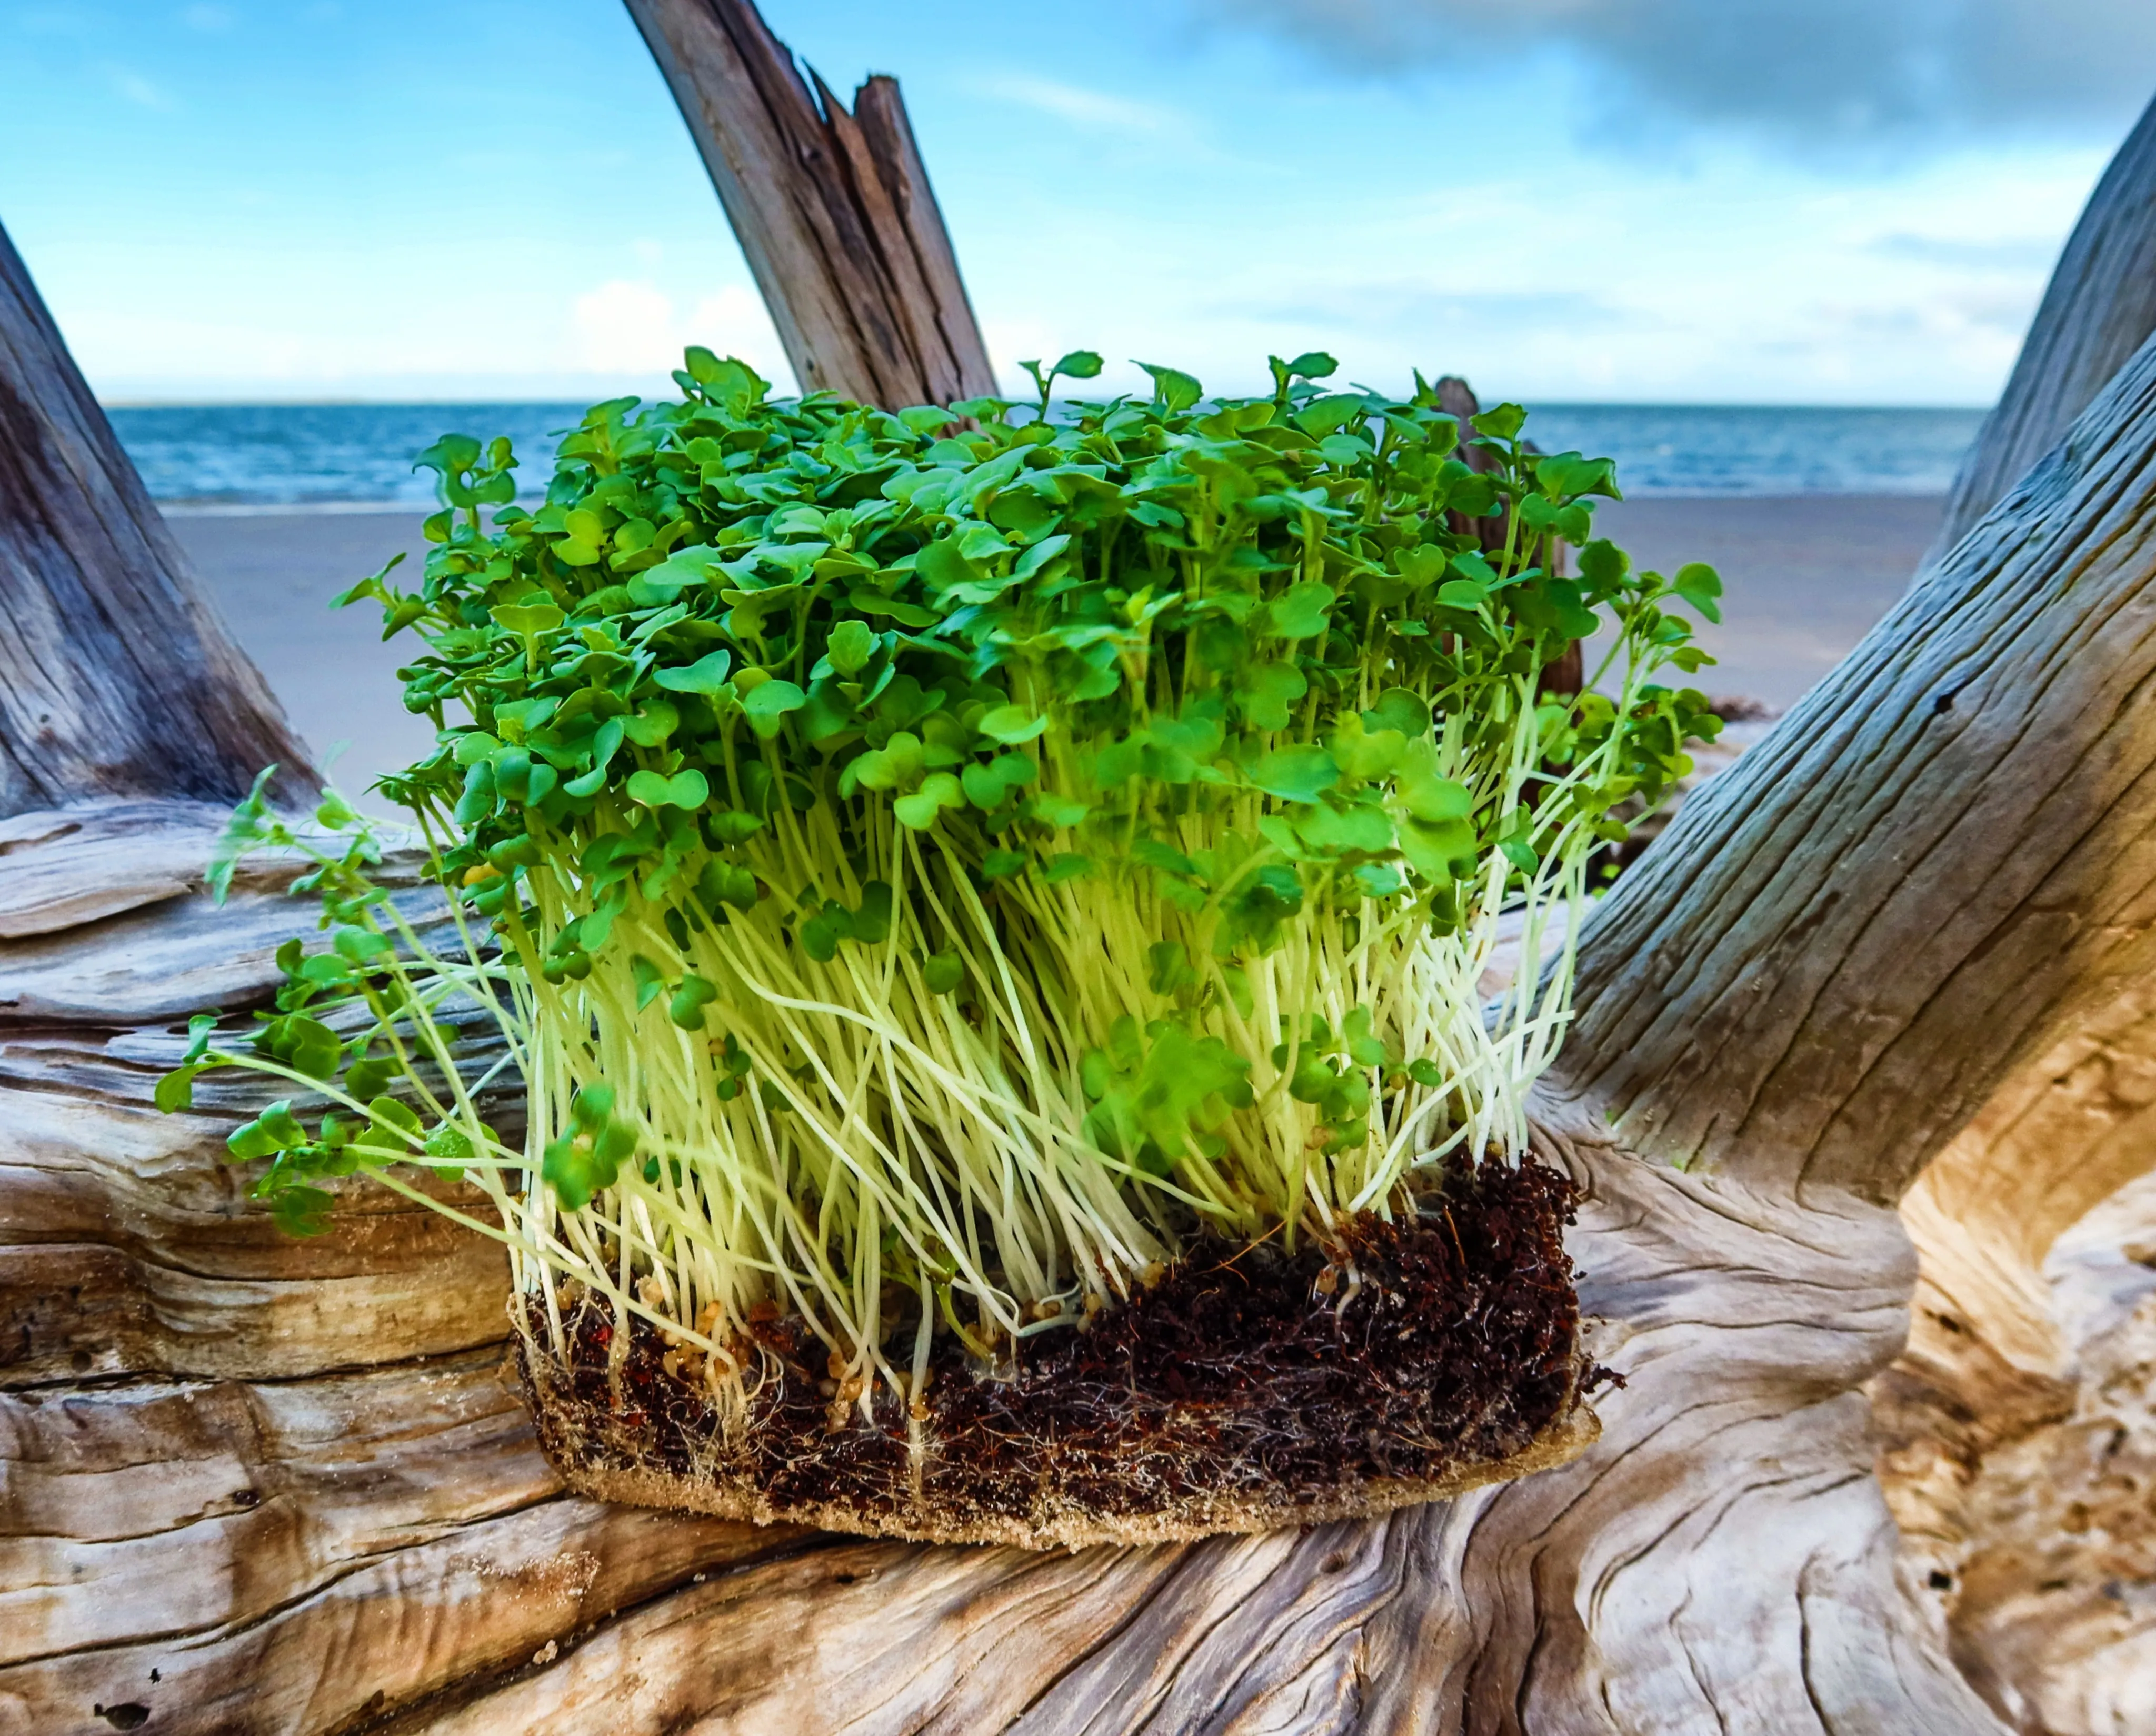
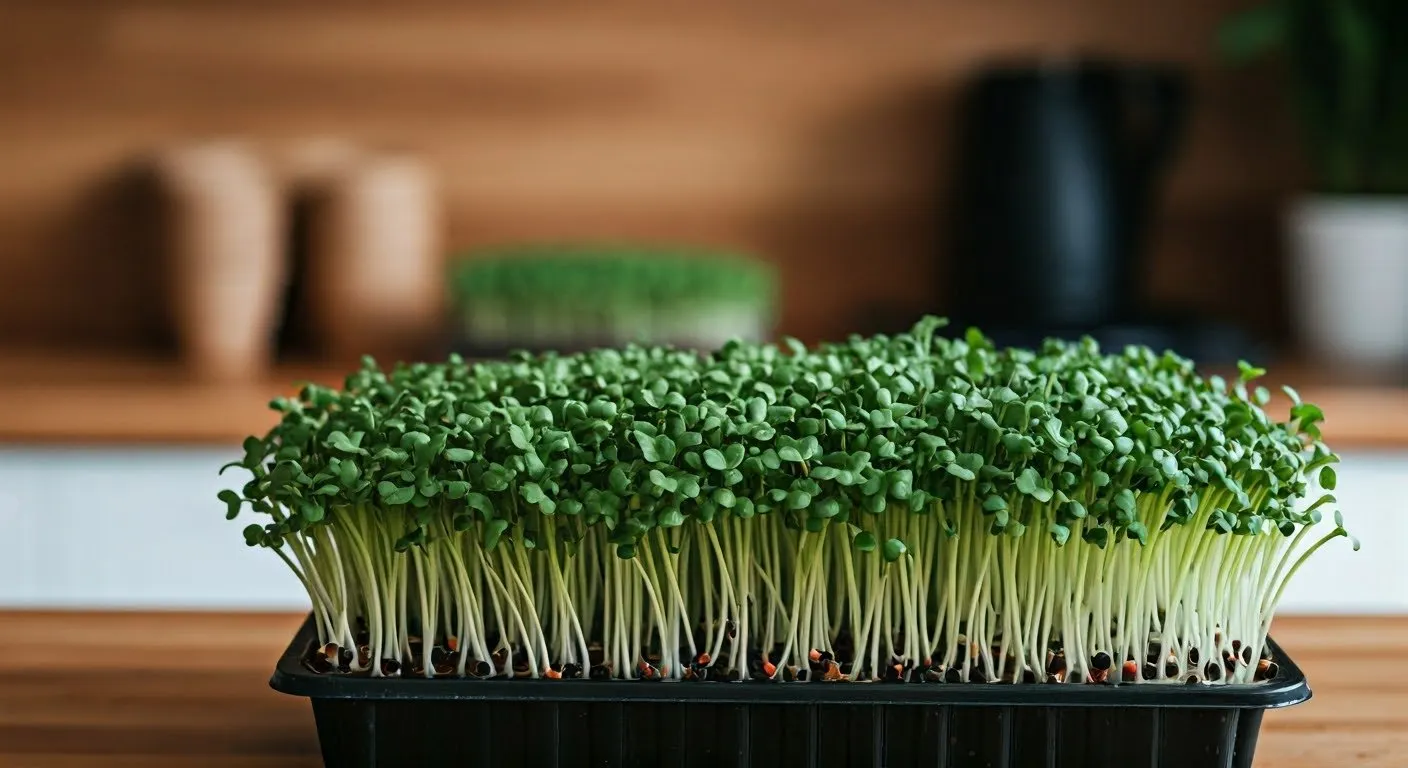
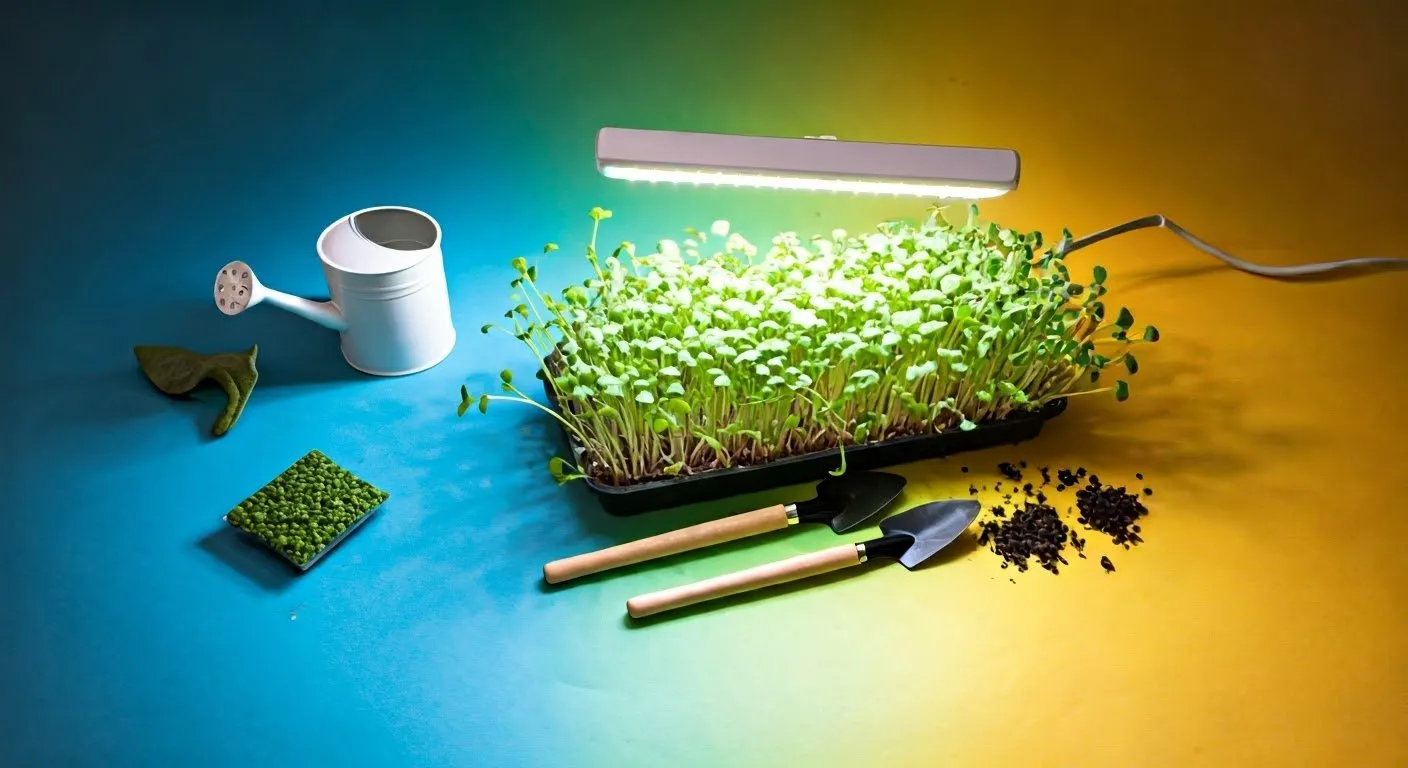
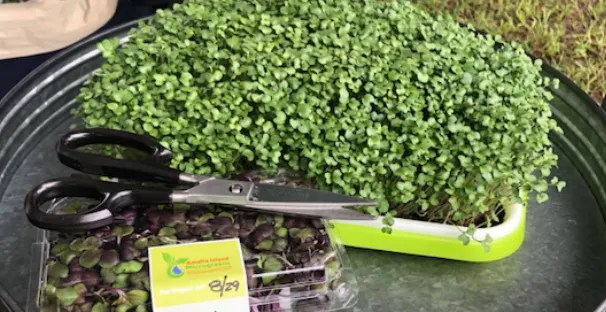
- Planting- We have two grow mediums for you to try: jute mat and coco coir. Jute mat is the light brown roll and coco coir is the brown square.
- For jute mat: Soak in ph balanced water for 5 minutes. Take it out and let the access water drip off. Place it on the white tray and pull on the jute mat until it fits properly. if this creates holes then just cover them up with the jute mat.
- Coco coir: Each crop will use one half of the coco coir square puck which comes in your kit. Adding approximately 2.5 cups of water will rehydrate the compress grow medium. Take half of it out and spread it evenly on your tray. store the other half for your next crop of microgreens.
For each crop you will use one full bag of seeds. Yes, you can split your planing into two different drops, just be sure to only use 1/2 of a bags of each seed type for either side of your tray. Some crops do grow a little slower than others, so in the beginning you may just want to stick with one crop type at a time.
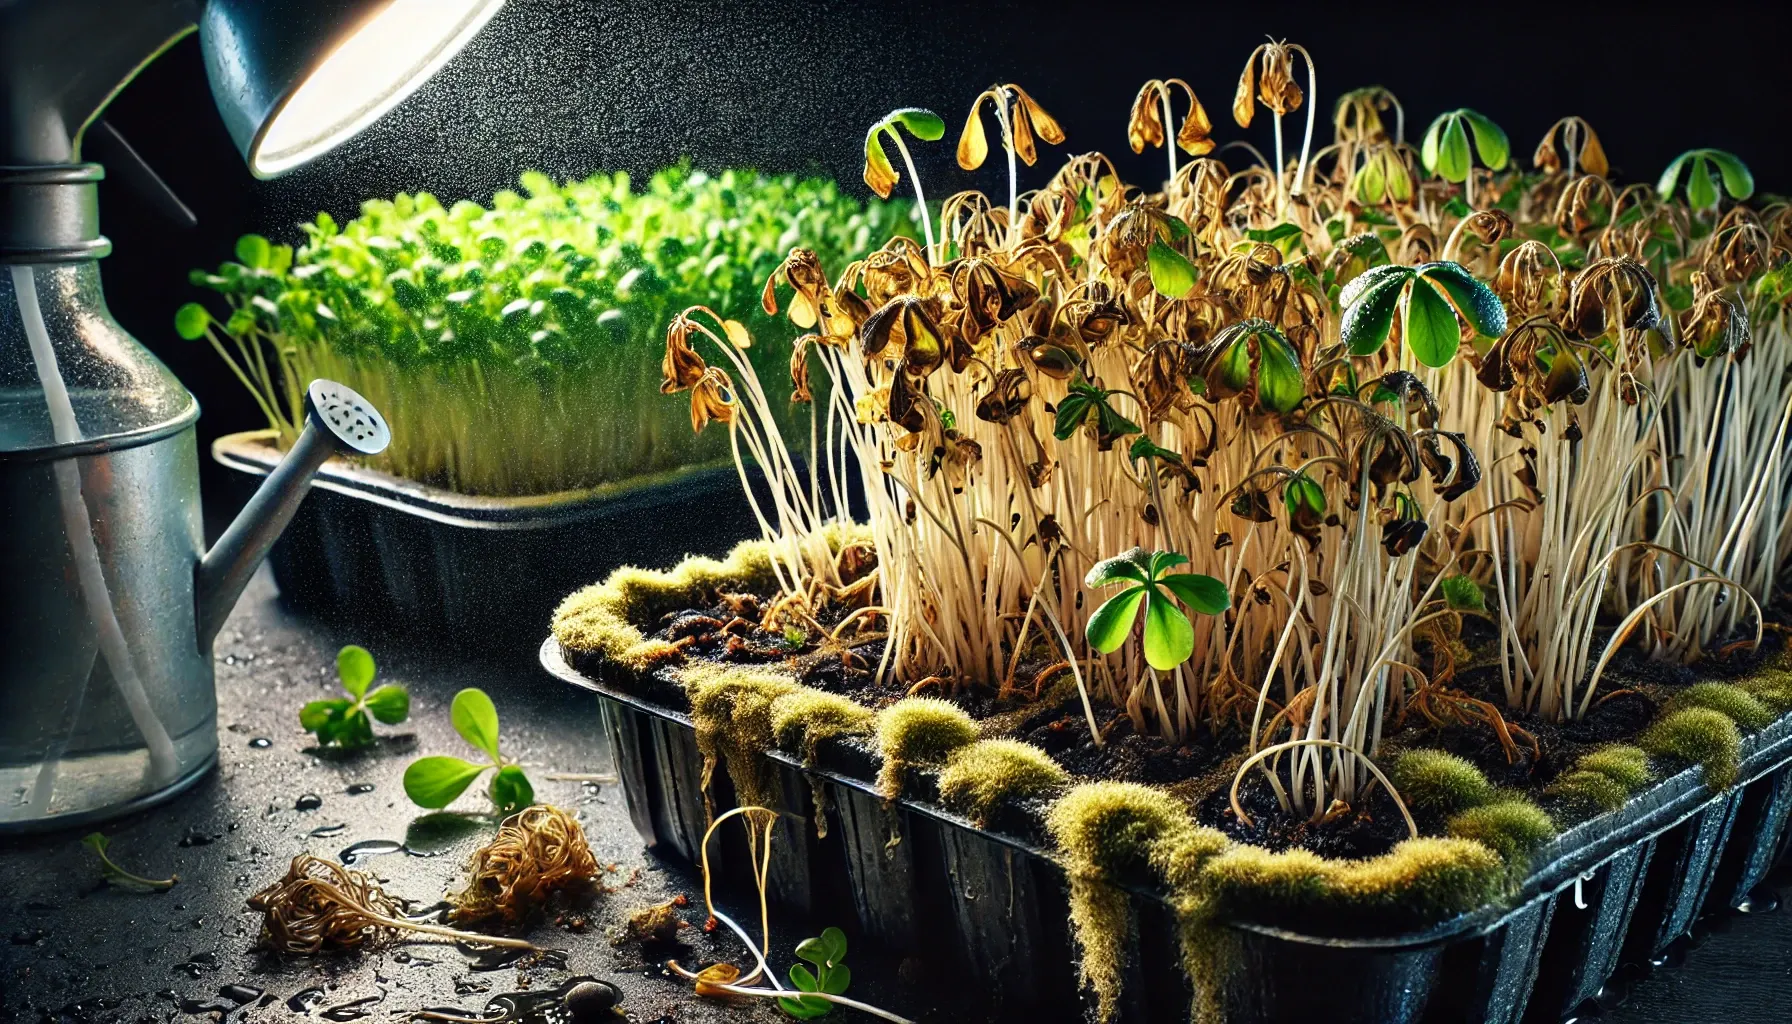
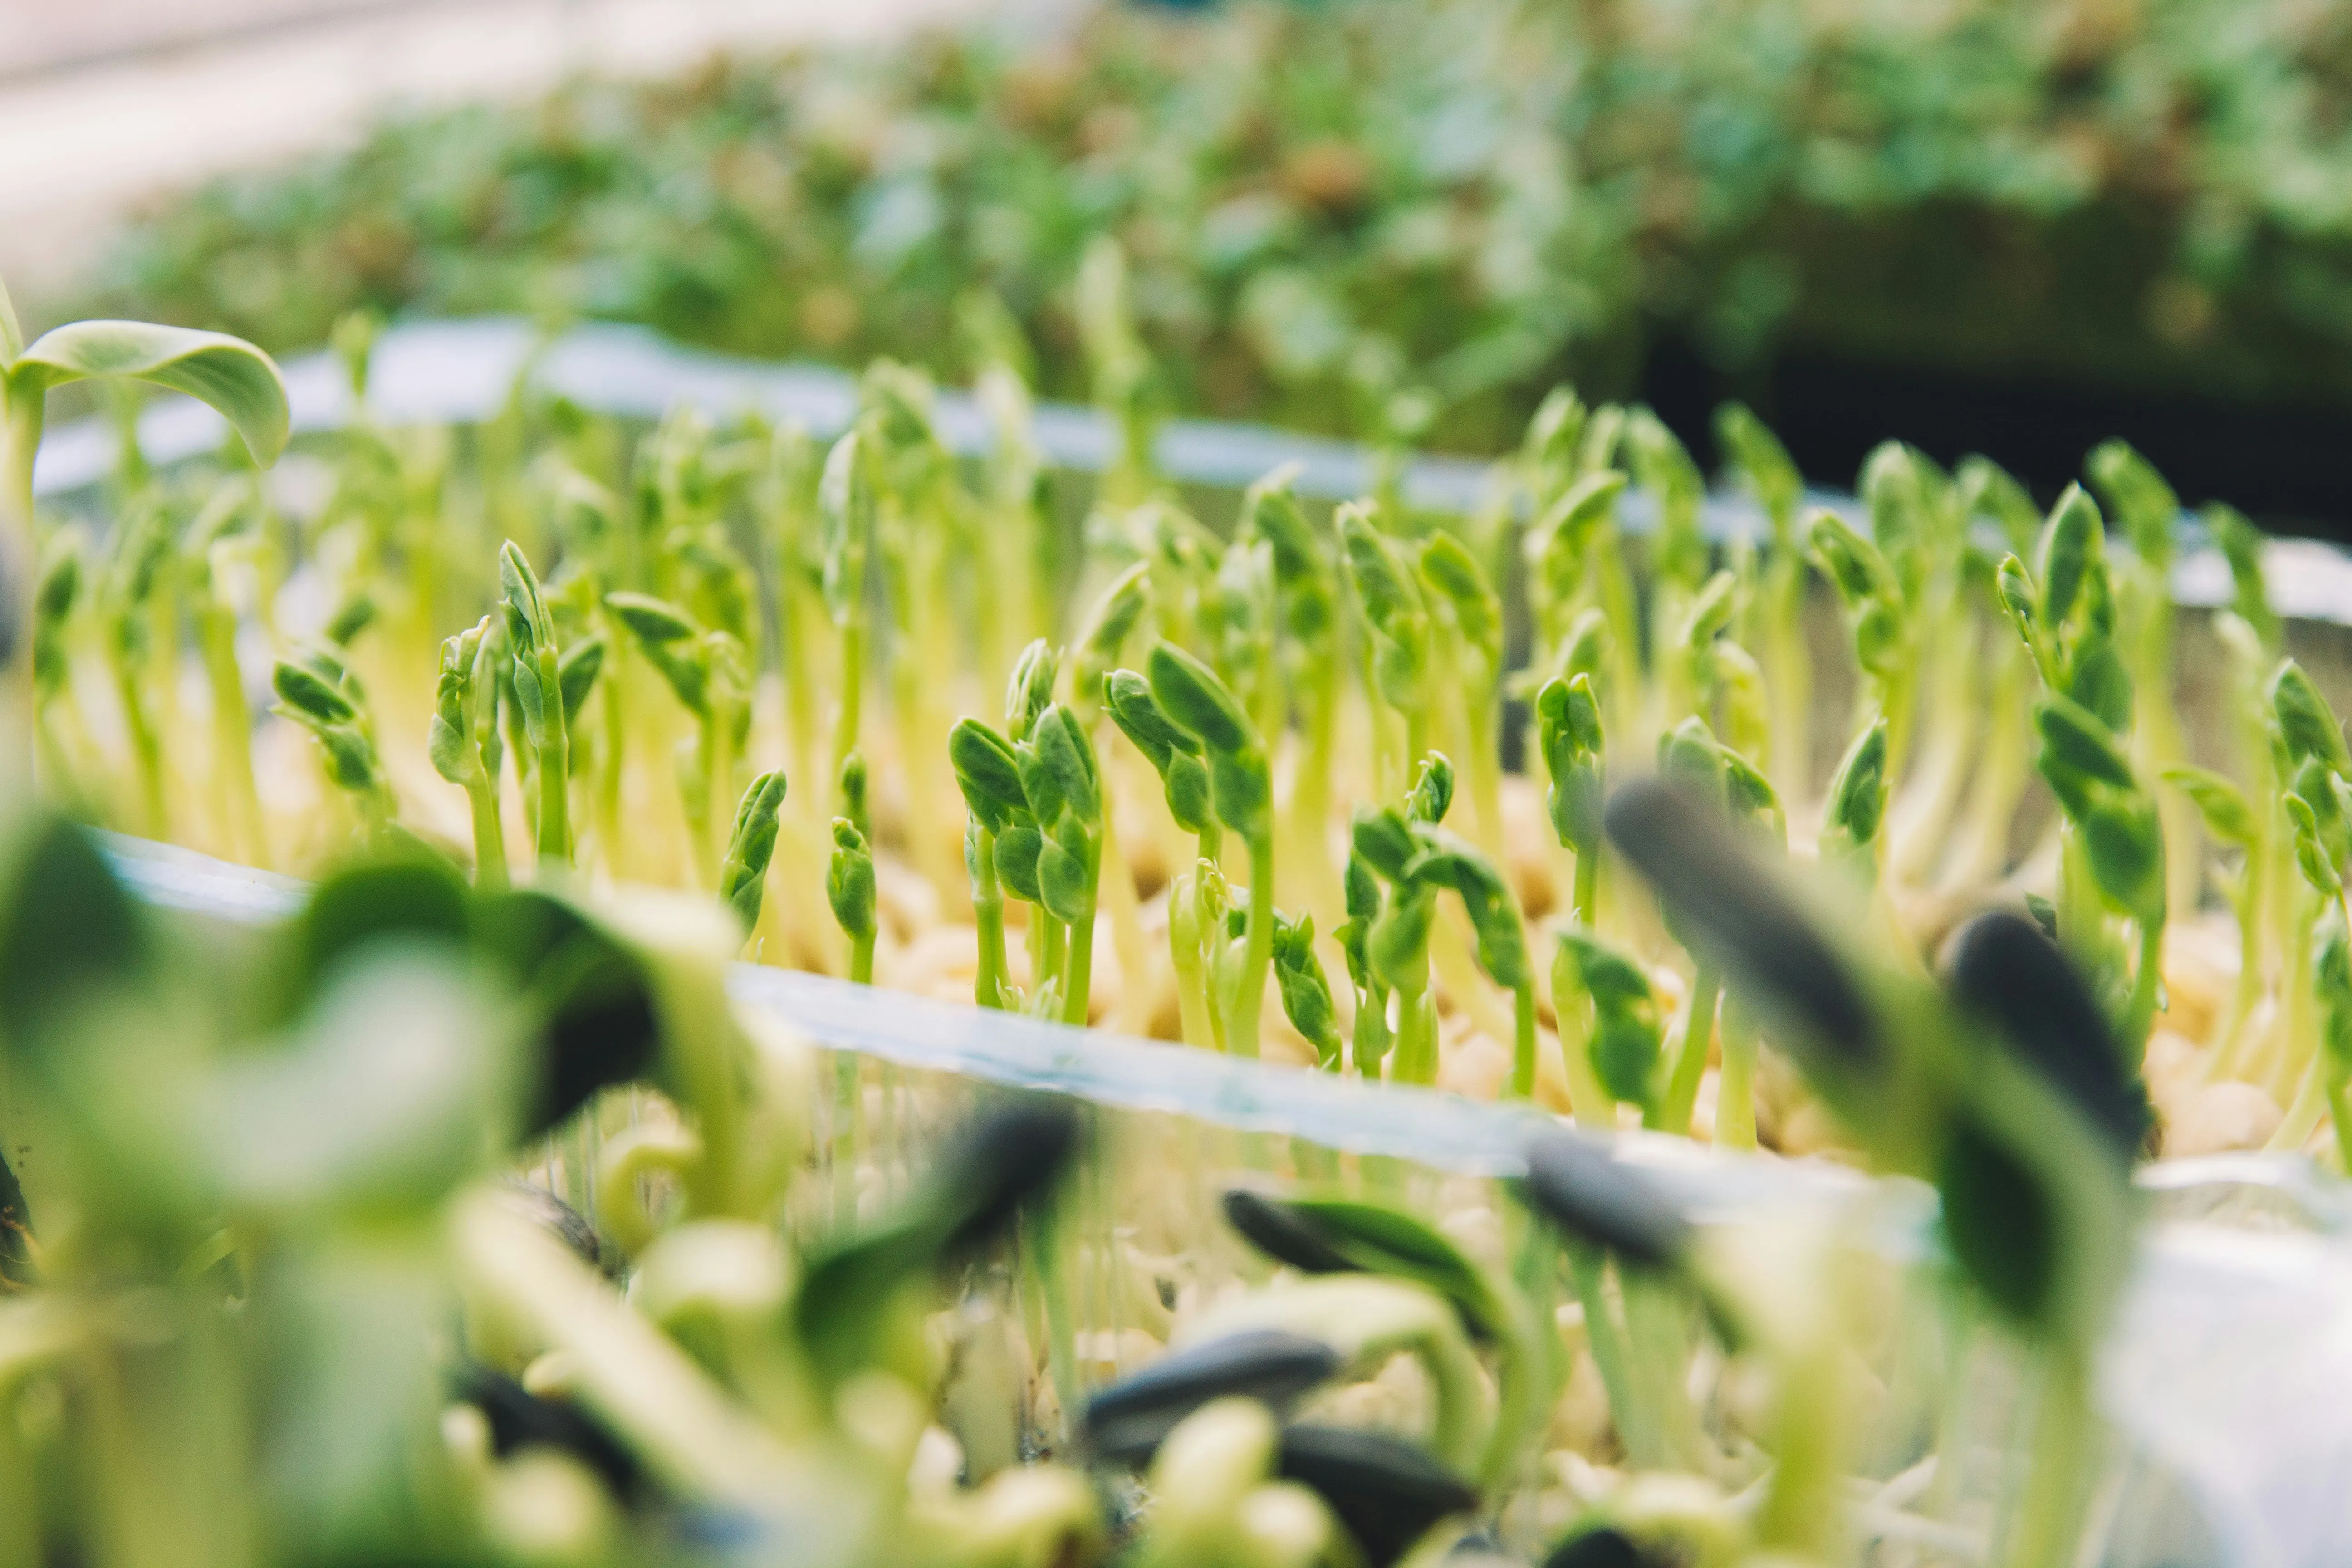
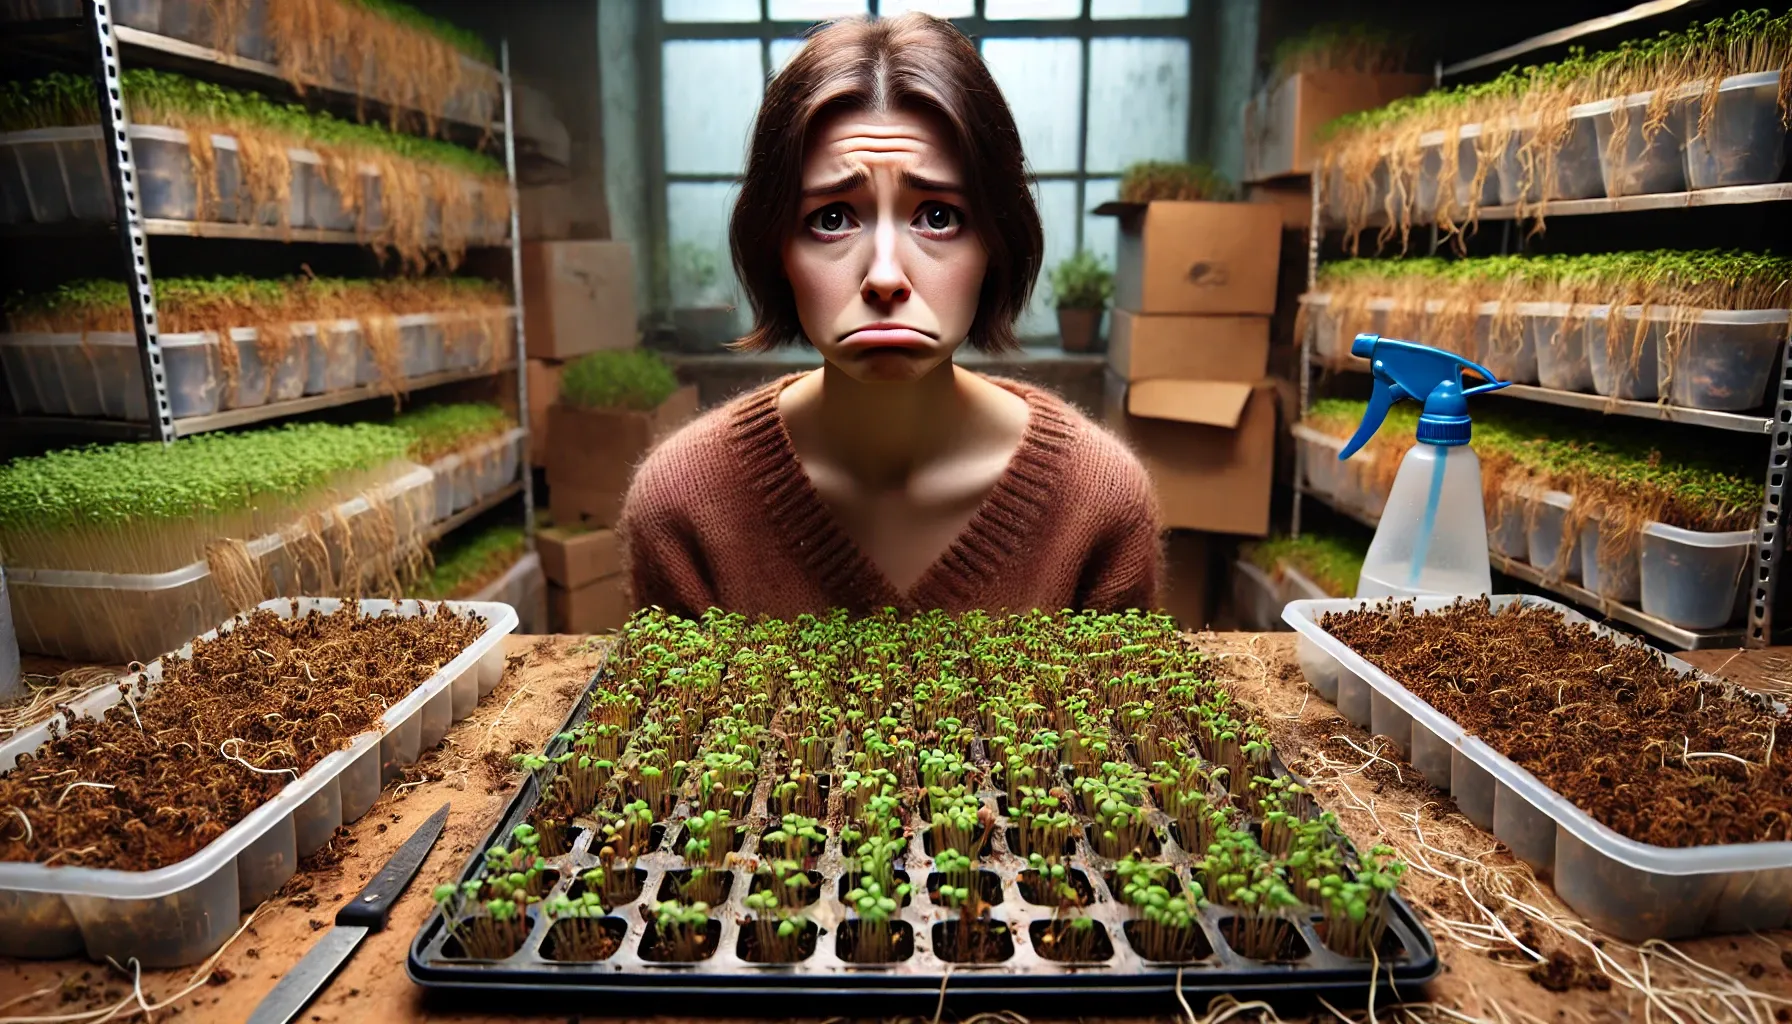
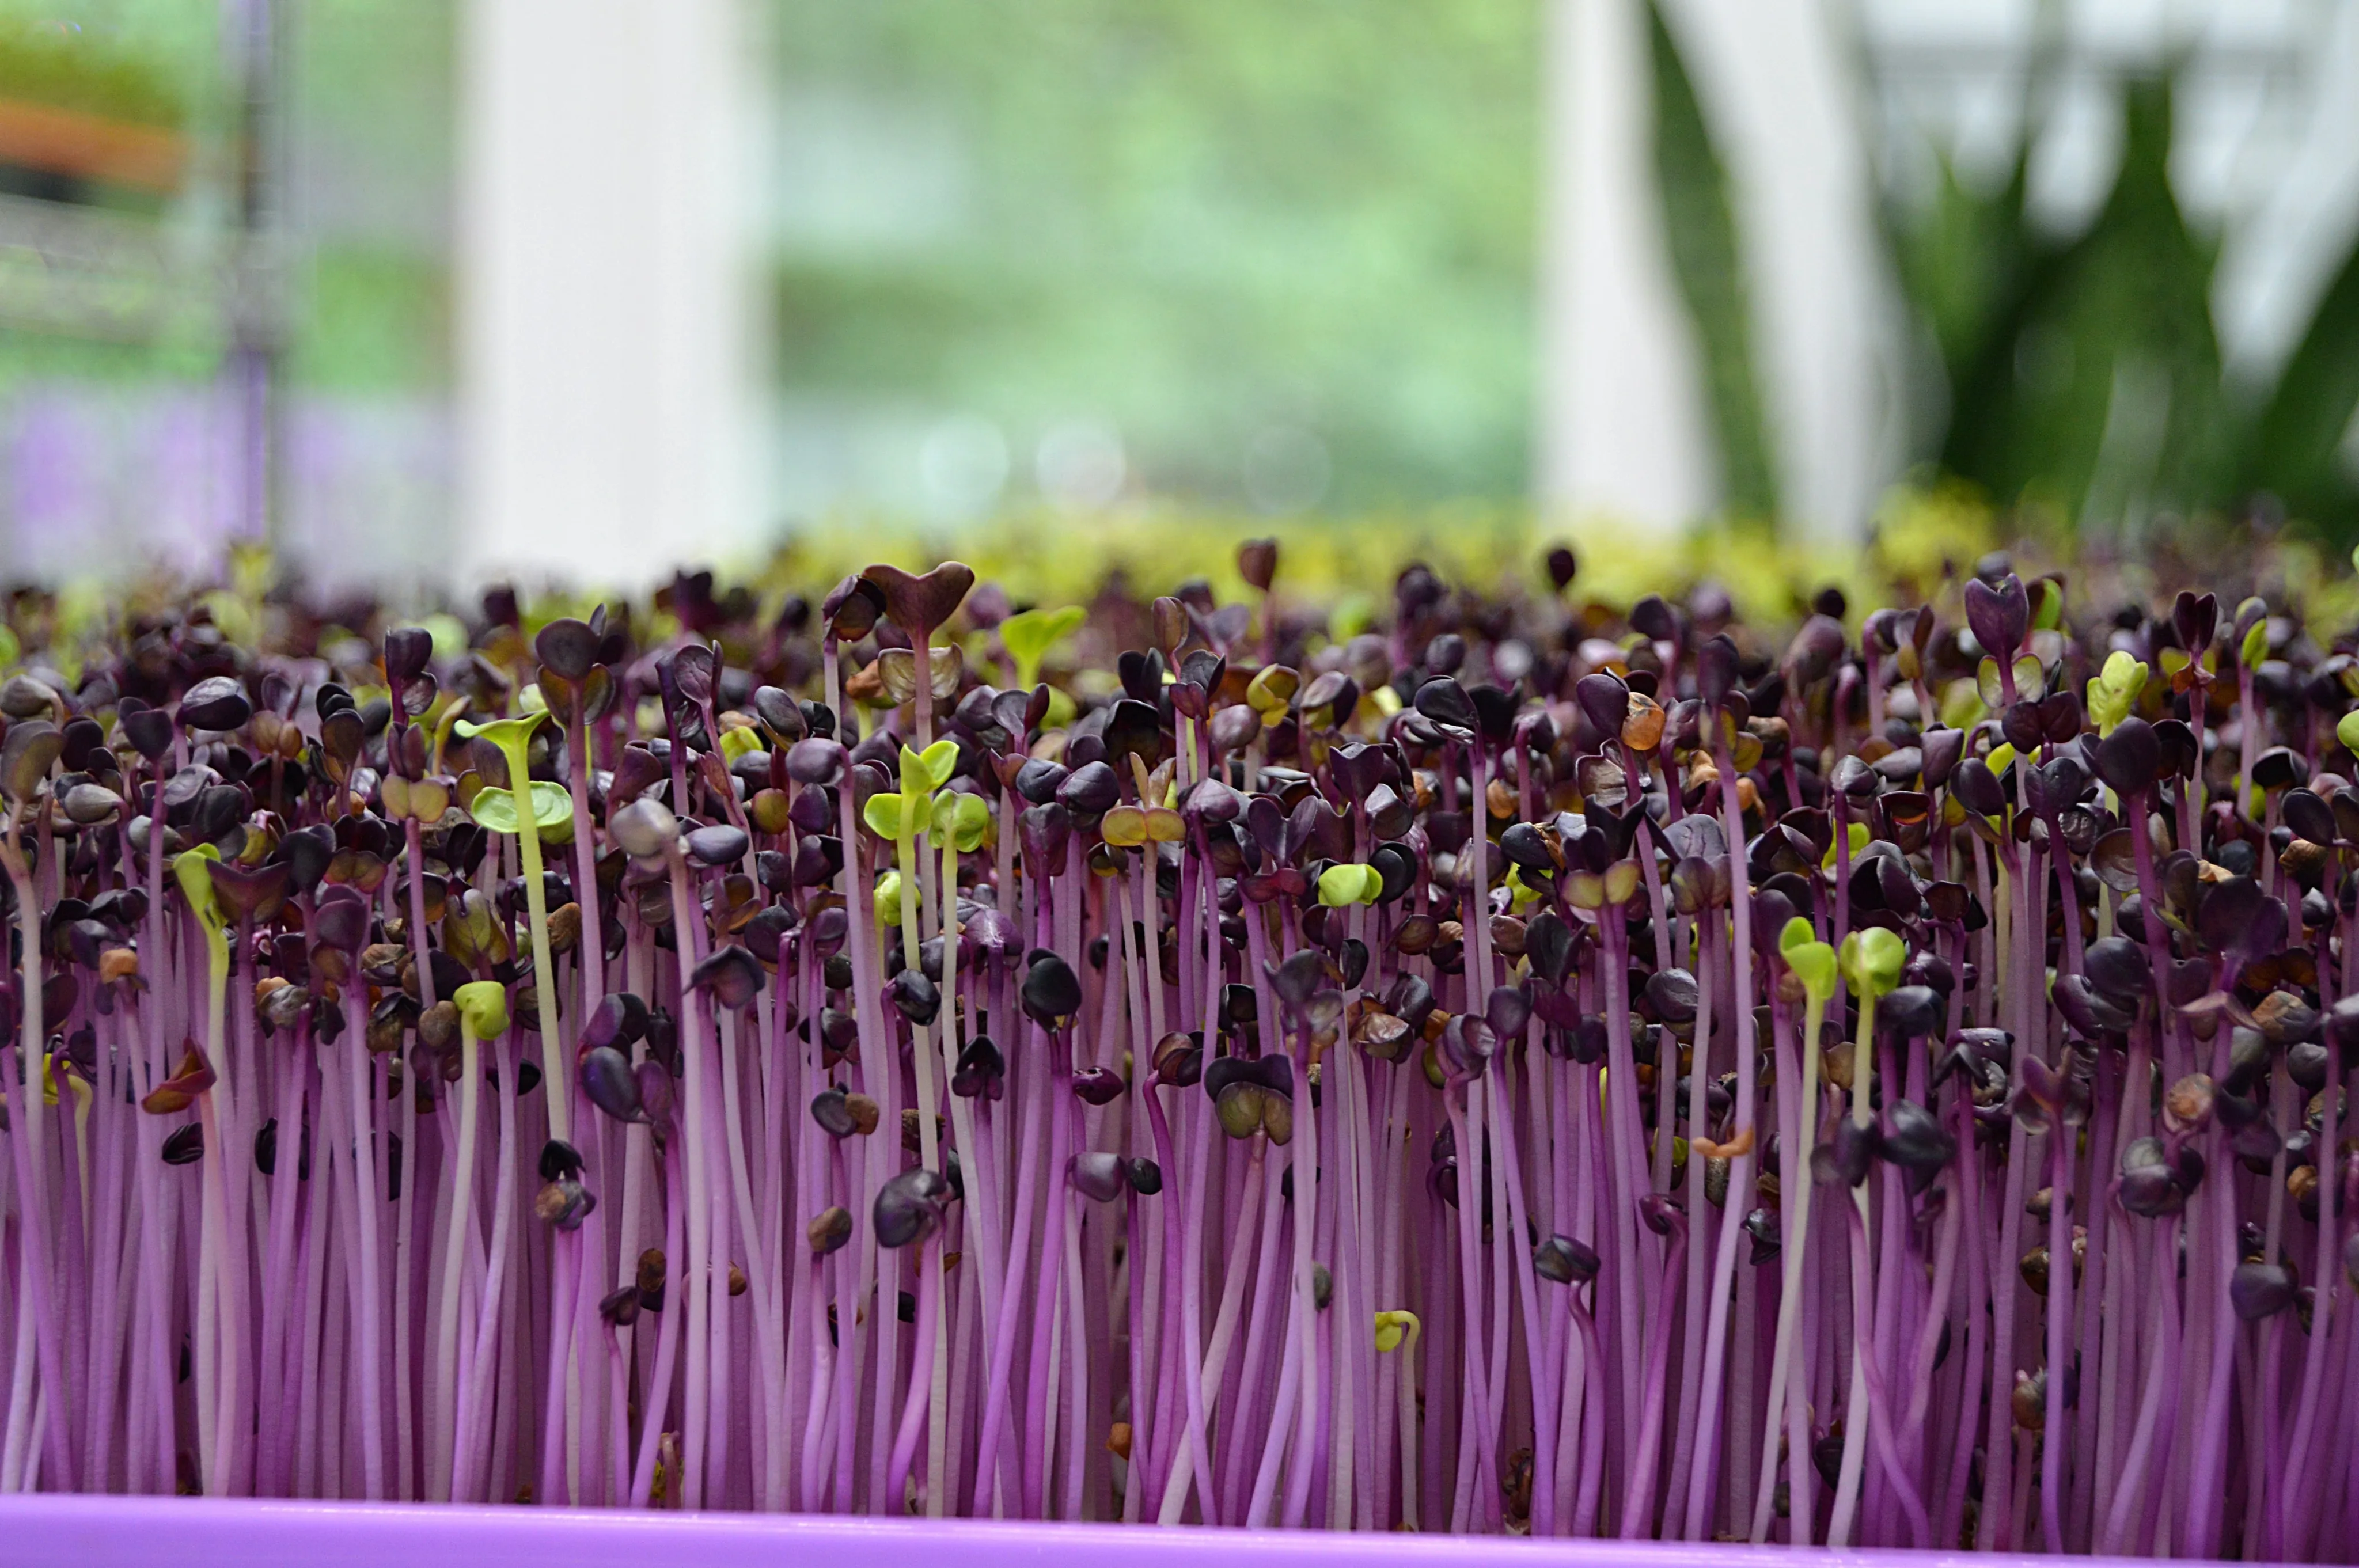
2.Germination- this phase is something we don't usually get to witness as the seeds are usually under the soil. After you have planted, you are going to cover your tray with a piece of aluminum foil. You can spritz the foil on the side facing the seeds to create a nice humid environment, which encourages the seeds to begin the sprouting process. Germination will average about three days. Leaving them too long can cause what is known as leggy microgreens (taller than normal), not long enough and your microgreens can be stunted in their growth.
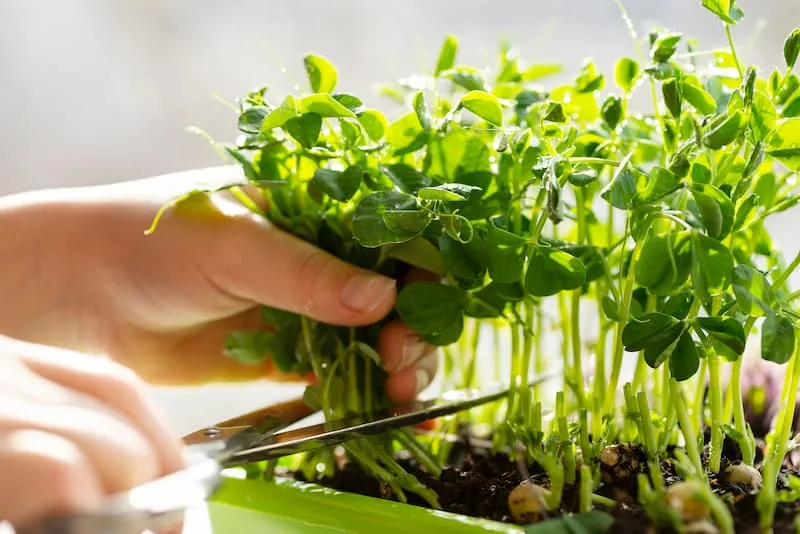
3.From sprout to microgreen! Stop all watering from the top and only bottom water from now on! To bottom water, lift the white tray and put one cup of water in the green tray. You can swish around to ensure all roots get water, especially if your tray is not sitting on a level surface (place on a level surface for best results).
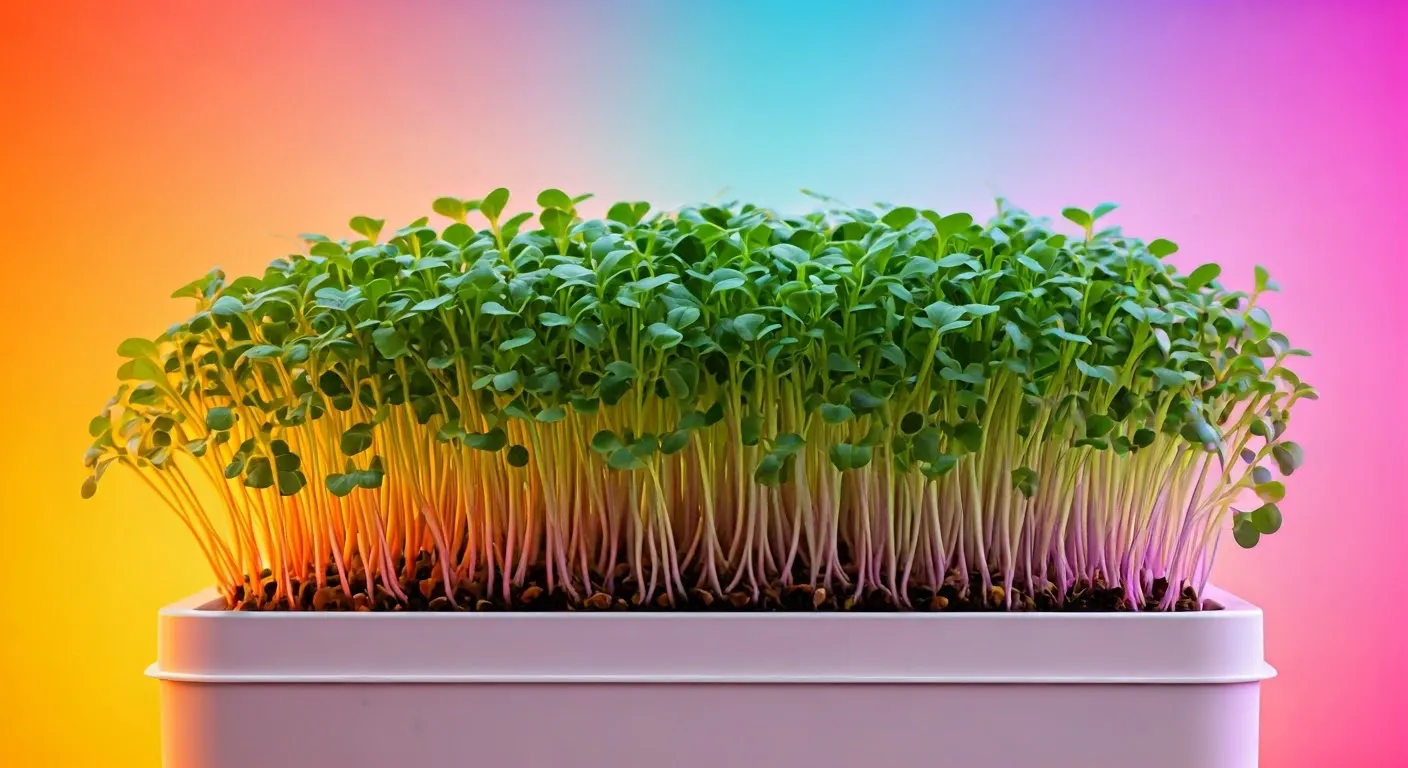
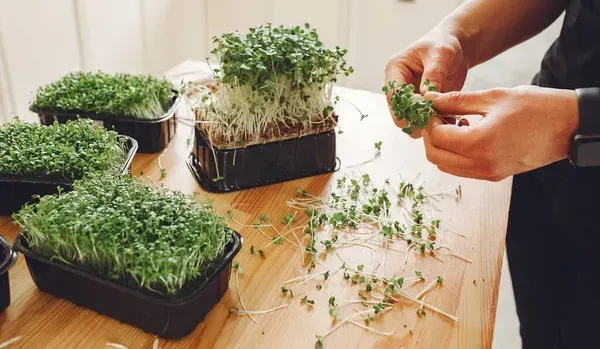
4.Days 3-7 your plants will grow incredibly fast! moving from a yellow stage into green within hours. This is so fun and educational for children to watch and begin to understand the life cycle of plants. Most of your microgreens will be ready to start eating between days 7-10! You can continue to grow them and eat off them for about another 7-10 days before they start getting a bit bitter. If you still have not eaten them all (and you really want to be eating all of them for your health by this time), you can cut them and place in a baggie in the refrigerator. You can place a paper towel in the bag with them to keep the humidity down.
And there you have it, how to grow microgreens! It's a lot easier than it sounds at first! As always, please reach out to us at (888)842-2348!
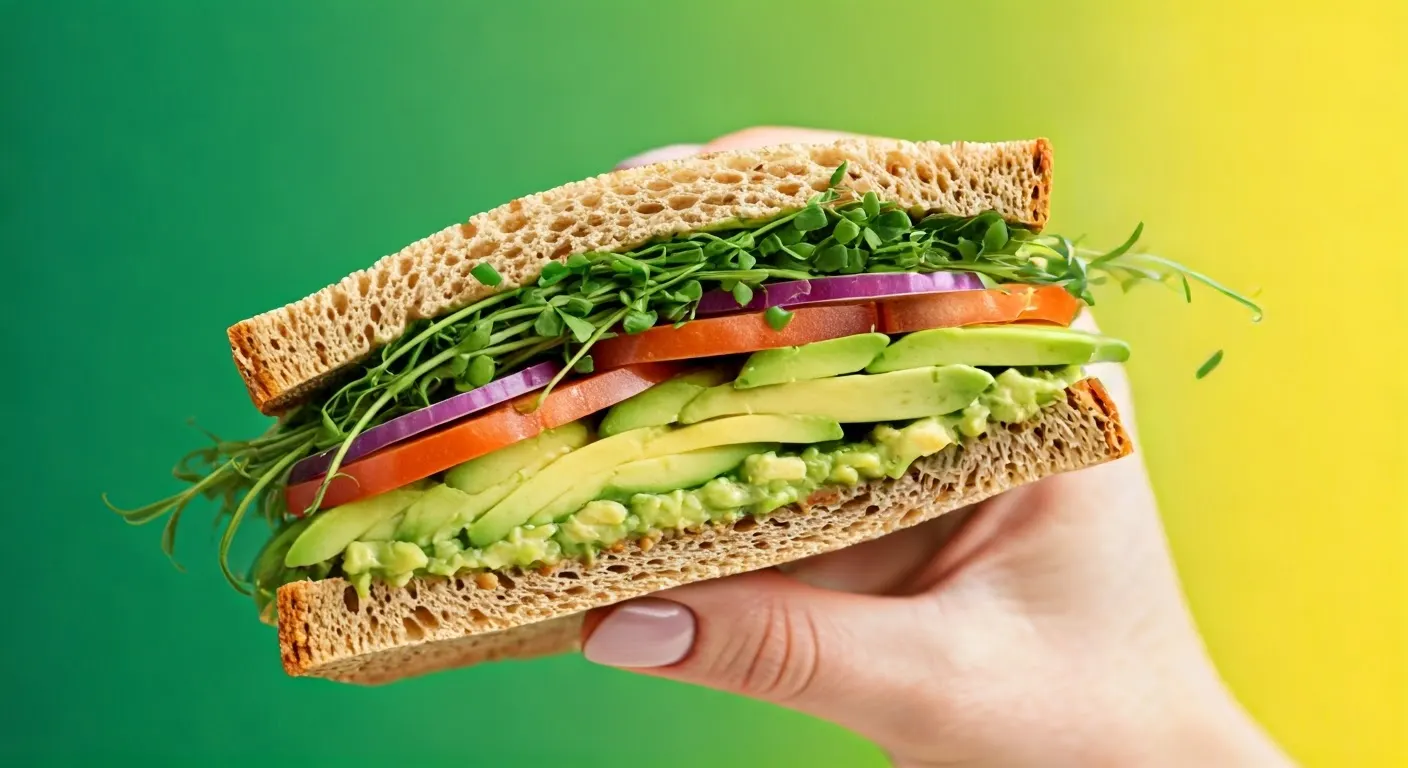
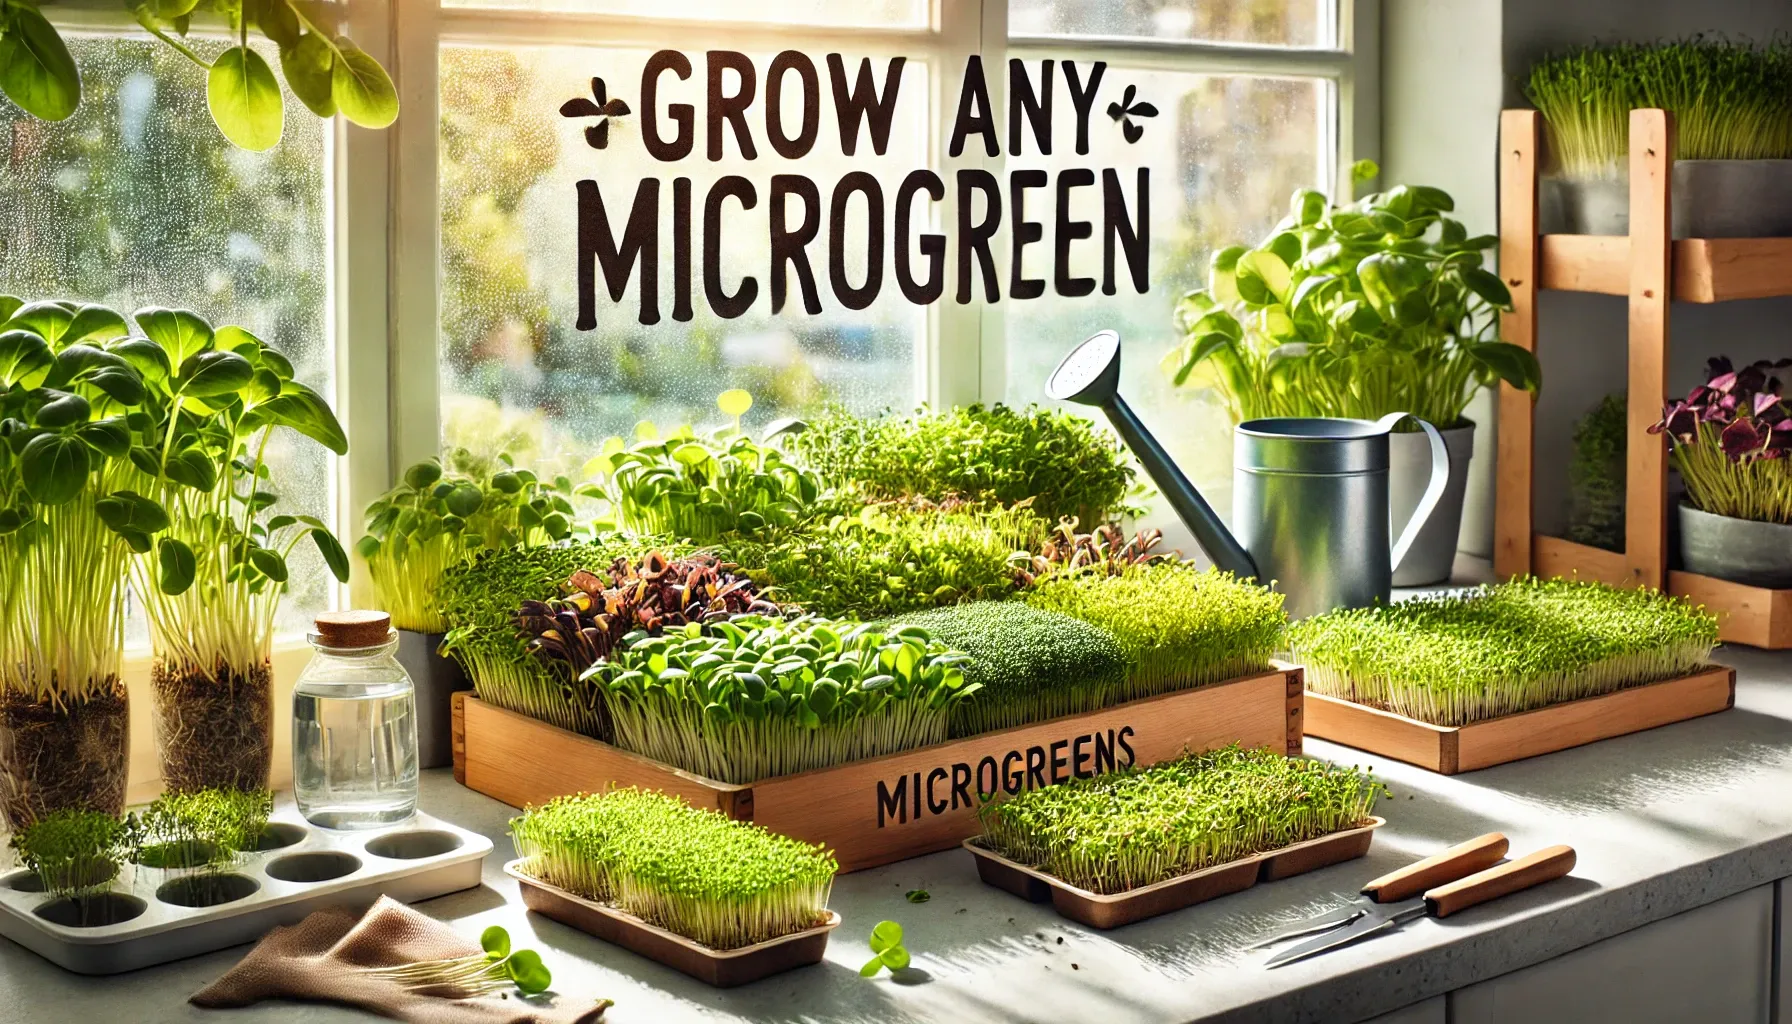
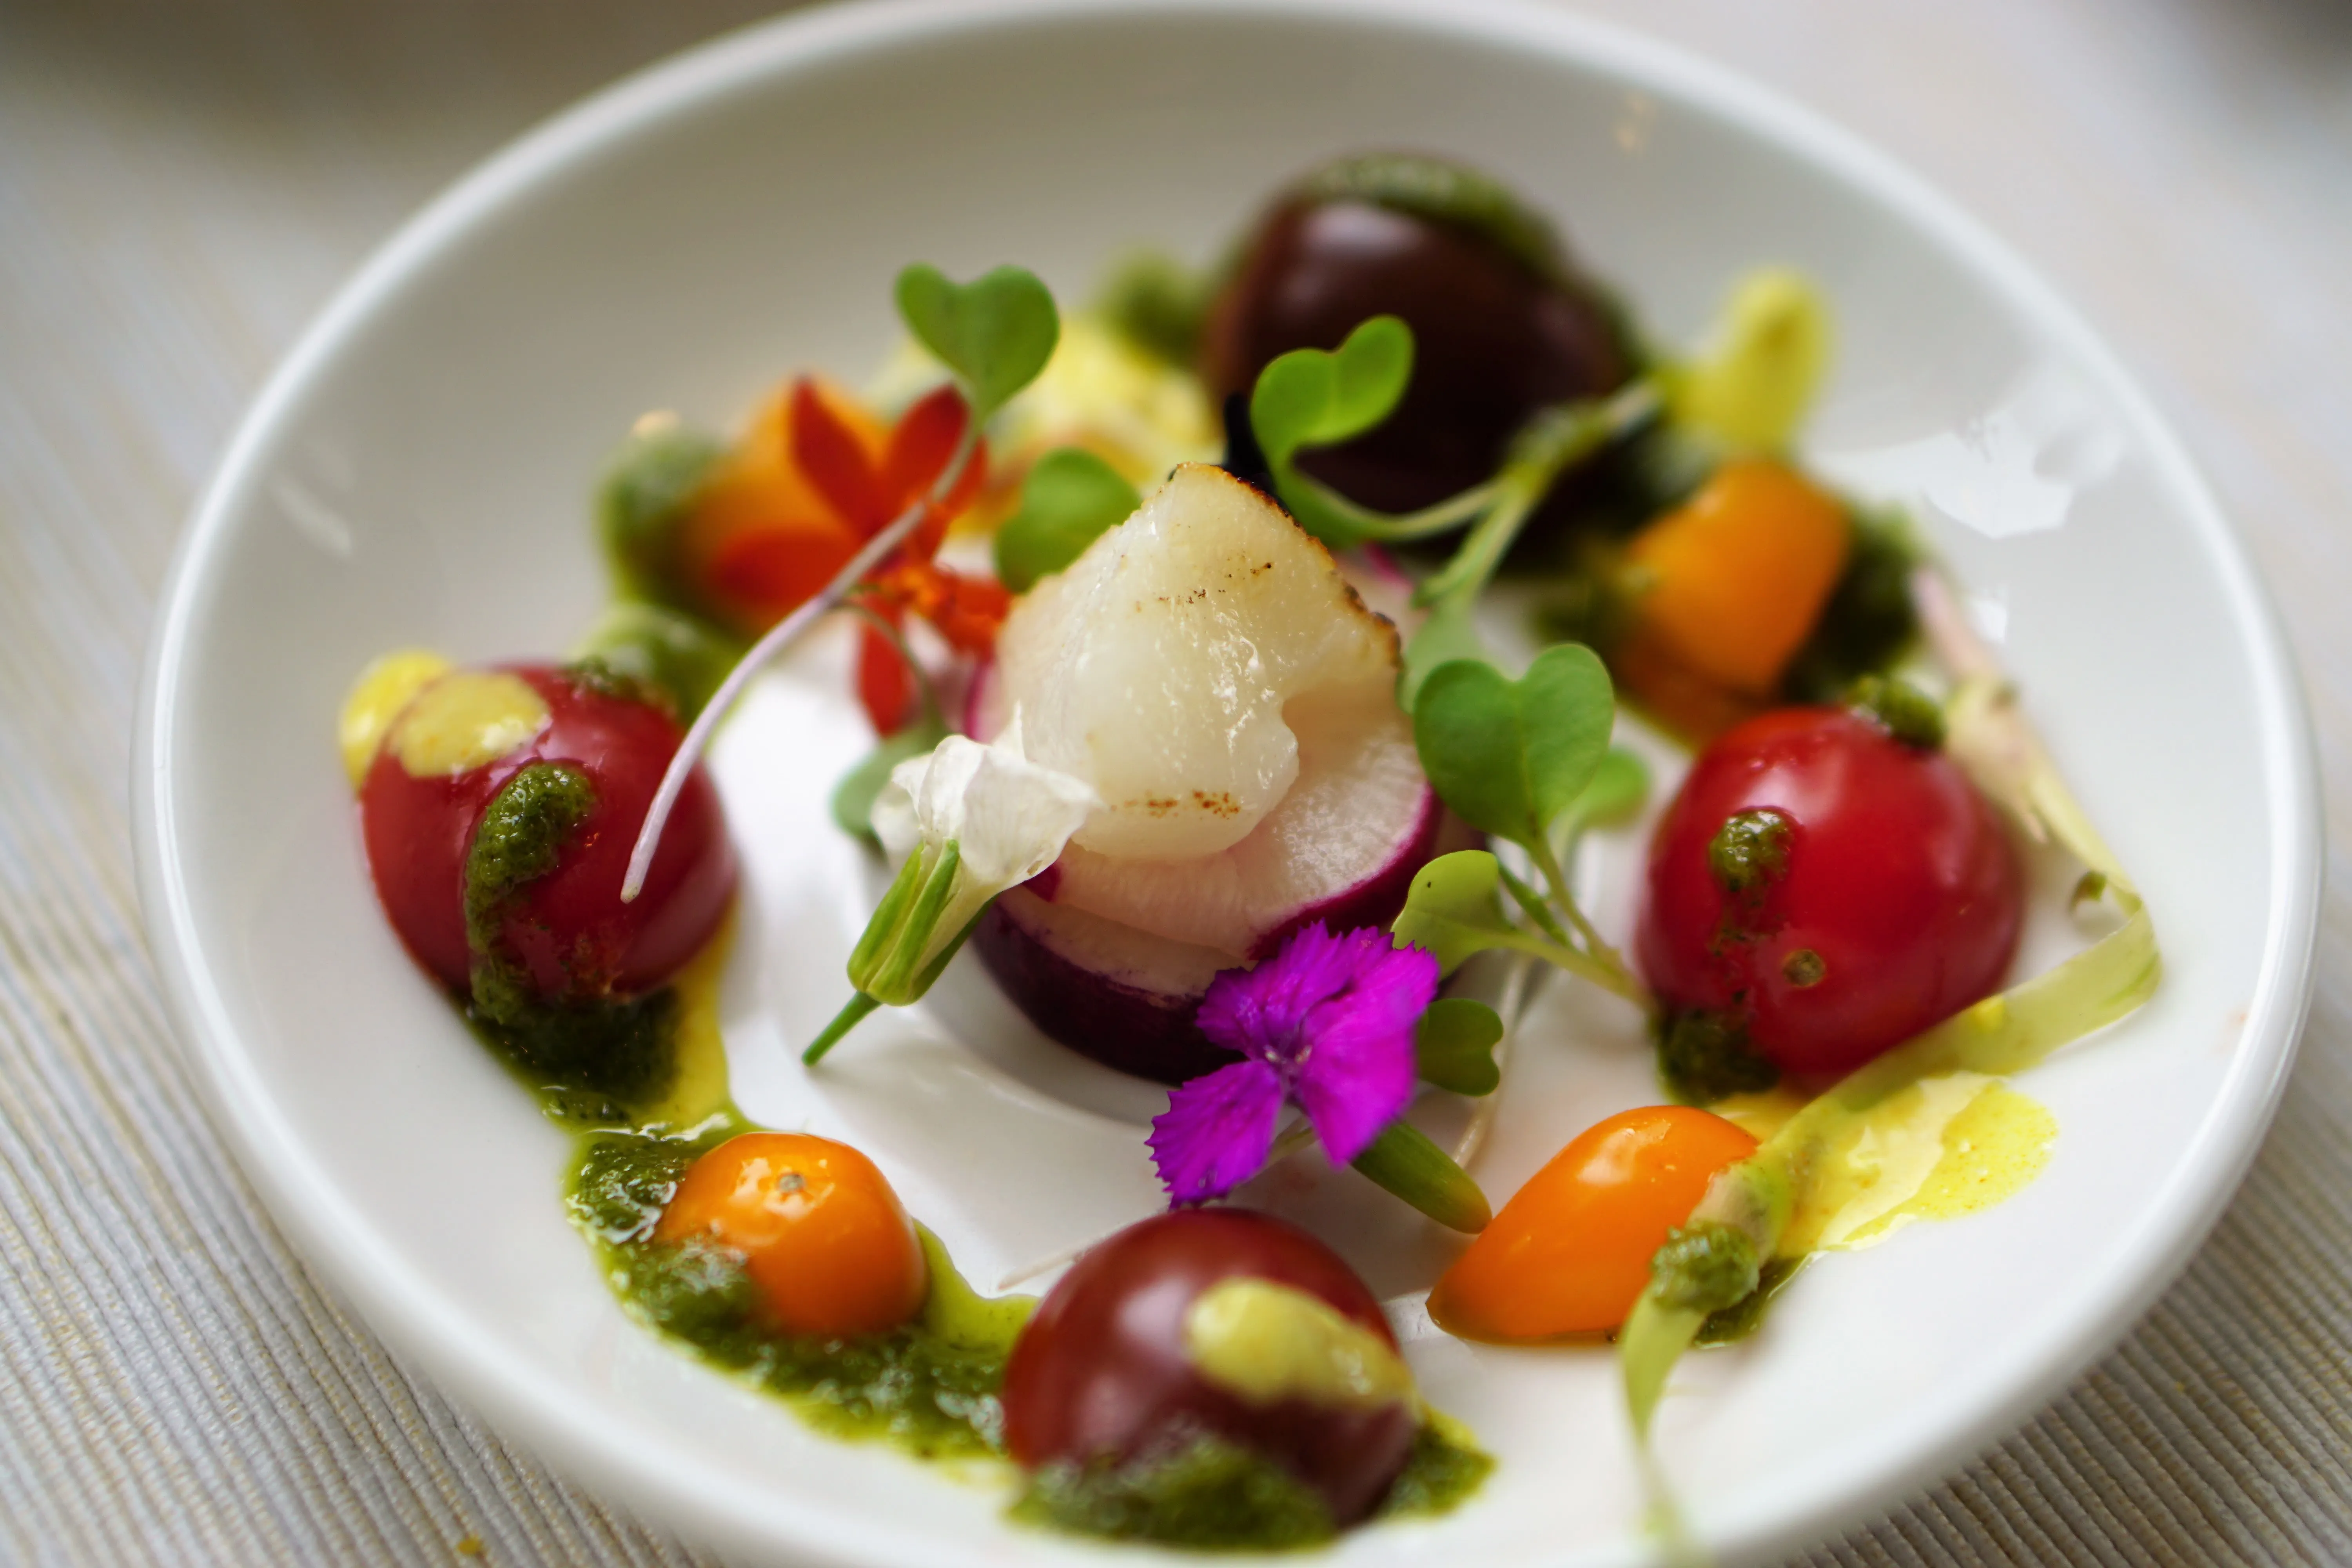
ready to get started? Check out our website and be sure to visit our microgreen recipe blog posts, like this one!